crwdns2915892:0crwdne2915892:0
This guide will outline the step-by-step process of replacing the LCD screen of the JVC Adixxion GC-XA1BU.
crwdns2942213:0crwdne2942213:0
-
-
Find the side of the camera with the black switch shown.
-
-
-
Slide the battery cover back while pushing down on the black switch.
-
-
-
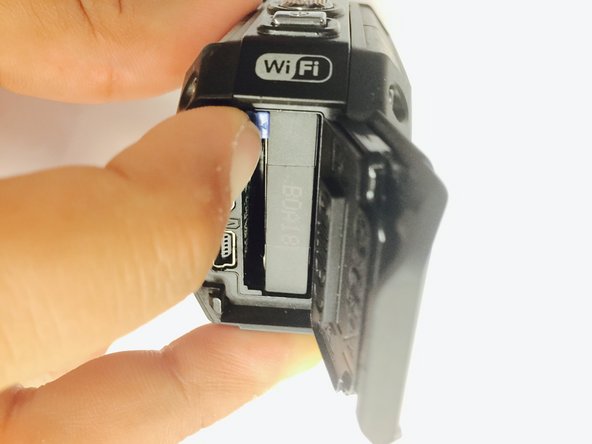
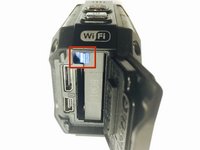
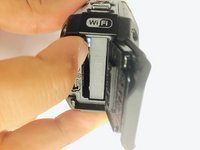
Open the battery compartment and push the blue battery release switch.
-
-
-
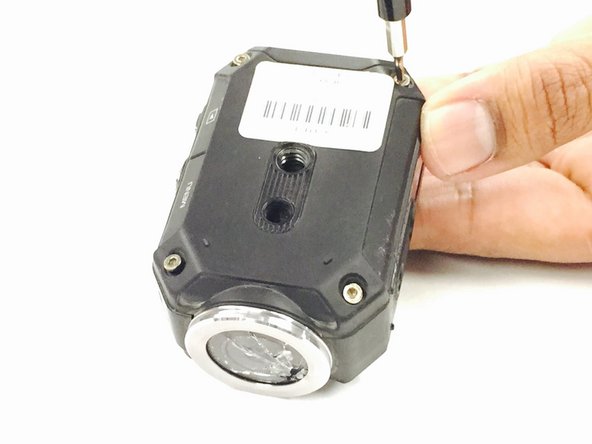
Remove the two Phillips screws (4mm x 3mm) using the Phillips #00 screwdriver.
-
-
-
-
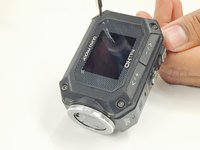
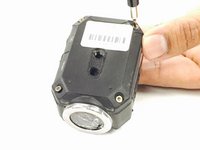
Remove the 8 screws (5mm x 4mm) from the corners of both the front and back of the camera (4 screws on each side) using the T6 Torx screwdriver.
-
-
-
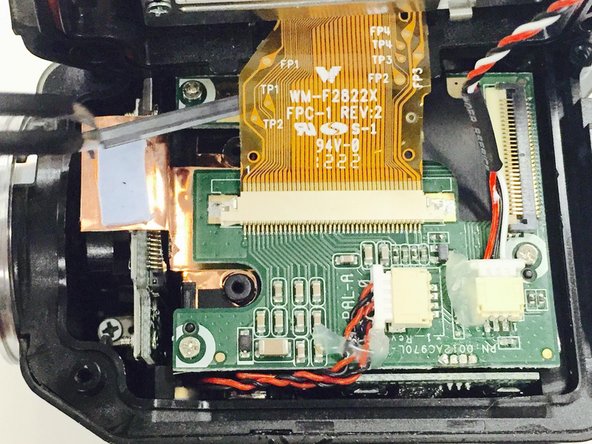
Carefully open the camera as shown and gently peel off the black cover tape.
-
-
-
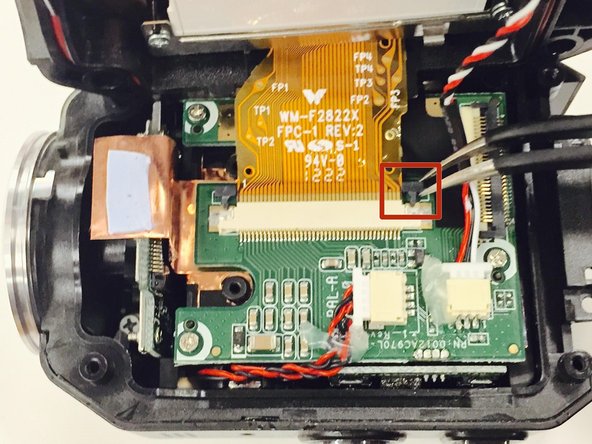
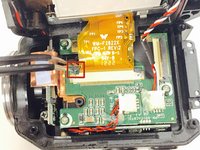
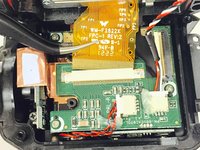
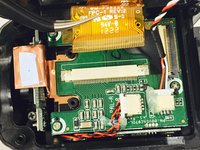
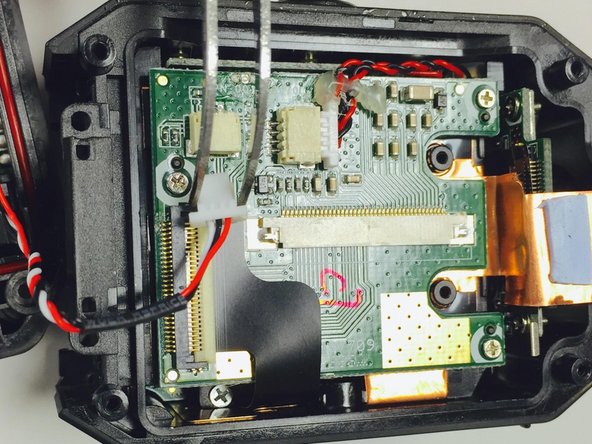
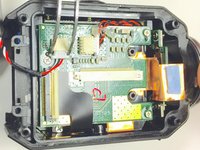
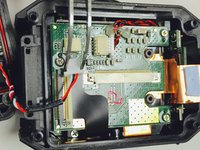
Carefully lift up and remove the cable ribbon clip using the tweezers.
-
-
-
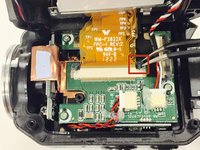
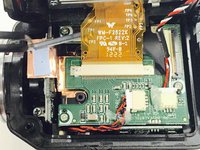
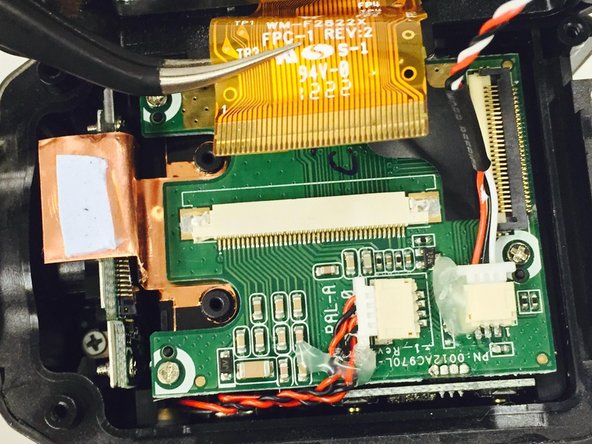
Carefully grasp and remove the ribbon cable using the tweezers.
-
-
-
Turn the camera as shown and carefully remove the glue from the connector.
-
-
-
Carefully pull the white clip out of the casing using the tweezers.
-
-
-
Use a Phillips #00 screwdriver to remove the two top screws (4mmx x 3mm). Once the screws are removed, carefully lift off the silver plate using Tweezers.
-
-
-
Once you have lifted and removed the silver plate, use a Phillips #00 screwdriver to remove the two bottom screws (4mm x 3mm).
-
-
-
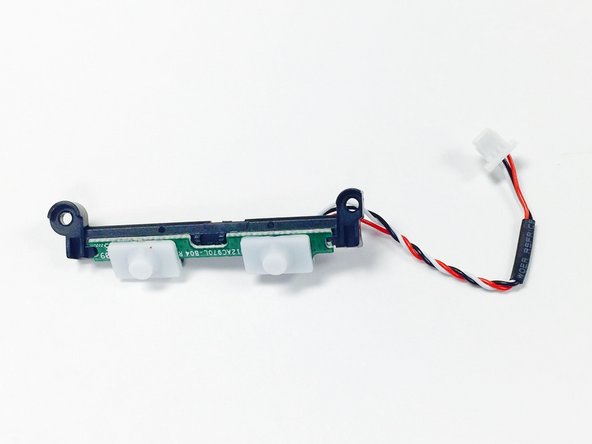
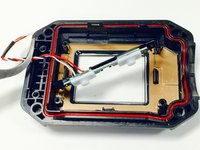
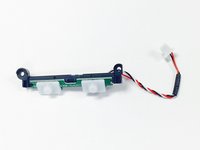
Using Tweezers, gently pull the red, black, and white threaded wire to disconnect it, then remove the attached panel as shown.
-
-
-
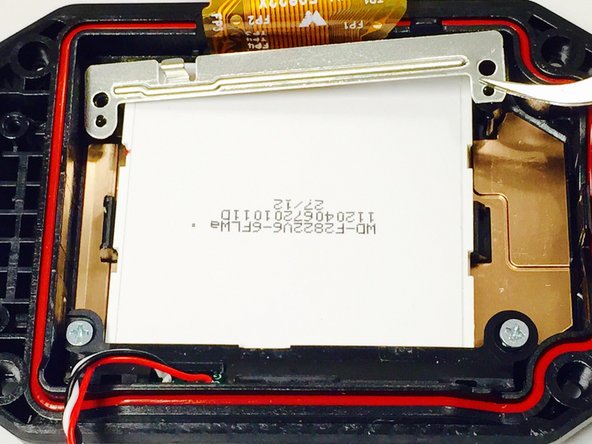
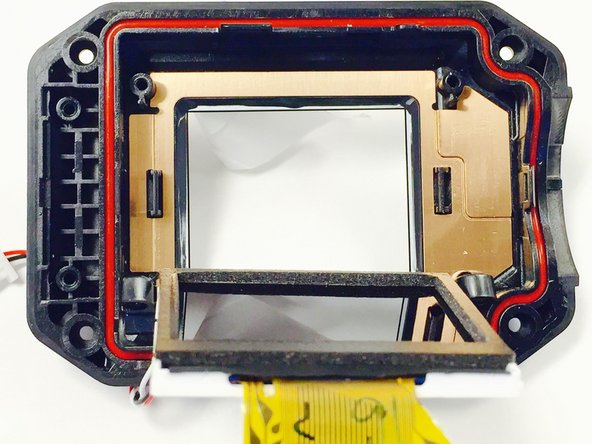
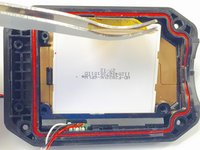
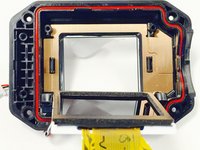
Carefully lift up and remove the LCD screen using the tweezers.
-
-
-
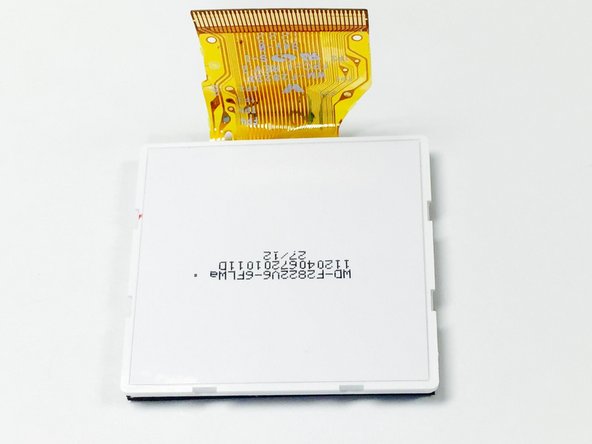
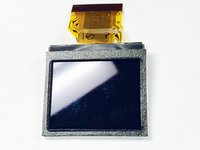
The screen as shown if removed properly.
-
Follow these steps in reverse order with the new LCD screen in order to complete the replacement.
Follow these steps in reverse order with the new LCD screen in order to complete the replacement.
crwdns2935221:0crwdne2935221:0
crwdns2935227:0crwdne2935227:0


