crwdns2915892:0crwdne2915892:0
If your JBL Pulse 4 speaker is having problems like failing to power on, disconnecting, charging issues, or unresponsive controls, use this guide to replace the motherboard.
The motherboard is the hub of the speaker, responsible for controlling power, audio, connectivity, and lighting. A damaged or faulty motherboard can cause the device to malfunction or stop working entirely.
Before using this guide, try troubleshooting the speaker by performing a full reset or firmware update using the JBL Portable app. Also, confirm that the issue isn’t related to the battery, charger, or other removable components (if these are the issues, look at the JBL Pulse 4 page for those guides).
This guide will walk you through the necessary steps to safely replace the motherboard. Be prepared to handle delicate connectors and use caution when detaching components.
Before beginning, power off the speaker completely and disconnect it from any external power source.
crwdns2942213:0crwdne2942213:0
-
-
Power off the device before doing any repairs.
-
Hold the power button for 3+ seconds to power down the device.
-
-
-
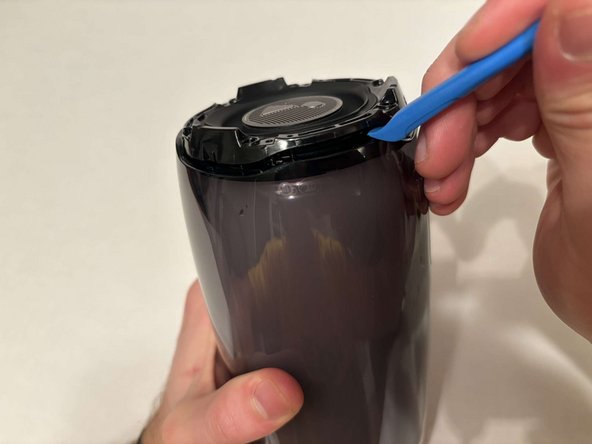
Remove each rubber end cap using a plastic pry tool.
-
Go around each end of the speaker slowly popping up a small section of the rubber cap until there is a gap on all sides.
-
Remove the top by hand.
-
-
-
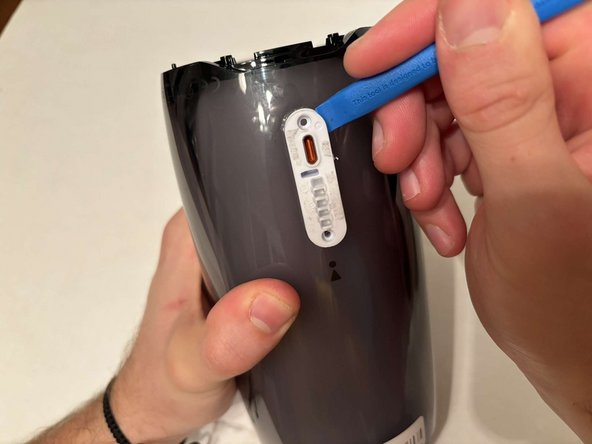
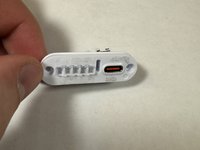
Remove the charging port cover using a plastic pry tool.
-
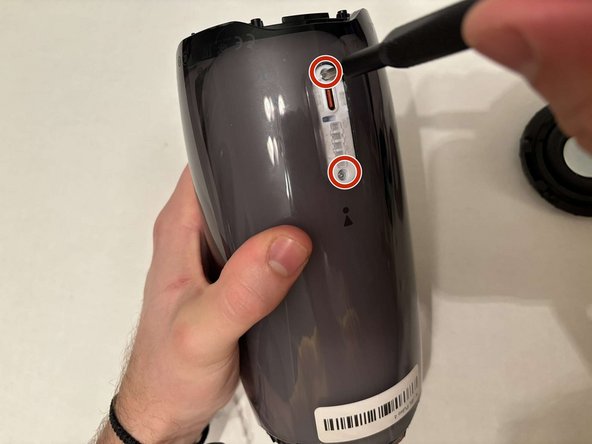
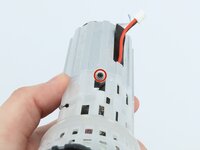
Remove the two 12.7 mm Phillips #1 screws.
-
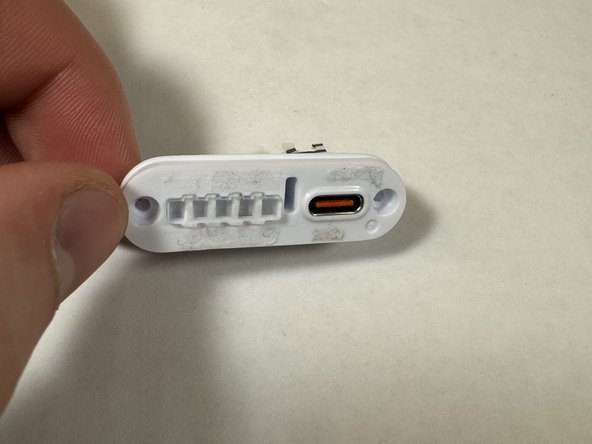
Remove the charging port housing from the casing.
-
-
-
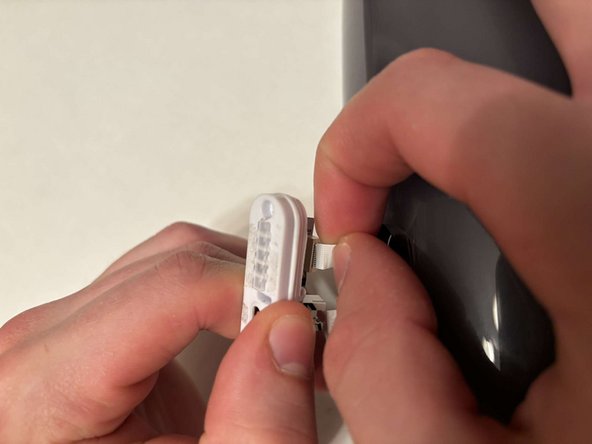
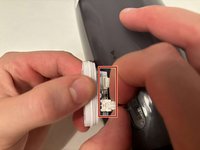
Disconnect the charging port connector by pulling the connector away from the port.
-
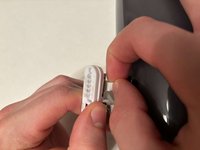
Disconnect the battery level indicator light by pulling the wire away from the lights.
-
-
-
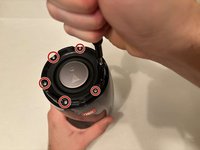
Remove the six 8 mm Phillips #1 screws from the end of the speaker with the grill that says "JBL."
-
Remove the plastic piece where the 6 screws came out of.
-
-
-
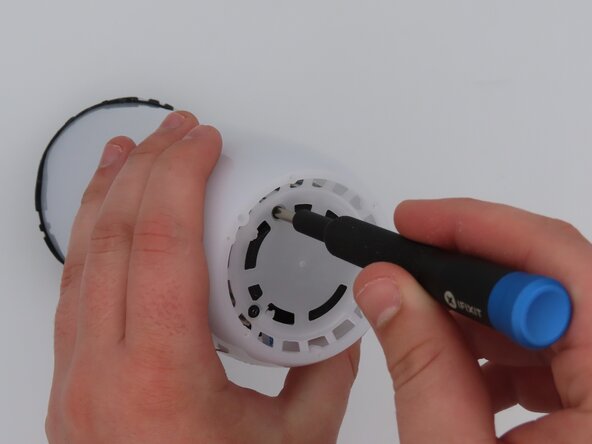
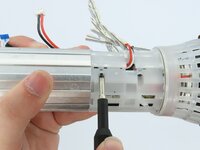
Remove the six 9.5 mm screws using a Phillips #1 screwdriver.
-
-
-
Flip the speaker to the other end.
-
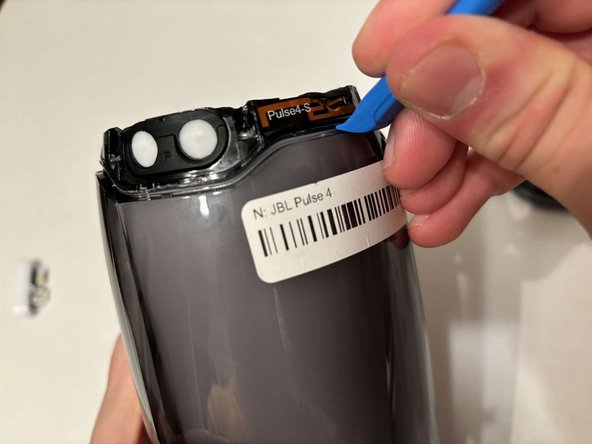
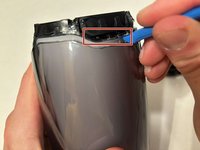
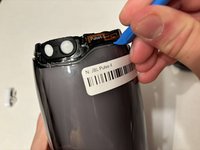
Use a pry tool to pry between the casing of the speaker and the internals.
-
Go around the entirety of this end of the speaker slowly prying apart the two pieces.
-
-
-
-
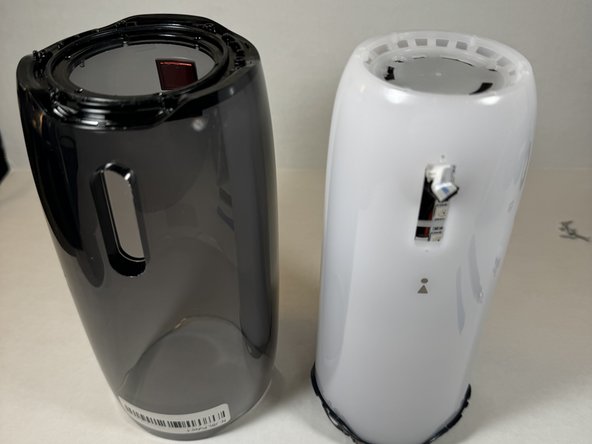
The casing is now fully detached from the internal components.
-
You can now replace the outer casing of the speaker.
-
-
-
Place the speaker on the table with the button board side down.
-
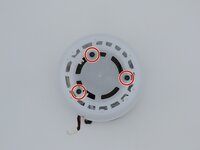
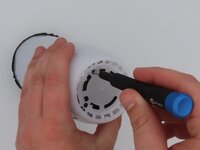
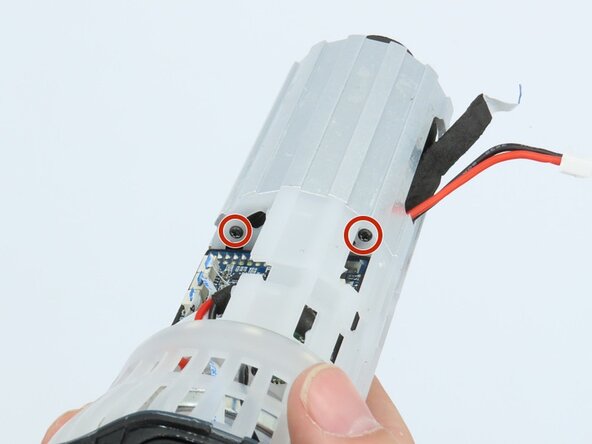
Remove the three black 5 mm screws using a Phillips #1 screwdriver.
-
Remove the white casing by pulling it away from the button board.
-
-
-
Clip off the two zip-ties using the zip tie cutter.
-
-
-
Peel each LED strip off of the speaker using an iFixit opening pick.
-
-
-
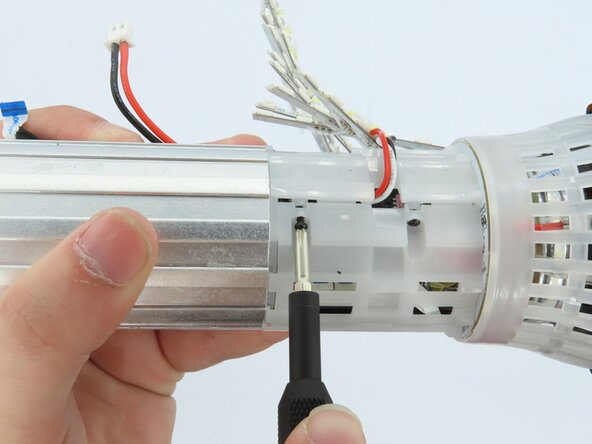
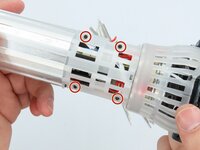
Remove the four black 5 mm screws using a Phillips #1 screwdriver.
-
Remove the white plastic piece that is held in place by the screws.
-
-
-
Remove the red/white cable from the white connection.
-
-
-
Remove the LED light display from the speaker.
-
-
-
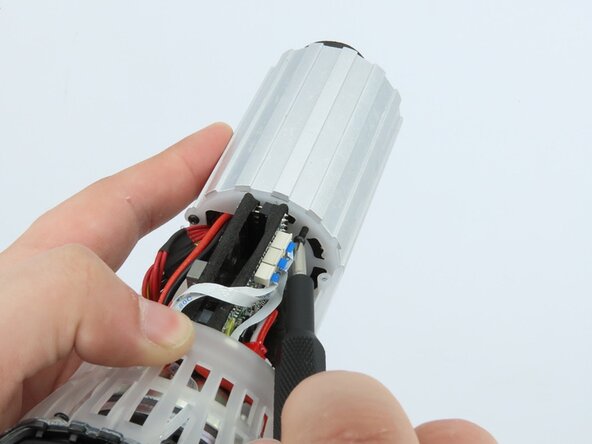
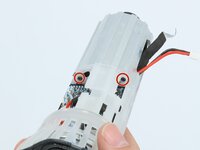
Remove the three black 5 mm screws using a Phillips #1 screwdriver.
-
-
-
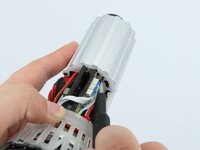
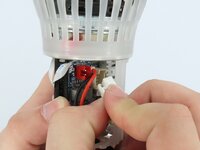
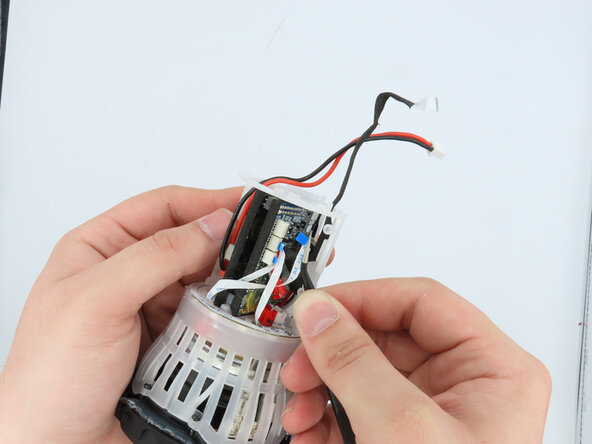
Unplug the cable connecting the battery to the motherboard.
-
-
-
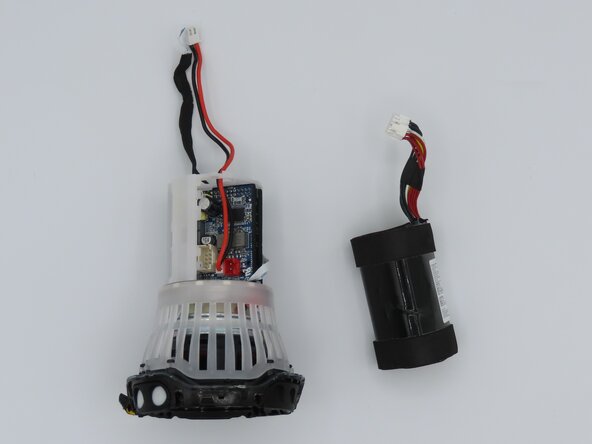
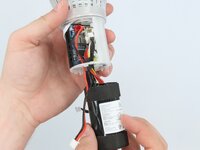
Feed the wire out of the central housing unit.
-
Pull the battery out of the central housing unit.
-
-
crwdns2935267:0crwdne2935267:0Tweezers$4.99
-
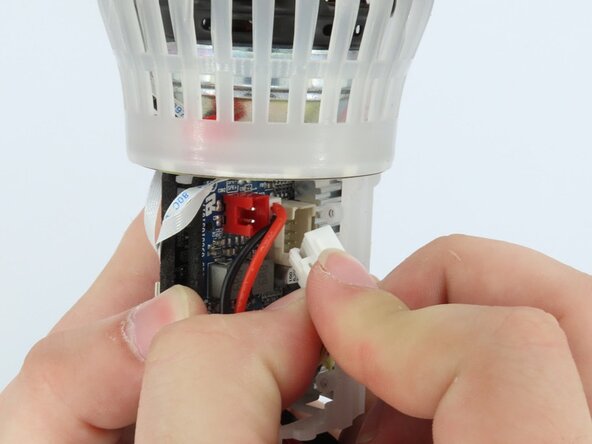
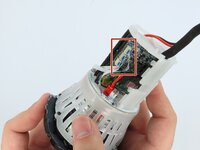
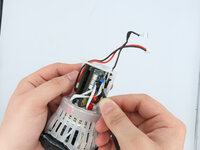
Using the tweezers, gently unplug the three connections attached to the motherboard.
-
-
-
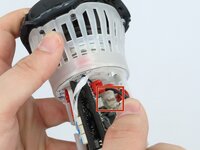
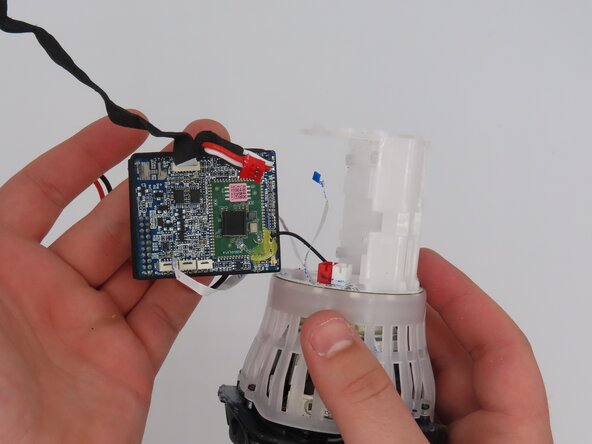
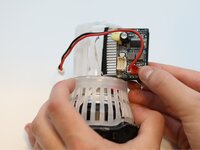
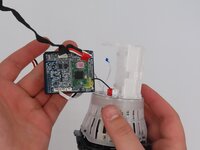
Pull the motherboard out of the frame.
-
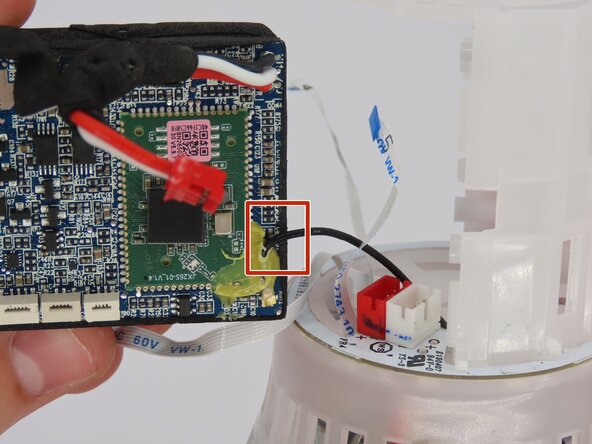
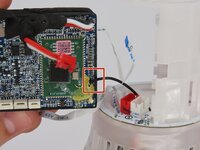
The only connection the motherboard has to the frame now should be the soldered-on black wire.
-
-
-
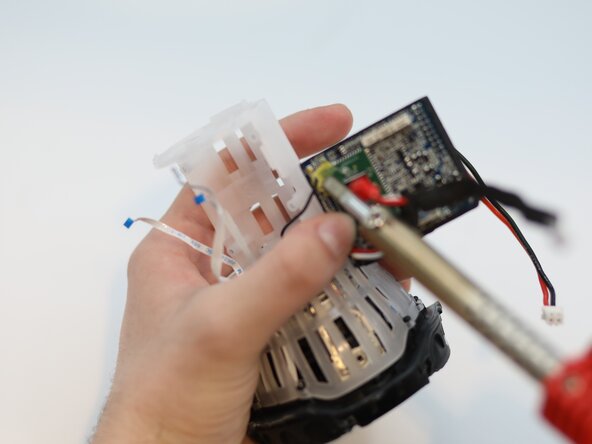
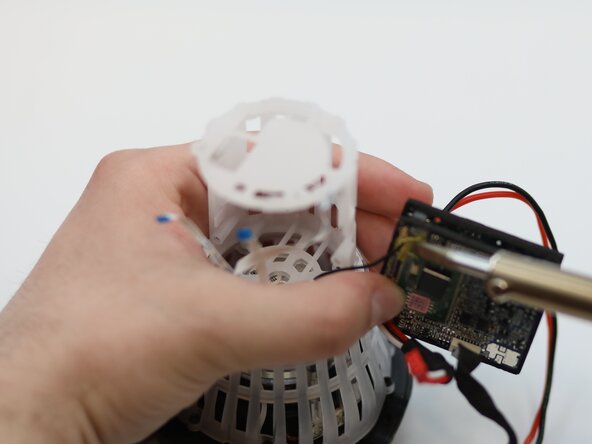
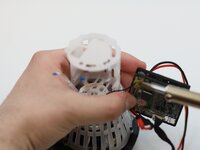
Desolder the wire from the motherboard.
-
Remove the motherboard from the speaker.
-
To reassemble your device, follow these instructions in reverse order.
To reassemble your device, follow these instructions in reverse order.


