crwdns2933423:0crwdne2933423:0

JBL Pulse 4 Drivers Replacement

crwdns2942213:0crwdne2942213:0

  1. JBL Pulse 4 Drivers Replacement, Casing Replacement: crwdns2935265:01crwdnd2935265:01crwdnd2935265:01crwdne2935265:0
    • Power off the device before doing any repairs.

    • Hold the power button for 3+ seconds to power down the device.

  2. JBL Pulse 4 Drivers Replacement: crwdns2935265:02crwdnd2935265:01crwdnd2935265:03crwdne2935265:0 JBL Pulse 4 Drivers Replacement: crwdns2935265:02crwdnd2935265:02crwdnd2935265:03crwdne2935265:0 JBL Pulse 4 Drivers Replacement: crwdns2935265:02crwdnd2935265:03crwdnd2935265:03crwdne2935265:0
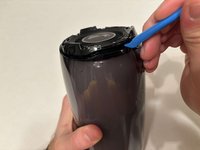
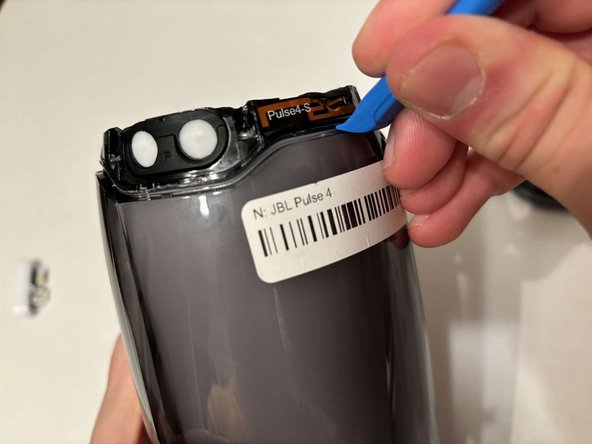
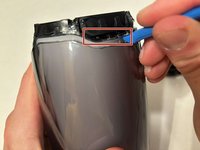
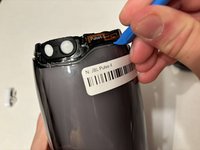
    • Remove each rubber end cap using a plastic pry tool.

    • Go around each end of the speaker slowly popping up a small section of the rubber cap until there is a gap on all sides.

    • Remove the top by hand.

  3. JBL Pulse 4 Drivers Replacement: crwdns2935265:03crwdnd2935265:01crwdnd2935265:03crwdne2935265:0 JBL Pulse 4 Drivers Replacement: crwdns2935265:03crwdnd2935265:02crwdnd2935265:03crwdne2935265:0 JBL Pulse 4 Drivers Replacement: crwdns2935265:03crwdnd2935265:03crwdnd2935265:03crwdne2935265:0
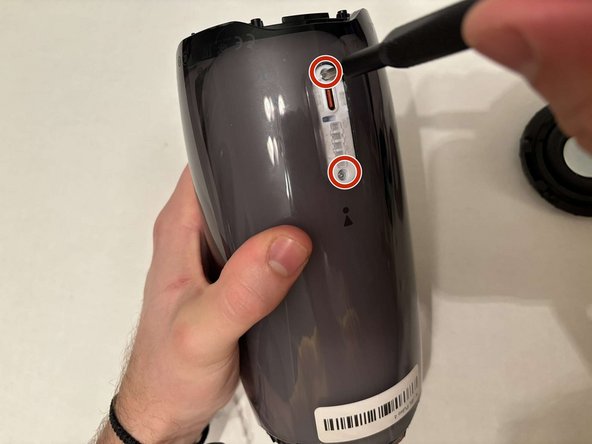
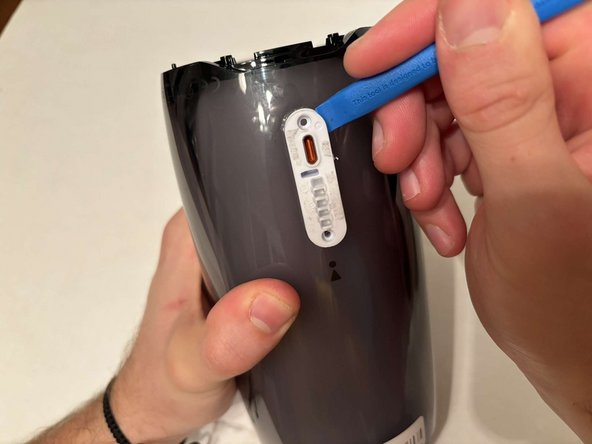
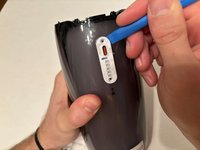
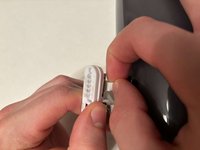
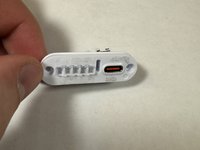
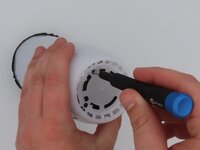
    • Remove the charging port cover using a plastic pry tool.

    • Remove the two 12.7 mm Phillips #1 screws.

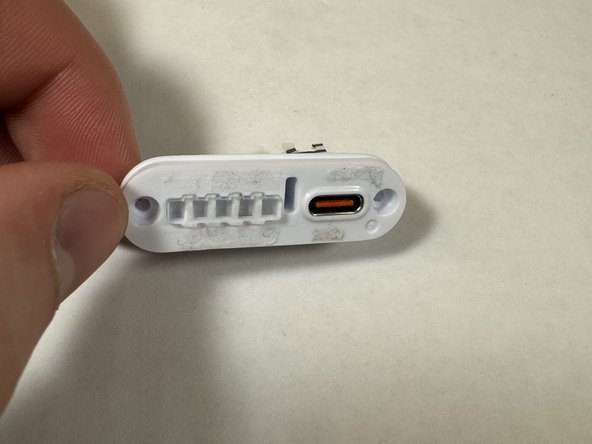
    • Remove the charging port housing from the casing.

  4. JBL Pulse 4 Drivers Replacement: crwdns2935265:04crwdnd2935265:01crwdnd2935265:03crwdne2935265:0 JBL Pulse 4 Drivers Replacement: crwdns2935265:04crwdnd2935265:02crwdnd2935265:03crwdne2935265:0 JBL Pulse 4 Drivers Replacement: crwdns2935265:04crwdnd2935265:03crwdnd2935265:03crwdne2935265:0
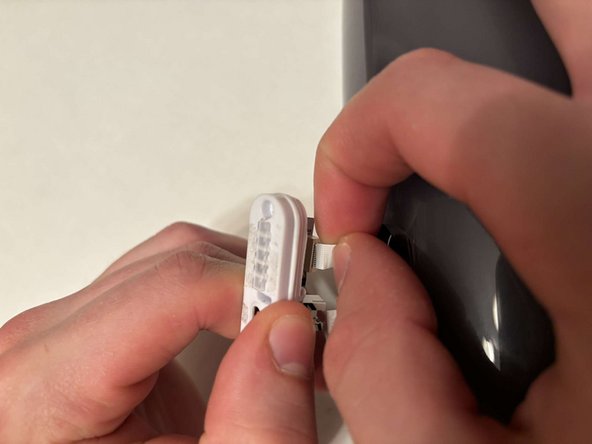
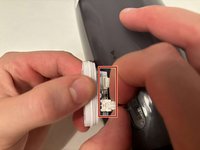
    • Disconnect the charging port connector by pulling the connector away from the port.

    • Disconnect the battery level indicator light by pulling the wire away from the lights.

  5. JBL Pulse 4 Drivers Replacement: crwdns2935265:05crwdnd2935265:01crwdnd2935265:02crwdne2935265:0 JBL Pulse 4 Drivers Replacement: crwdns2935265:05crwdnd2935265:02crwdnd2935265:02crwdne2935265:0
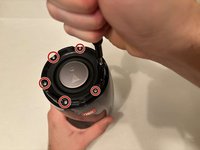
    • Remove the six 8 mm Phillips #1 screws from the end of the speaker with the grill that says "JBL."

    • Remove the plastic piece where the 6 screws came out of.

  6. JBL Pulse 4 Drivers Replacement: crwdns2935265:06crwdnd2935265:01crwdnd2935265:01crwdne2935265:0
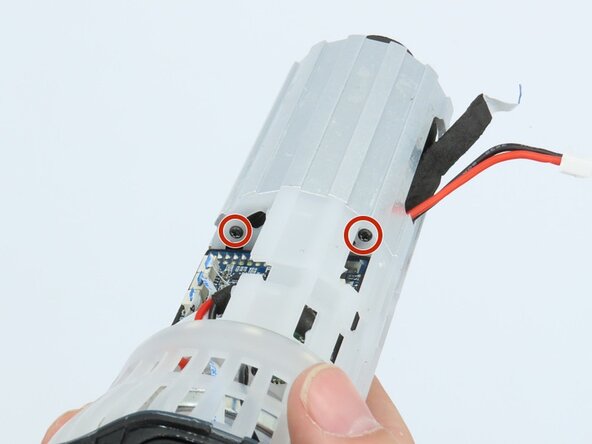
    • Remove the six 9.5 mm screws using a Phillips #1 screwdriver.

  7. JBL Pulse 4 Drivers Replacement: crwdns2935265:07crwdnd2935265:01crwdnd2935265:03crwdne2935265:0 JBL Pulse 4 Drivers Replacement: crwdns2935265:07crwdnd2935265:02crwdnd2935265:03crwdne2935265:0 JBL Pulse 4 Drivers Replacement: crwdns2935265:07crwdnd2935265:03crwdnd2935265:03crwdne2935265:0
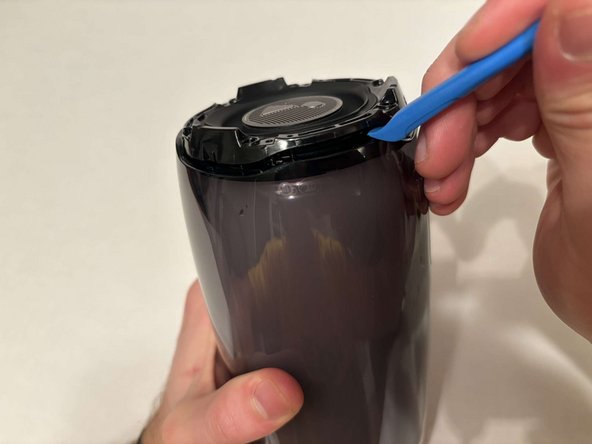
    • Flip the speaker to the other end.

    • Use a pry tool to pry between the casing of the speaker and the internals.

    • Go around the entirety of this end of the speaker slowly prying apart the two pieces.

  8. JBL Pulse 4 Drivers Replacement: crwdns2935265:08crwdnd2935265:01crwdnd2935265:01crwdne2935265:0
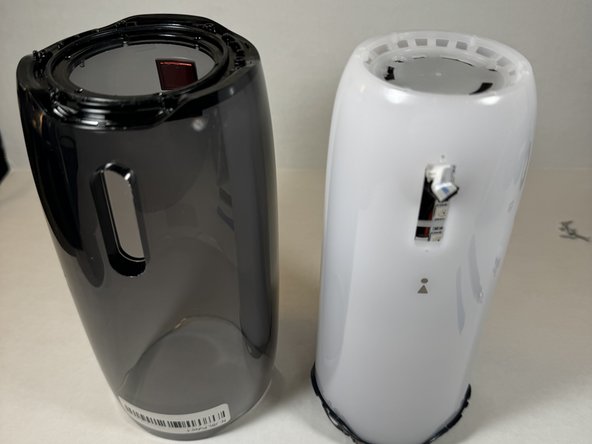
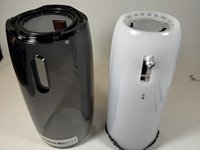
    • The casing is now fully detached from the internal components.

    • You can now replace the outer casing of the speaker.

  9. JBL Pulse 4 Drivers Replacement, LED Light Display: crwdns2935265:09crwdnd2935265:01crwdnd2935265:02crwdne2935265:0 JBL Pulse 4 Drivers Replacement, LED Light Display: crwdns2935265:09crwdnd2935265:02crwdnd2935265:02crwdne2935265:0
    • Place the speaker on the table with the button board side down.

    • Remove the three black 5 mm screws using a Phillips #1 screwdriver.

    • Remove the white casing by pulling it away from the button board.

  10. JBL Pulse 4 Drivers Replacement: crwdns2935265:010crwdnd2935265:01crwdnd2935265:01crwdne2935265:0
    • Clip off the two zip-ties using the zip tie cutter.

  11. JBL Pulse 4 Drivers Replacement: crwdns2935265:011crwdnd2935265:01crwdnd2935265:01crwdne2935265:0
    • Peel each LED strip off of the speaker using an iFixit opening pick.

  12. JBL Pulse 4 Drivers Replacement: crwdns2935265:012crwdnd2935265:01crwdnd2935265:02crwdne2935265:0 JBL Pulse 4 Drivers Replacement: crwdns2935265:012crwdnd2935265:02crwdnd2935265:02crwdne2935265:0
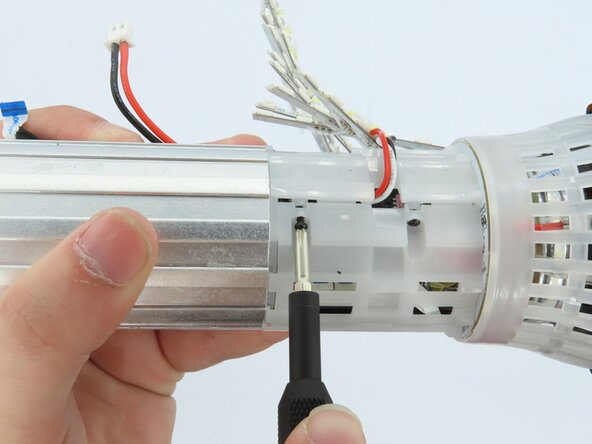
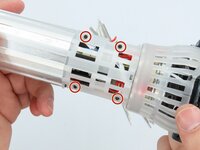
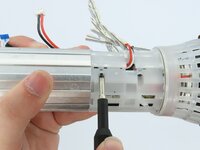
    • Remove the four black 5 mm screws using a Phillips #1 screwdriver.

    • Remove the white plastic piece that is held in place by the screws.

  13. JBL Pulse 4 Drivers Replacement: crwdns2935265:013crwdnd2935265:01crwdnd2935265:01crwdne2935265:0
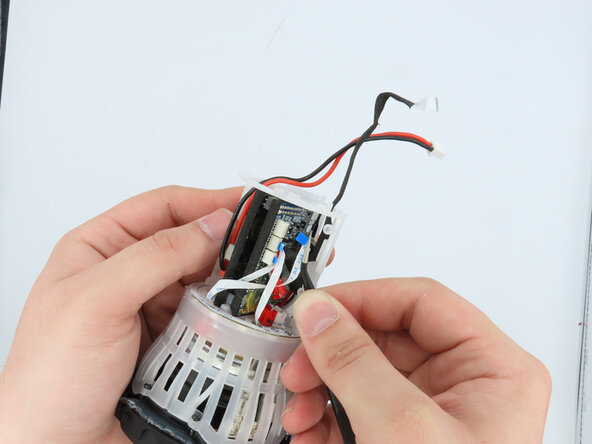
    • Remove the red/white cable from the white connection.

  14. JBL Pulse 4 Drivers Replacement: crwdns2935265:014crwdnd2935265:01crwdnd2935265:01crwdne2935265:0
    • Remove the LED light display from the speaker.

  15. JBL Pulse 4 Drivers Replacement, Battery: crwdns2935265:015crwdnd2935265:01crwdnd2935265:03crwdne2935265:0 JBL Pulse 4 Drivers Replacement, Battery: crwdns2935265:015crwdnd2935265:02crwdnd2935265:03crwdne2935265:0 JBL Pulse 4 Drivers Replacement, Battery: crwdns2935265:015crwdnd2935265:03crwdnd2935265:03crwdne2935265:0
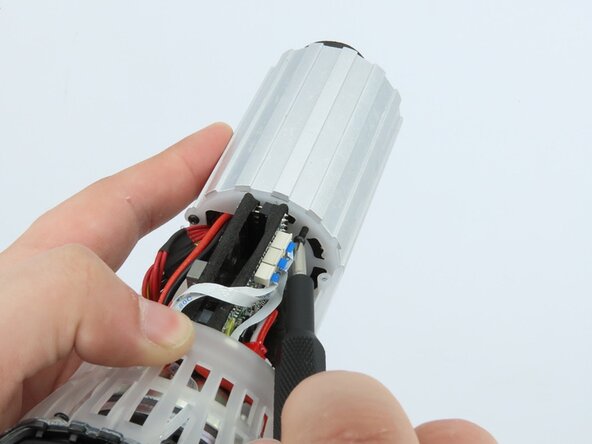
    • Remove the three black 5 mm screws using a Phillips #1 screwdriver.

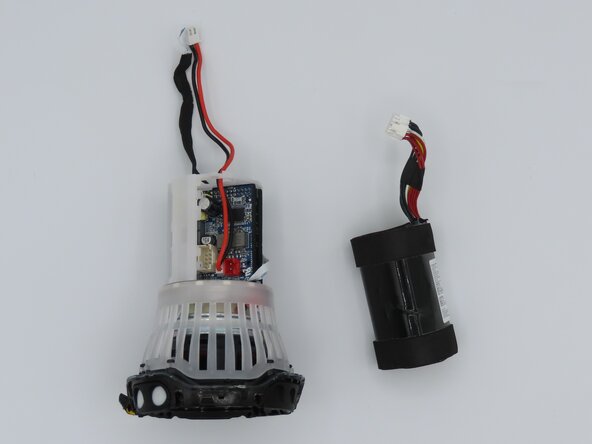
  16. JBL Pulse 4 Drivers Replacement: crwdns2935265:016crwdnd2935265:01crwdnd2935265:02crwdne2935265:0 JBL Pulse 4 Drivers Replacement: crwdns2935265:016crwdnd2935265:02crwdnd2935265:02crwdne2935265:0
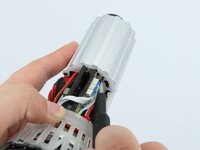
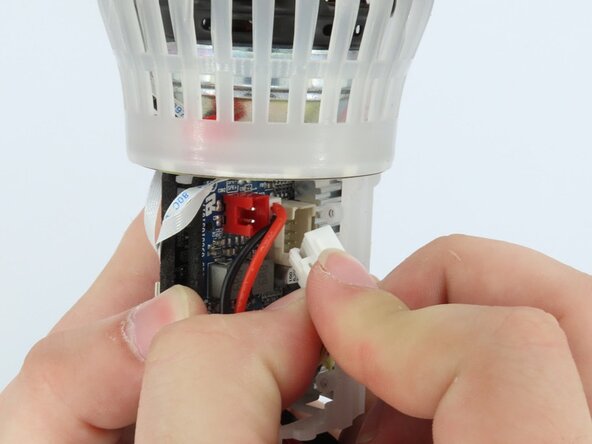
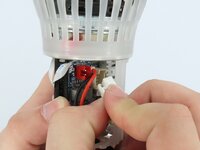
    • Unplug the cable connecting the battery to the motherboard.

  17. JBL Pulse 4 Drivers Replacement: crwdns2935265:017crwdnd2935265:01crwdnd2935265:02crwdne2935265:0 JBL Pulse 4 Drivers Replacement: crwdns2935265:017crwdnd2935265:02crwdnd2935265:02crwdne2935265:0
    • Feed the wire out of the central housing unit.

    • Pull the battery out of the central housing unit.

  18. JBL Pulse 4 Drivers Replacement, Button Board: crwdns2935265:018crwdnd2935265:01crwdnd2935265:01crwdne2935265:0
    • Cut the black cable off the motherboard using cutters to remove the button board.

  19. JBL Pulse 4 Drivers Replacement, Motherboard: crwdns2935265:019crwdnd2935265:01crwdnd2935265:02crwdne2935265:0 JBL Pulse 4 Drivers Replacement, Motherboard: crwdns2935265:019crwdnd2935265:02crwdnd2935265:02crwdne2935265:0
    crwdns2935267:0crwdne2935267:0
    Tweezers
    $4.99
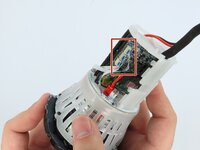
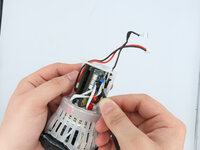
    • Using the tweezers, gently unplug the three connections attached to the motherboard.

  20. JBL Pulse 4 Drivers Replacement: crwdns2935265:020crwdnd2935265:01crwdnd2935265:03crwdne2935265:0 JBL Pulse 4 Drivers Replacement: crwdns2935265:020crwdnd2935265:02crwdnd2935265:03crwdne2935265:0 JBL Pulse 4 Drivers Replacement: crwdns2935265:020crwdnd2935265:03crwdnd2935265:03crwdne2935265:0
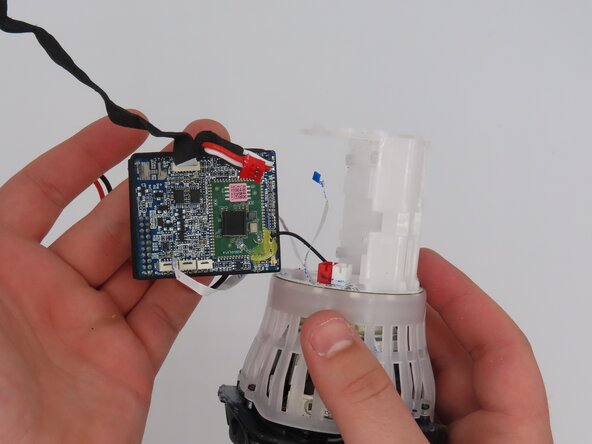
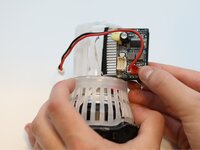
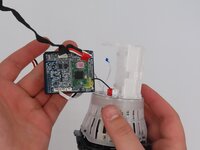
    • Pull the motherboard out of the frame.

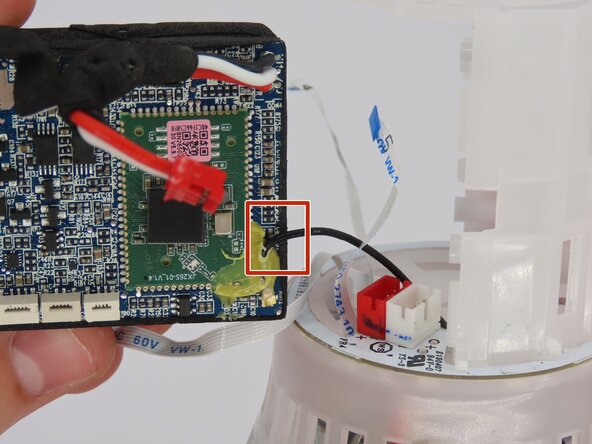
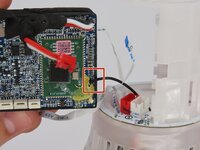
    • The only connection the motherboard has to the frame now should be the soldered-on black wire.

  21. JBL Pulse 4 Drivers Replacement: crwdns2935265:021crwdnd2935265:01crwdnd2935265:03crwdne2935265:0 JBL Pulse 4 Drivers Replacement: crwdns2935265:021crwdnd2935265:02crwdnd2935265:03crwdne2935265:0 JBL Pulse 4 Drivers Replacement: crwdns2935265:021crwdnd2935265:03crwdnd2935265:03crwdne2935265:0
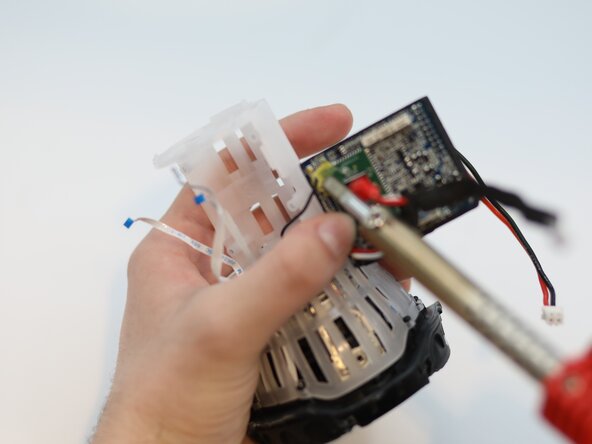
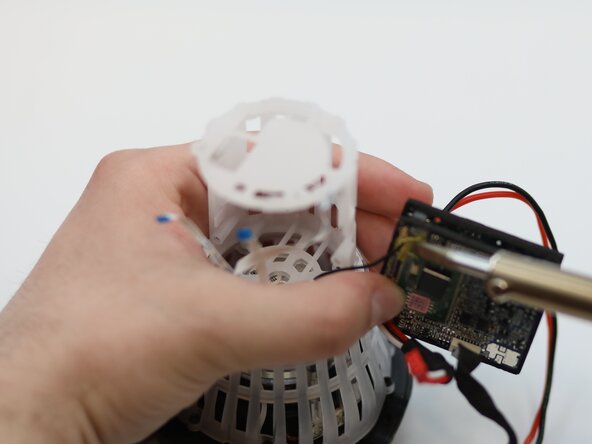
    • Desolder the wire from the motherboard.

    • Remove the motherboard from the speaker.

  22. JBL Pulse 4 Drivers Replacement, Drivers: crwdns2935265:022crwdnd2935265:01crwdnd2935265:02crwdne2935265:0 JBL Pulse 4 Drivers Replacement, Drivers: crwdns2935265:022crwdnd2935265:02crwdnd2935265:02crwdne2935265:0
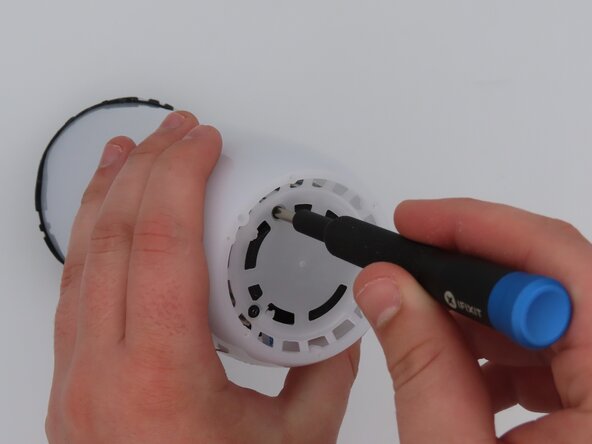
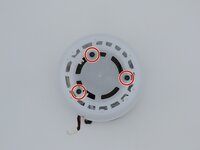
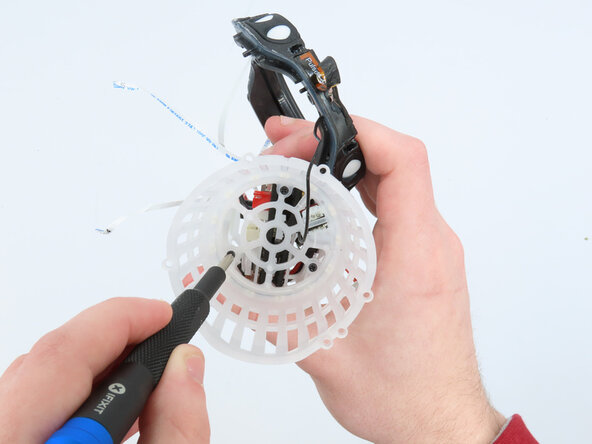
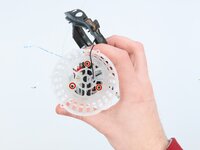
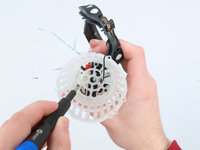
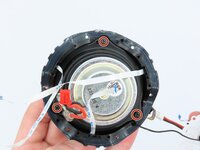
    • Use a Phillips #00 screwdriver to remove the three 5 mm screws securing the plastic housing.

    • Remove the bumper assembly.

  23. JBL Pulse 4 Drivers Replacement: crwdns2935265:023crwdnd2935265:01crwdnd2935265:01crwdne2935265:0
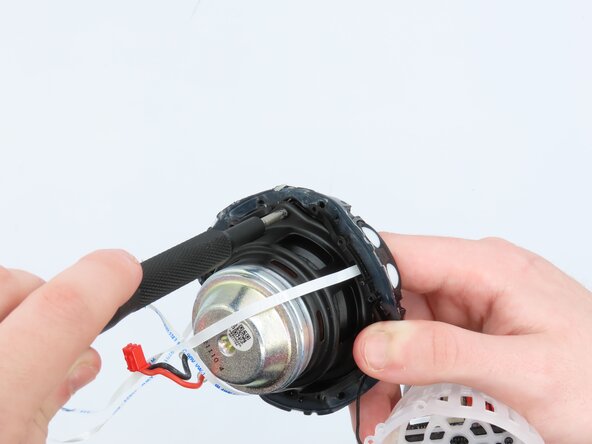
    • Pull the bumper assembly away from the rest of the speaker.

    • Caution: Be gentle with the attached wires to avoid damaging them. Do not disconnect the wires while separating the parts.

  24. JBL Pulse 4 Drivers Replacement: crwdns2935265:024crwdnd2935265:01crwdnd2935265:01crwdne2935265:0
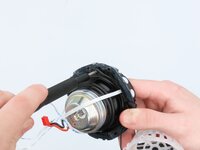
    • Disconnect the connector attached to the driver by gently pulling it apart.

    • Caution: Avoid pulling on the wires directly to prevent damage to the connector or internal wiring.

  25. JBL Pulse 4 Drivers Replacement: crwdns2935265:025crwdnd2935265:01crwdnd2935265:02crwdne2935265:0 JBL Pulse 4 Drivers Replacement: crwdns2935265:025crwdnd2935265:02crwdnd2935265:02crwdne2935265:0
    • Remove the driver from the plastic housing by gently pulling them apart.

    • Hold both the driver and housing firmly during this process.

    • Use a Phillips #00 screwdriver to remove any screws securing the driver, if necessary.

    • Caution: Avoid putting pressure on the driver or its connections to prevent damage.

crwdns2915888:0crwdne2915888:0

To reassemble your device, follow these instructions in reverse order.

Wesley Henderson

crwdns2935283:002/25/25crwdne2935283:0

109 crwdns2915208:0crwdne2915208:0

crwdns2935295:0crwdne2935295:0

crwdns2915084:0crwdne2915084:0

University of Kentucky, Team 1-6, Frey Spring 2025 crwdns2935289:0University of Kentucky, Team 1-6, Frey Spring 2025crwdne2935289:0

UKY-FREY-S25S1G6

crwdns2931471:05crwdne2931471:0

crwdns2935297:05crwdne2935297:0

crwdns2947412:00crwdne2947412:0

crwdns2917038:0crwdne2917038:0

crwdns2936625:0crwdne2936625:0:

crwdns2936751:024crwdne2936751:0 2

crwdns2936753:07crwdne2936753:0 9

crwdns2936753:030crwdne2936753:0 9

crwdns2942667:0crwdne2942667:0 65