crwdns2915892:0crwdne2915892:0
Welcome to the JBL charging port replacement guide by IFIXIT. If you're experiencing issues with your JBL speaker not charging properly or not holding a charge, a faulty charging port could be the culprit.
Before you begin, ensure you have the necessary tools and a replacement charging port compatible with your JBL speaker model. This repair may require precision and patience, so take your time and follow each step carefully.
Remember to power off your JBL speaker and disconnect it from any power source before starting the repair. Additionally, be cautious of small parts and delicate components during the disassembly process.
By following this guide, you'll be able to successfully replace the charging port on your JBL speaker and restore its functionality. Let's get started!
crwdns2942213:0crwdne2942213:0
-
-
Power off JBL Pulse 4 before starting any repairs.
-
Hold the power button for 3 plus seconds to power down the device.
-
-
-
Remove each rubber end cap using an plastic pry tool.
-
Go around each end of the speaker slowly popping up a small section of the rubber cap at a time until there is a gap on all sides.
-
The cap can be easily removed by hand.
-
-
-
-
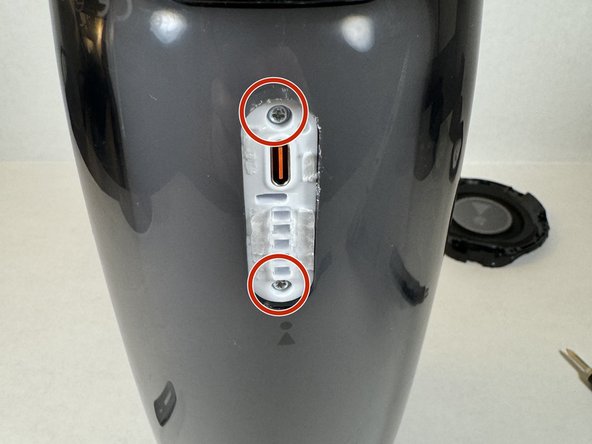
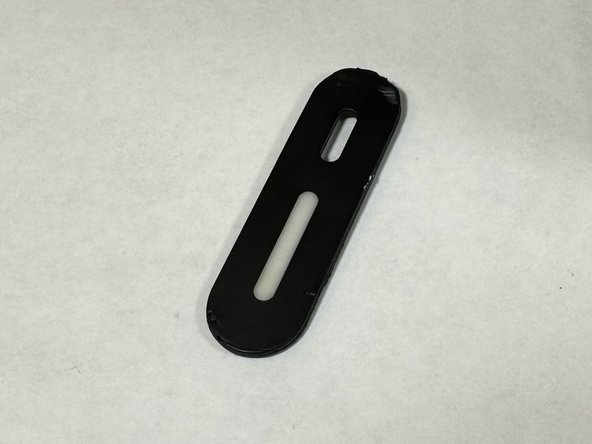
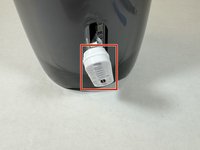
Carefully remove the charging port cover using a plastic pry tool.
-
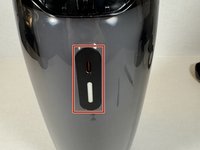
Remove the two Phillips head screws.
-
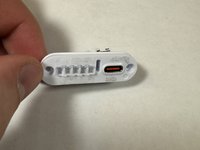
The charging port assembly will be revealed.
-
-
-
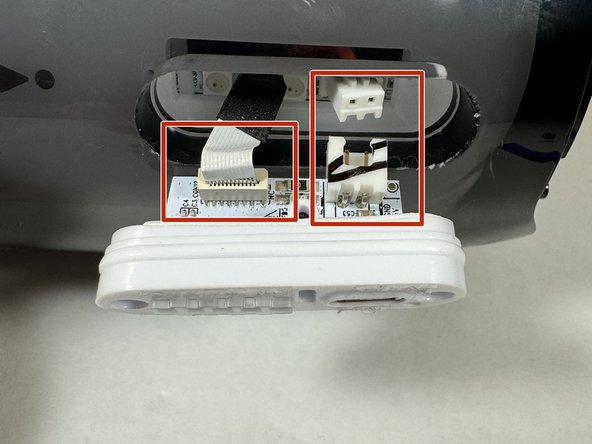
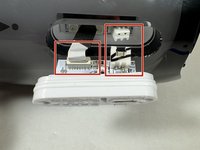
Pull the charging port assembly out of the casing.
-
Carefully disconnect the two wires attached to the assembly.
-
-
-
Now you can reassemble the speaker reversing the steps provided to take it apart.
-


To reassemble your device, follow these instructions in reverse order.
To reassemble your device, follow these instructions in reverse order.

crwdns2915084:0crwdne2915084:0

UMass Dartmouth, Team 2-2, Konn Spring 2024 crwdns2935289:0UMass Dartmouth, Team 2-2, Konn Spring 2024crwdne2935289:0
UMASSD-KONN-S24S2G2
crwdns2931471:04crwdne2931471:0
crwdns2935297:02crwdne2935297:0