crwdns2915892:0crwdne2915892:0
Your favorite tunes suddenly silenced? That telltale flicker and fade from your JBL Pulse 4 likely signals a dying battery. Before relegating it to the electronics graveyard, consider a simple battery replacement. This guide will walk you through the process, step-by-step, enabling you to revive your speaker and get the music flowing again. With a few basic tools and a little patience, you can extend the life of your device and save yourself the cost of a replacement.
crwdns2942213:0crwdne2942213:0
-
-
Power off the device before doing any repairs.
-
Hold the power button for 3+ seconds to power down the device.
-
-
-
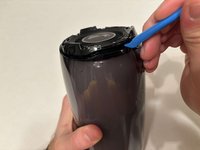
Remove each rubber end cap using a plastic pry tool.
-
Go around each end of the speaker slowly popping up a small section of the rubber cap until there is a gap on all sides.
-
Remove the top by hand.
-
-
-
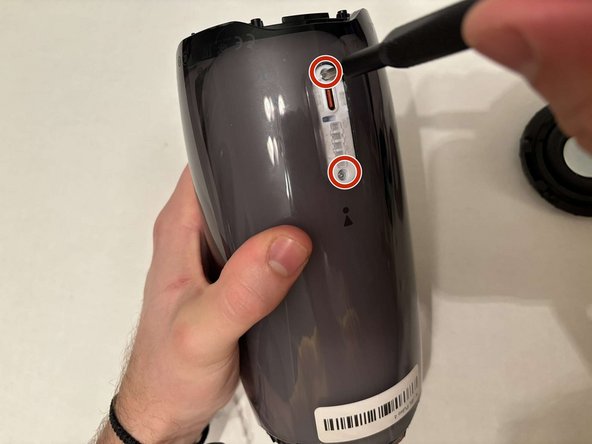
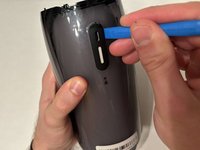
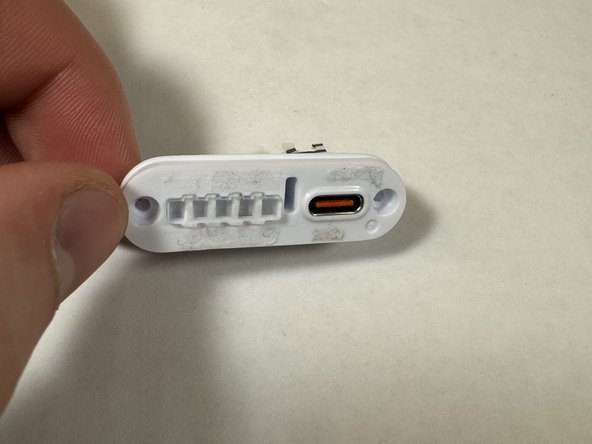
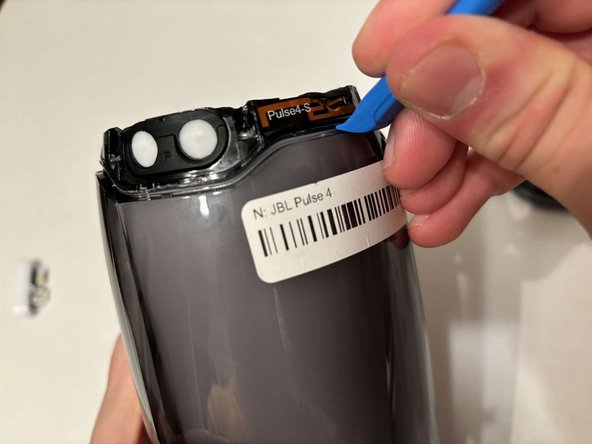
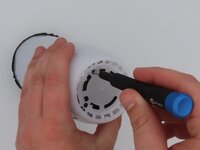
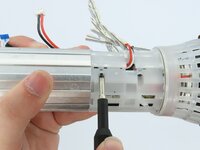
Remove the charging port cover using a plastic pry tool.
-
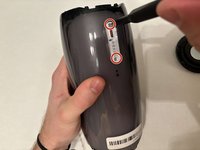
Remove the two 12.7 mm Phillips #1 screws.
-
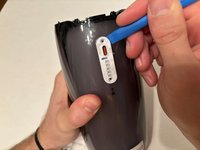
Remove the charging port housing from the casing.
-
-
-
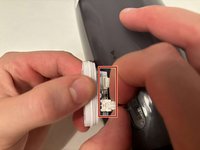
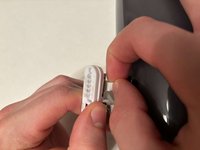
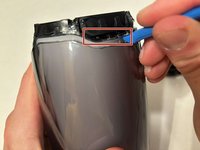
Disconnect the charging port connector by pulling the connector away from the port.
-
Disconnect the battery level indicator light by pulling the wire away from the lights.
-
-
-
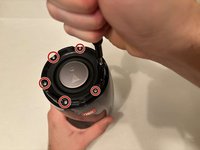
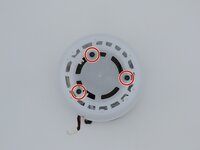
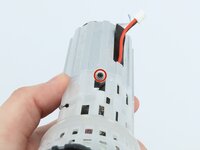
Remove the six 8 mm Phillips #1 screws from the end of the speaker with the grill that says "JBL."
-
Remove the plastic piece where the 6 screws came out of.
-
-
-
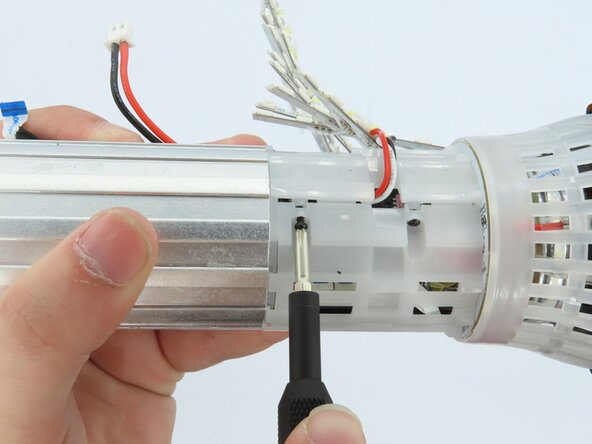
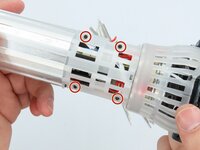
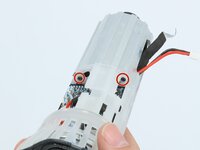
Remove the six 9.5 mm screws using a Phillips #1 screwdriver.
-
-
-
-
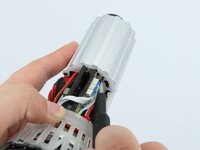
Flip the speaker to the other end.
-
Use a pry tool to pry between the casing of the speaker and the internals.
-
Go around the entirety of this end of the speaker slowly prying apart the two pieces.
-
-
-
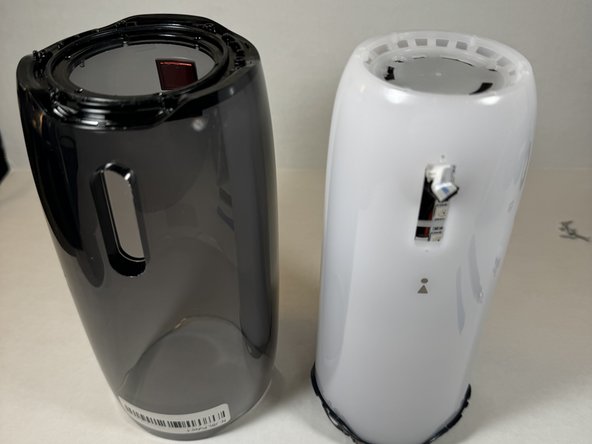
The casing is now fully detached from the internal components.
-
You can now replace the outer casing of the speaker.
-
-
-
Place the speaker on the table with the button board side down.
-
Remove the three black 5 mm screws using a Phillips #1 screwdriver.
-
Remove the white casing by pulling it away from the button board.
-
-
-
Clip off the two zip-ties using the zip tie cutter.
-
-
-
Peel each LED strip off of the speaker using an iFixit opening pick.
-
-
-
Remove the four black 5 mm screws using a Phillips #1 screwdriver.
-
Remove the white plastic piece that is held in place by the screws.
-
-
-
Remove the red/white cable from the white connection.
-
-
-
Remove the LED light display from the speaker.
-
-
-
Remove the three black 5 mm screws using a Phillips #1 screwdriver.
-
-
-
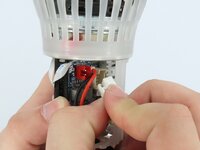
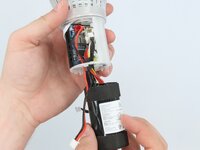
Unplug the cable connecting the battery to the motherboard.
-
-
-
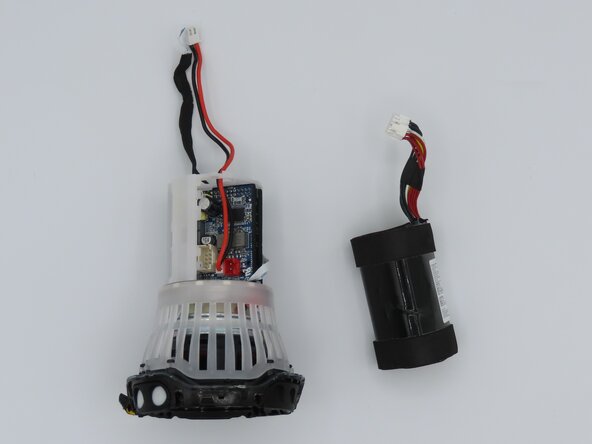
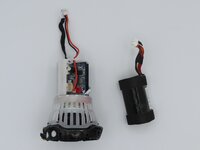
Feed the wire out of the central housing unit.
-
Pull the battery out of the central housing unit.
-


To reassemble your device, follow these instructions in reverse order.
crwdns2935287:0crwdne2935287:0

University of Kentucky, Team 1-6, Frey Spring 2025 crwdns2935289:0University of Kentucky, Team 1-6, Frey Spring 2025crwdne2935289:0
UKY-FREY-S25S1G6
crwdns2931471:05crwdne2931471:0
crwdns2935297:05crwdne2935297:0