crwdns2933423:0crwdne2933423:0

JBL Flip 5 Charging Port Replacement

crwdns2942213:0crwdne2942213:0

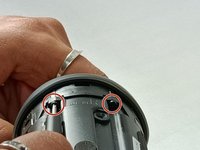
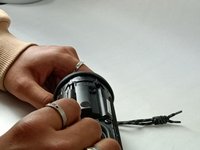
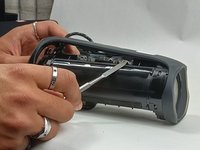
  1. JBL Flip 5 Charging Port Replacement, Outer Case: crwdns2935265:01crwdnd2935265:01crwdnd2935265:02crwdne2935265:0 JBL Flip 5 Charging Port Replacement, Outer Case: crwdns2935265:01crwdnd2935265:02crwdnd2935265:02crwdne2935265:0
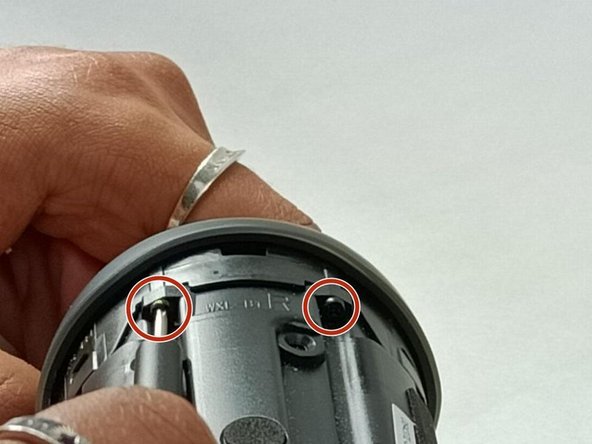
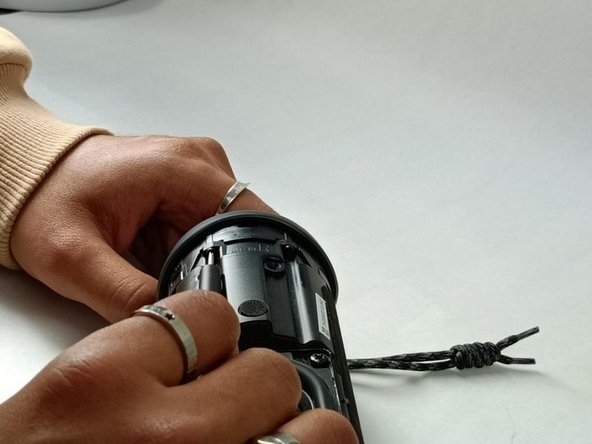
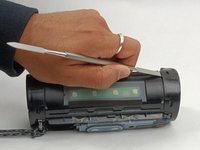
    • Insert the flat edge of the metal spudger underneath the corner of the outer case.

    • Use the spudger to pry open the plastic clips that secure the outer case.

  2. JBL Flip 5 Charging Port Replacement: crwdns2935265:02crwdnd2935265:01crwdnd2935265:01crwdne2935265:0
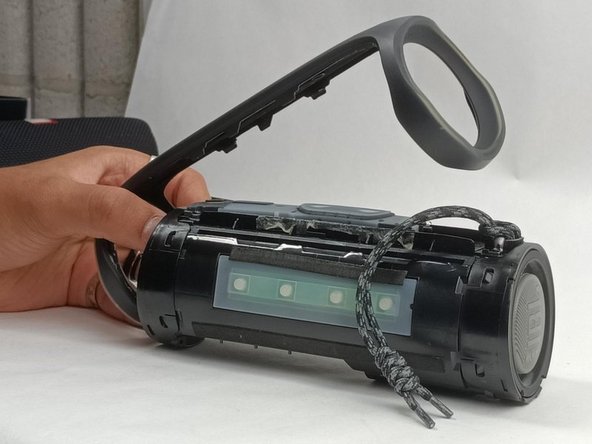
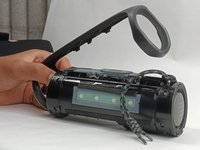
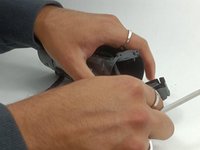
    • Once all the clips are released, you will be able to pull up that edge of the case.

  3. JBL Flip 5 Charging Port Replacement: crwdns2935265:03crwdnd2935265:01crwdnd2935265:01crwdne2935265:0
    • Once one side is released, complete the previous two steps with the other side.

    • This side contains the buttons, so be careful so as to not damage them while prying the case off.

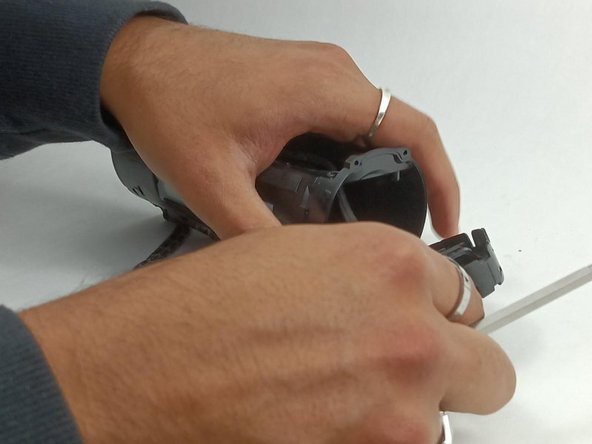
  4. JBL Flip 5 Charging Port Replacement: crwdns2935265:04crwdnd2935265:01crwdnd2935265:02crwdne2935265:0 JBL Flip 5 Charging Port Replacement: crwdns2935265:04crwdnd2935265:02crwdnd2935265:02crwdne2935265:0
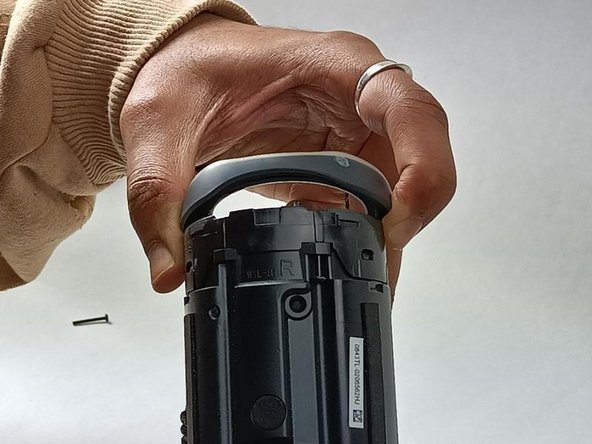
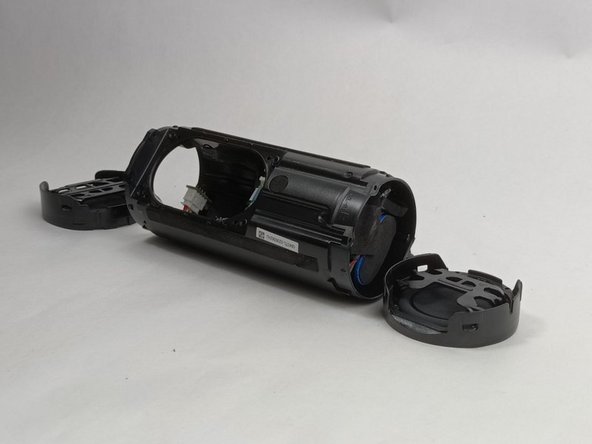
    • Once all the clips are removed, you can gently remove the outer case.

    • The case is now fully removed. Now a new case will be attached by putting the case into position and pushing on the clips to reattach them.

  5. JBL Flip 5 Charging Port Replacement, Charging Port: crwdns2935265:05crwdnd2935265:01crwdnd2935265:03crwdne2935265:0 JBL Flip 5 Charging Port Replacement, Charging Port: crwdns2935265:05crwdnd2935265:02crwdnd2935265:03crwdne2935265:0 JBL Flip 5 Charging Port Replacement, Charging Port: crwdns2935265:05crwdnd2935265:03crwdnd2935265:03crwdne2935265:0
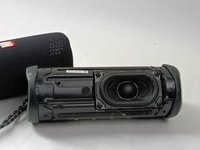
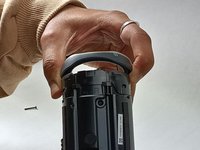
    • The first picture is for reference. That is the part that will be removed.

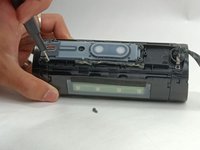
    • Use a Phillips screwdriver to remove the four 17mm-long screws securing the passive radiator bracket.

  6. JBL Flip 5 Charging Port Replacement: crwdns2935265:06crwdnd2935265:01crwdnd2935265:03crwdne2935265:0 JBL Flip 5 Charging Port Replacement: crwdns2935265:06crwdnd2935265:02crwdnd2935265:03crwdne2935265:0 JBL Flip 5 Charging Port Replacement: crwdns2935265:06crwdnd2935265:03crwdnd2935265:03crwdne2935265:0
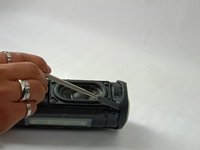
    • Once the screws are removed, use the metal spudger to remove the passive radiator bracket.

    • Set the radiator bracket aside.

  7. JBL Flip 5 Charging Port Replacement: crwdns2935265:07crwdnd2935265:01crwdnd2935265:03crwdne2935265:0 JBL Flip 5 Charging Port Replacement: crwdns2935265:07crwdnd2935265:02crwdnd2935265:03crwdne2935265:0 JBL Flip 5 Charging Port Replacement: crwdns2935265:07crwdnd2935265:03crwdnd2935265:03crwdne2935265:0
    • Now you must remove the passive radiator.

    • Use the metal spudger to pry upwards to remove the plastic clips holding the passive radiator down.

    • Once the clips are removed, you can pull both of the passive radiators off

  8. JBL Flip 5 Charging Port Replacement: crwdns2935265:08crwdnd2935265:01crwdnd2935265:02crwdne2935265:0 JBL Flip 5 Charging Port Replacement: crwdns2935265:08crwdnd2935265:02crwdnd2935265:02crwdne2935265:0
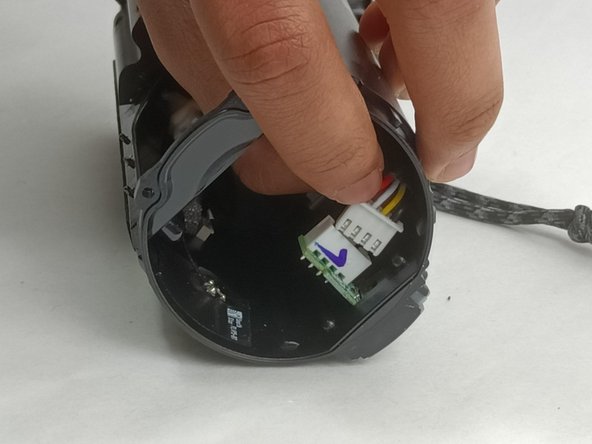
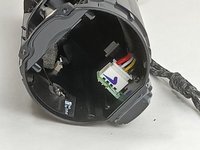
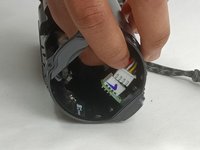
    • Focus on the side of the speaker where the charging port is located and inspect where the passive radiator was before it was removed.

    • Use your hands to unplug the charging cable that connects the charging port to the motherboard.

    • You can use a plastic spudger to assist if necessary.

  9. JBL Flip 5 Charging Port Replacement: crwdns2935265:09crwdnd2935265:01crwdnd2935265:02crwdne2935265:0 JBL Flip 5 Charging Port Replacement: crwdns2935265:09crwdnd2935265:02crwdnd2935265:02crwdne2935265:0
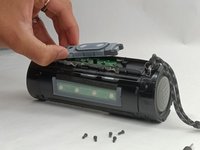
    • Unfasten the four 6 mm-long screws on the component that sits over the charging port.

    • Remove this piece with your hands.

  10. JBL Flip 5 Charging Port Replacement: crwdns2935265:010crwdnd2935265:01crwdnd2935265:03crwdne2935265:0 JBL Flip 5 Charging Port Replacement: crwdns2935265:010crwdnd2935265:02crwdnd2935265:03crwdne2935265:0 JBL Flip 5 Charging Port Replacement: crwdns2935265:010crwdnd2935265:03crwdnd2935265:03crwdne2935265:0
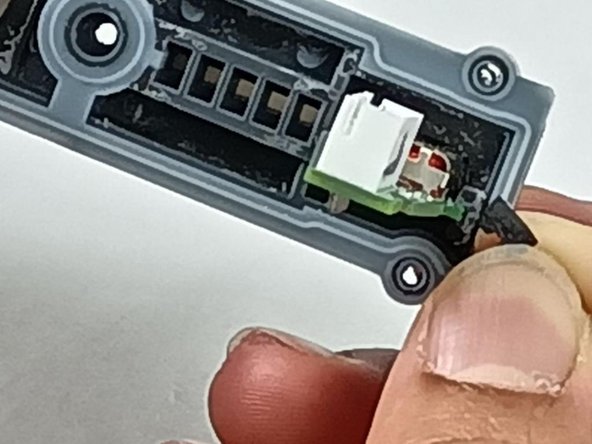
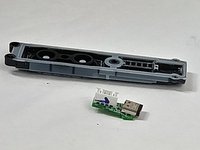
    • There will be two tape like plastic pieces that hold the charging port's circuit in place.

    • Pull these pieces off and you will be able to pull the charging port and its circuit out.

crwdns2915888:0crwdne2915888:0

To reassemble your device, follow these instructions in reverse order.

Kevin Barbosa

crwdns2935283:010/30/23crwdne2935283:0

133 crwdns2915208:0crwdne2915208:0

crwdns2935295:0crwdne2935295:0

crwdns2915084:0crwdne2915084:0

UMass Dartmouth, Team 3-5, Konn Fall 2023 crwdns2935289:0UMass Dartmouth, Team 3-5, Konn Fall 2023crwdne2935289:0

UMASSD-KONN-F23S3G5

crwdns2931471:04crwdne2931471:0

crwdns2935297:05crwdne2935297:0

crwdns2944067:00crwdne2944067:0

crwdns2917038:0crwdne2917038:0

crwdns2936625:0crwdne2936625:0:

crwdns2936751:024crwdne2936751:0 3

crwdns2936753:07crwdne2936753:0 9

crwdns2936753:030crwdne2936753:0 64

crwdns2942667:0crwdne2942667:0 227