crwdns2933423:0crwdne2933423:0

JBL Charge 4 Motherboard Replacement

crwdns2942213:0crwdne2942213:0

  1. JBL Charge 4 Motherboard Replacement, Speaker Grill: crwdns2935265:01crwdnd2935265:01crwdnd2935265:01crwdne2935265:0
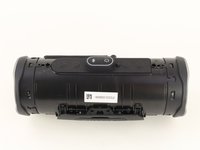
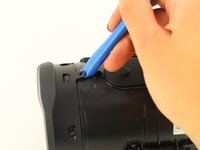
    • Flip your speaker over and insert the plastic opening tool into the slit on the grille.

    • Pry away from yourself towards the back of the speaker to release the clip.

    • Repeat this process for the clip on the other side.

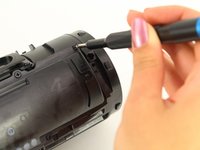
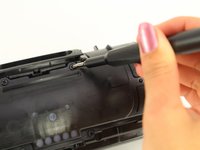
  2. JBL Charge 4 Motherboard Replacement: crwdns2935265:02crwdnd2935265:01crwdnd2935265:02crwdne2935265:0 JBL Charge 4 Motherboard Replacement: crwdns2935265:02crwdnd2935265:02crwdnd2935265:02crwdne2935265:0
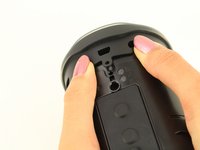
    • Remove the two 8mm Phillips #0 screws from the other edge of the grille.

  3. JBL Charge 4 Motherboard Replacement: crwdns2935265:03crwdnd2935265:01crwdnd2935265:01crwdne2935265:0
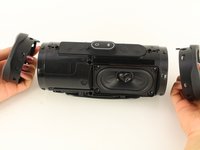
    • Pull apart both sides of the grille.

    • Lift the cover off of the speaker.

  4. JBL Charge 4 Motherboard Replacement, Passive Bass Radiators: crwdns2935265:04crwdnd2935265:01crwdnd2935265:02crwdne2935265:0 JBL Charge 4 Motherboard Replacement, Passive Bass Radiators: crwdns2935265:04crwdnd2935265:02crwdnd2935265:02crwdne2935265:0
    • Using the plastic opening tool, lift the tab on top of the speaker to release the radiator from the clips.

    • Repeat this process on the other clips around the radiator to release it from the frame.

  5. JBL Charge 4 Motherboard Replacement: crwdns2935265:05crwdnd2935265:01crwdnd2935265:02crwdne2935265:0 JBL Charge 4 Motherboard Replacement: crwdns2935265:05crwdnd2935265:02crwdnd2935265:02crwdne2935265:0
    • Push the radiator off of the frame of the device.

    • Repeat on the other side.

    • The passive bass radiators seal out water from inside the device. Removing them multiple times may compromise the waterproof nature of the speaker.

  6. JBL Charge 4 Motherboard Replacement, Battery: crwdns2935265:06crwdnd2935265:01crwdnd2935265:02crwdne2935265:0 JBL Charge 4 Motherboard Replacement, Battery: crwdns2935265:06crwdnd2935265:02crwdnd2935265:02crwdne2935265:0
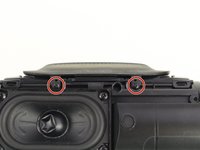
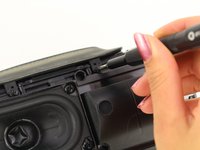
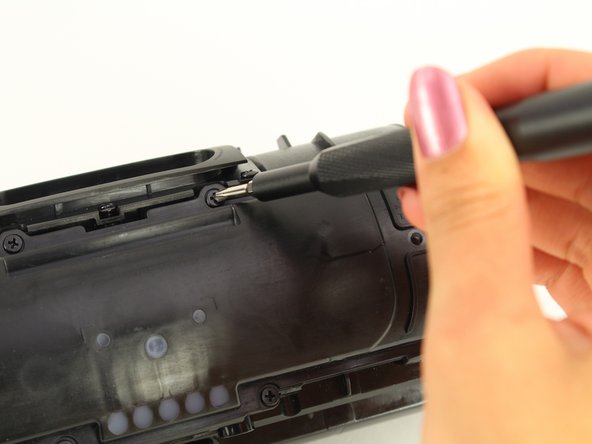
    • Remove the two 6mm Phillips #0 screws on the front side of the port bay cover.

  7. JBL Charge 4 Motherboard Replacement: crwdns2935265:07crwdnd2935265:01crwdnd2935265:01crwdne2935265:0
    • Gently slide the cover back and off the hooks.

    • Remove the port bay cover.

  8. JBL Charge 4 Motherboard Replacement: crwdns2935265:08crwdnd2935265:01crwdnd2935265:03crwdne2935265:0 JBL Charge 4 Motherboard Replacement: crwdns2935265:08crwdnd2935265:02crwdnd2935265:03crwdne2935265:0 JBL Charge 4 Motherboard Replacement: crwdns2935265:08crwdnd2935265:03crwdnd2935265:03crwdne2935265:0
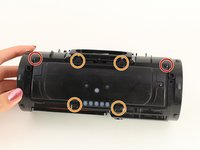
    • Remove the two 6mm Phillips #0 screws.

    • Remove the four 8mm Phillips #0 screws.

  9. JBL Charge 4 Motherboard Replacement: crwdns2935265:09crwdnd2935265:01crwdnd2935265:01crwdne2935265:0
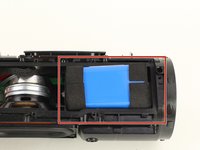
    • Lift up the battery cover.

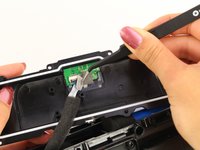
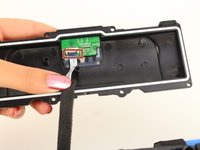
  10. JBL Charge 4 Motherboard Replacement: crwdns2935265:010crwdnd2935265:01crwdnd2935265:03crwdne2935265:0 JBL Charge 4 Motherboard Replacement: crwdns2935265:010crwdnd2935265:02crwdnd2935265:03crwdne2935265:0 JBL Charge 4 Motherboard Replacement: crwdns2935265:010crwdnd2935265:03crwdnd2935265:03crwdne2935265:0
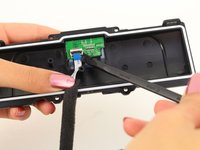
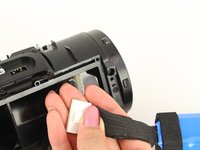
    • Remove the sticky tape to expose the white ribbon cable ZIF connector.

    • Flip up the black locking flap on the ZIF connector with the tip of a spudger or your fingernail to release the cable.

    • Remove the white ribbon cable from the battery cover and place the cover to the side.

  11. JBL Charge 4 Motherboard Replacement: crwdns2935265:011crwdnd2935265:01crwdnd2935265:02crwdne2935265:0 JBL Charge 4 Motherboard Replacement: crwdns2935265:011crwdnd2935265:02crwdnd2935265:02crwdne2935265:0
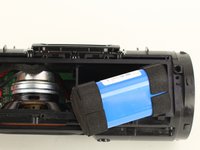
    • Remove the battery from the battery socket by gently pulling on it.

  12. JBL Charge 4 Motherboard Replacement: crwdns2935265:012crwdnd2935265:01crwdnd2935265:03crwdne2935265:0 JBL Charge 4 Motherboard Replacement: crwdns2935265:012crwdnd2935265:02crwdnd2935265:03crwdne2935265:0 JBL Charge 4 Motherboard Replacement: crwdns2935265:012crwdnd2935265:03crwdnd2935265:03crwdne2935265:0
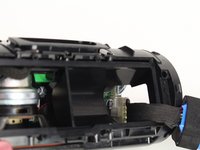
    • Pull out the battery enough to expose the battery's wire connector.

    • Push down on the white tab and gently pull out the battery-device connector.

  13. JBL Charge 4 Motherboard Replacement, Speaker: crwdns2935265:013crwdnd2935265:01crwdnd2935265:02crwdne2935265:0 JBL Charge 4 Motherboard Replacement, Speaker: crwdns2935265:013crwdnd2935265:02crwdnd2935265:02crwdne2935265:0
    • Flip the device so that the speaker faces you.

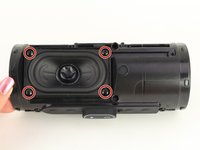
    • Remove the four 8mm Phillips #1 screws.

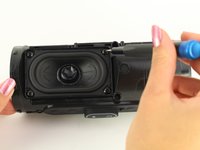
  14. JBL Charge 4 Motherboard Replacement: crwdns2935265:014crwdnd2935265:01crwdnd2935265:01crwdne2935265:0
    • Gently pull out the speaker.

  15. JBL Charge 4 Motherboard Replacement: crwdns2935265:015crwdnd2935265:01crwdnd2935265:02crwdne2935265:0 JBL Charge 4 Motherboard Replacement: crwdns2935265:015crwdnd2935265:02crwdnd2935265:02crwdne2935265:0
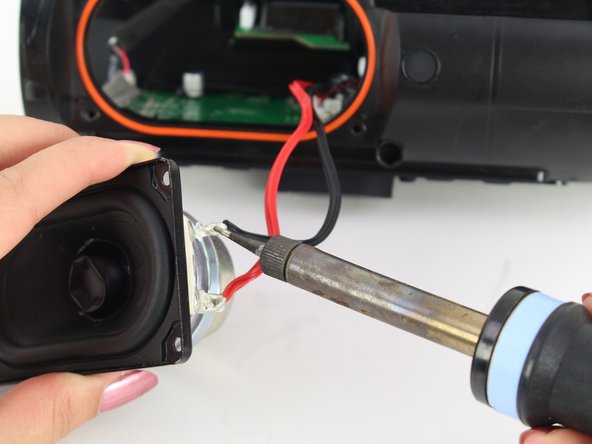
    • Desolder the red and black wires.

    • A guide for soldering and desoldering can be found here.

  16. JBL Charge 4 Motherboard Replacement, Motherboard: crwdns2935265:016crwdnd2935265:01crwdnd2935265:03crwdne2935265:0 JBL Charge 4 Motherboard Replacement, Motherboard: crwdns2935265:016crwdnd2935265:02crwdnd2935265:03crwdne2935265:0 JBL Charge 4 Motherboard Replacement, Motherboard: crwdns2935265:016crwdnd2935265:03crwdnd2935265:03crwdne2935265:0
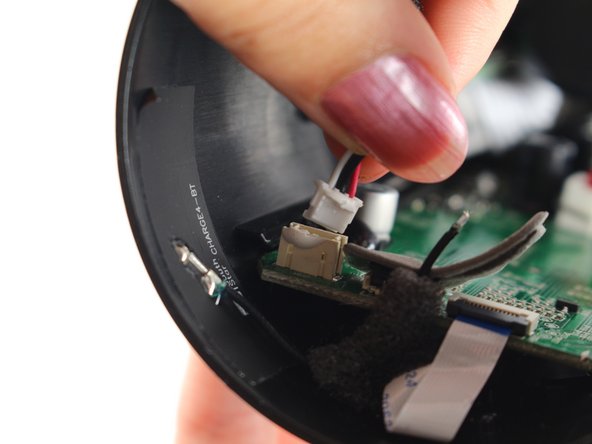
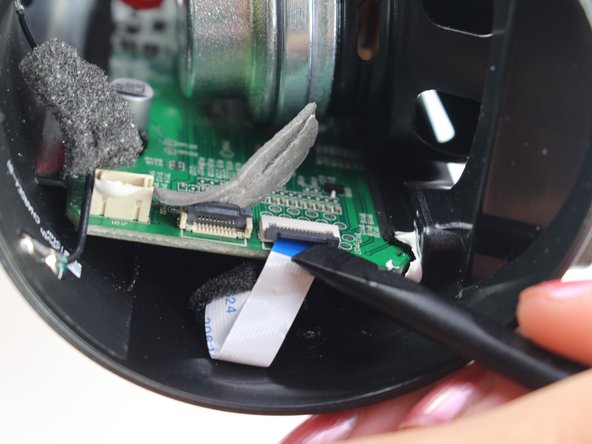
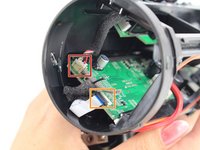
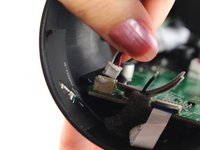
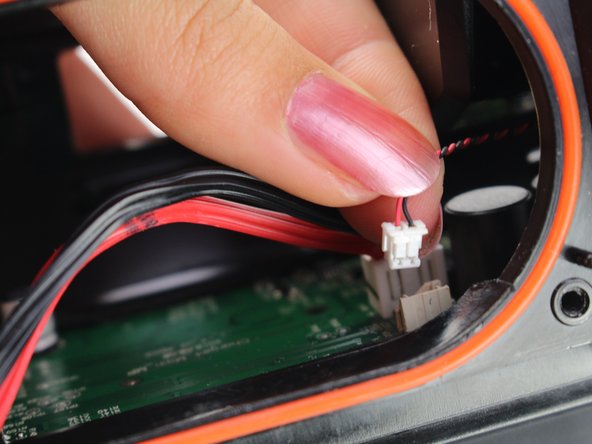
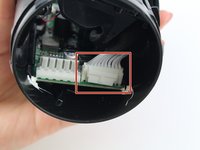
    • Remove the wire harness coming from the port bay on the left side of the motherboard by gently lifting the connector from its housing.

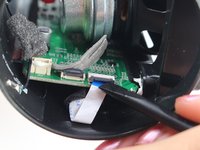
    • Remove the white ribbon cable from the ZIF connector by lifting the black locking flap on the connector with a spudger or your fingernail.

  17. JBL Charge 4 Motherboard Replacement: crwdns2935265:017crwdnd2935265:01crwdnd2935265:02crwdne2935265:0 JBL Charge 4 Motherboard Replacement: crwdns2935265:017crwdnd2935265:02crwdnd2935265:02crwdne2935265:0
    • Remove the ground cable harness next to the speaker wire by gentling pulling it from the connector.

  18. JBL Charge 4 Motherboard Replacement: crwdns2935265:018crwdnd2935265:01crwdnd2935265:02crwdne2935265:0 JBL Charge 4 Motherboard Replacement: crwdns2935265:018crwdnd2935265:02crwdnd2935265:02crwdne2935265:0
    • Flip the speaker around to the other side.

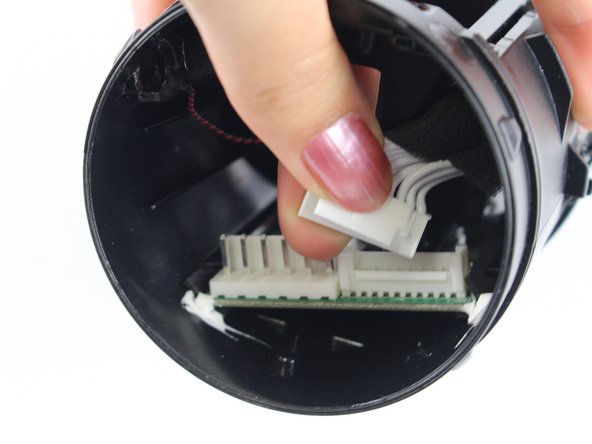
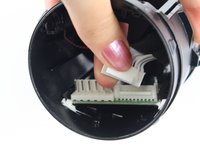
    • Remove the wiring harness leading to the port bay by pressing down on the tab and gently pulling the harness from the connector.

  19. JBL Charge 4 Motherboard Replacement: crwdns2935265:019crwdnd2935265:01crwdnd2935265:03crwdne2935265:0 JBL Charge 4 Motherboard Replacement: crwdns2935265:019crwdnd2935265:02crwdnd2935265:03crwdne2935265:0 JBL Charge 4 Motherboard Replacement: crwdns2935265:019crwdnd2935265:03crwdnd2935265:03crwdne2935265:0
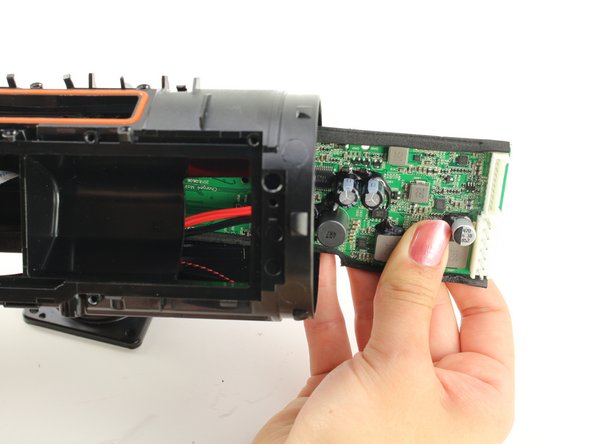
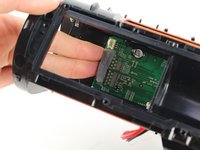
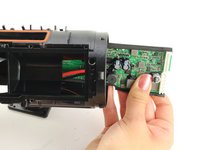
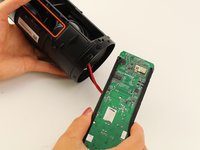
    • Push the motherboard from either side of the housing along its tracks.

    • Pull out the motherboard from the speaker housing.

    • When putting the motherboard back in the housing, ensure that it is between the two tracks on the top side of the speaker.

crwdns2915888:0crwdne2915888:0

To reassemble your device, follow these instructions in reverse order.

crwdns2935229:011crwdne2935229:0

Zachary Colwell

crwdns2935283:001/24/19crwdne2935283:0

1,929 crwdns2915208:0crwdne2915208:0

crwdns2935297:05crwdne2935297:0

crwdns2915084:0crwdne2915084:0

Cal Poly, Team S1-G1, White Winter 2019 crwdns2935289:0Cal Poly, Team S1-G1, White Winter 2019crwdne2935289:0

CPSU-WHITE-W19S1G1

crwdns2931471:04crwdne2931471:0

crwdns2935297:026crwdne2935297:0

crwdns2944067:04crwdne2944067:0

Where i could buy a replacement motherboard for jbl charge 4?thank you.

bbt8mikael_06 - crwdns2934203:0crwdne2934203:0

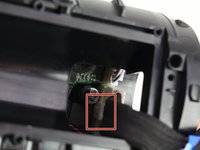
This guide has a vital flaw. Just look at the loose wire cause by a broken solder in image 16!

PAJ 101 - crwdns2934203:0crwdne2934203:0

that's the antenna cable which was pulled out of the connector. The step of popping the antenna connector out is missing.

Dan Glogoveanu -

from where i buy or replace the motherboard of jbl charge 4?

Aman Bisht - crwdns2934203:0crwdne2934203:0

crwdns2917038:0crwdne2917038:0

crwdns2936625:0crwdne2936625:0:

crwdns2936751:024crwdne2936751:0 6

crwdns2936753:07crwdne2936753:0 48

crwdns2936753:030crwdne2936753:0 208

crwdns2942667:0crwdne2942667:0 12,525