crwdns2915892:0crwdne2915892:0
The motherboard is responsible for making sure all of the parts in the speaker work together. It is also responsible for Bluetooth functionality and contains all the connectors for the different parts. This guide will show you how to replace the motherboard in the event that it fails and none of the parts in your speaker are functioning properly.
crwdns2942213:0crwdne2942213:0
-
-
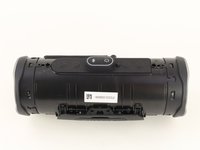
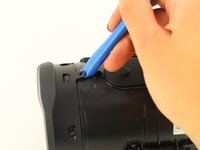
Flip your speaker over and insert the plastic opening tool into the slit on the grille.
-
Pry away from yourself towards the back of the speaker to release the clip.
-
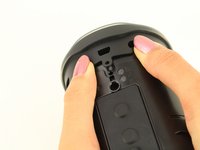
Repeat this process for the clip on the other side.
-
-
-
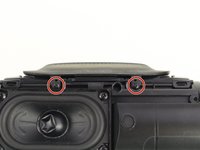
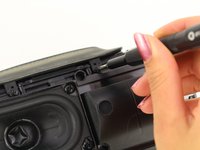
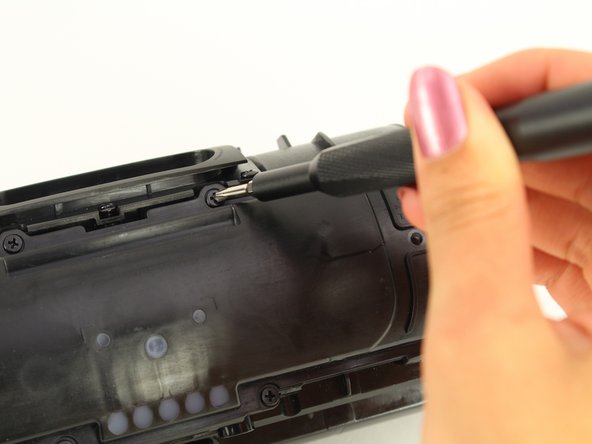
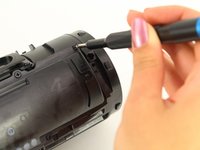
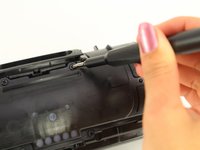
Remove the two 8mm Phillips #0 screws from the other edge of the grille.
-
-
-
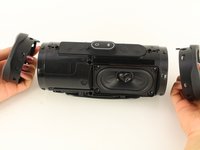
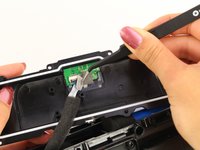
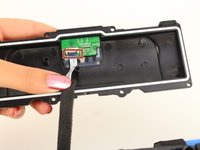
Pull apart both sides of the grille.
-
Lift the cover off of the speaker.
-
-
-
Using the plastic opening tool, lift the tab on top of the speaker to release the radiator from the clips.
-
Repeat this process on the other clips around the radiator to release it from the frame.
-
-
-
Push the radiator off of the frame of the device.
-
Repeat on the other side.
-
-
-
Remove the two 6mm Phillips #0 screws on the front side of the port bay cover.
-
-
-
Gently slide the cover back and off the hooks.
-
Remove the port bay cover.
-
-
-
-
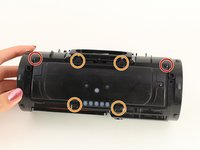
Remove the two 6mm Phillips #0 screws.
-
Remove the four 8mm Phillips #0 screws.
-
-
-
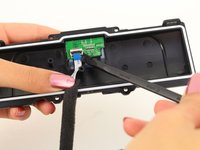
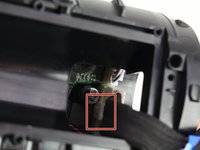
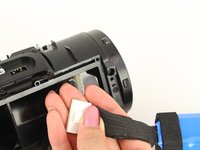
Remove the sticky tape to expose the white ribbon cable ZIF connector.
-
Flip up the black locking flap on the ZIF connector with the tip of a spudger or your fingernail to release the cable.
-
Remove the white ribbon cable from the battery cover and place the cover to the side.
-
-
-
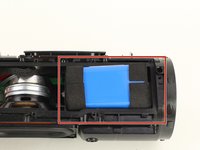
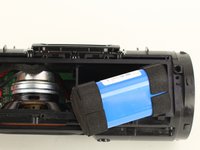
Remove the battery from the battery socket by gently pulling on it.
-
-
-
Pull out the battery enough to expose the battery's wire connector.
-
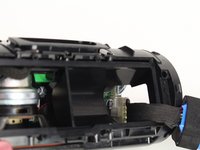
Push down on the white tab and gently pull out the battery-device connector.
-
-
-
Flip the device so that the speaker faces you.
-
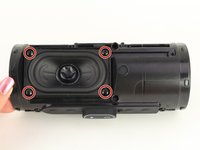
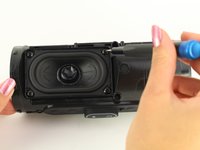
Remove the four 8mm Phillips #1 screws.
-
-
-
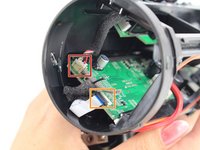
Remove the wire harness coming from the port bay on the left side of the motherboard by gently lifting the connector from its housing.
-
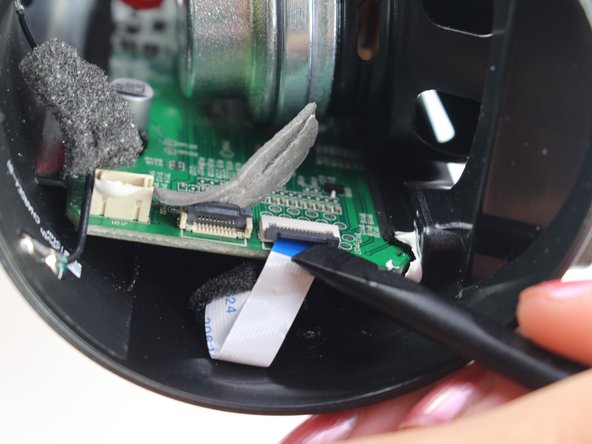
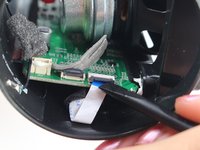
Remove the white ribbon cable from the ZIF connector by lifting the black locking flap on the connector with a spudger or your fingernail.
-
-
-
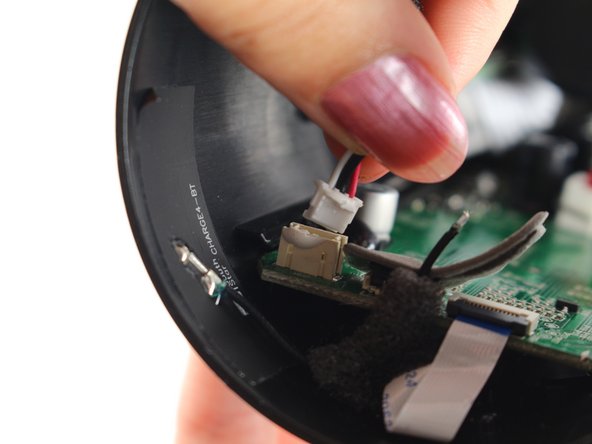
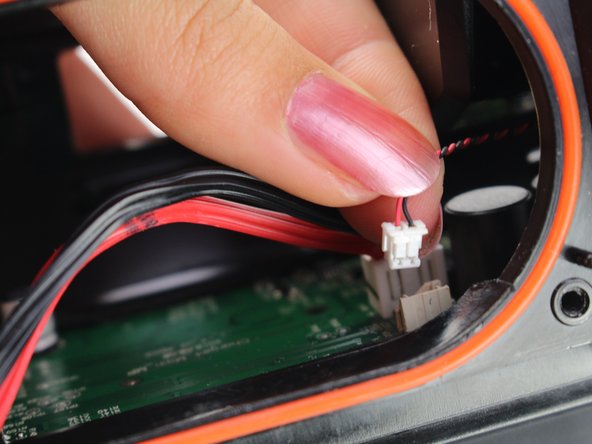
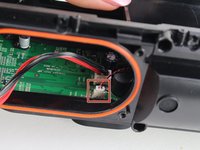
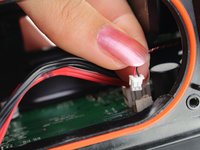
Remove the ground cable harness next to the speaker wire by gentling pulling it from the connector.
-
-
-
Flip the speaker around to the other side.
-
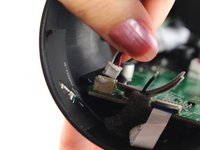
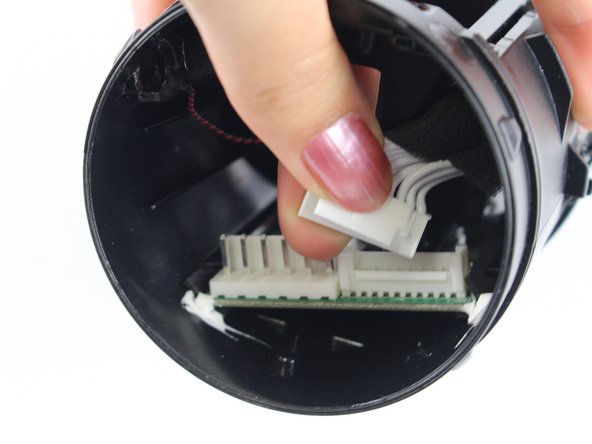
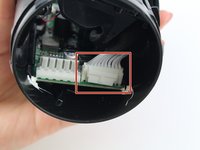
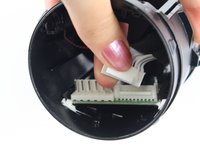
Remove the wiring harness leading to the port bay by pressing down on the tab and gently pulling the harness from the connector.
-
-
-
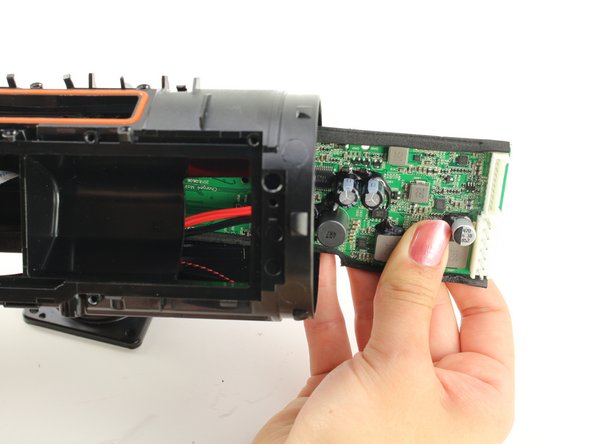
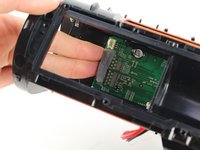
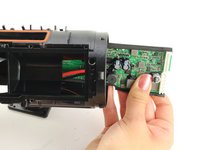
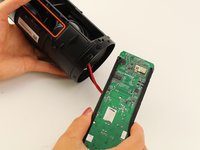
Push the motherboard from either side of the housing along its tracks.
-
Pull out the motherboard from the speaker housing.
-
To reassemble your device, follow these instructions in reverse order.
crwdns2935221:0crwdne2935221:0
crwdns2935229:012crwdne2935229:0
crwdns2947412:04crwdne2947412:0
Where i could buy a replacement motherboard for jbl charge 4?thank you.
This guide has a vital flaw. Just look at the loose wire cause by a broken solder in image 16!
that's the antenna cable which was pulled out of the connector. The step of popping the antenna connector out is missing.
from where i buy or replace the motherboard of jbl charge 4?


