crwdns2915892:0crwdne2915892:0
The motherboard is the last piece of your speaker you should try replacing if it is not operating properly as it is the most difficult to access.
crwdns2942213:0crwdne2942213:0
-
-
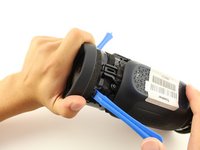
Turn your speaker upside down and insert the plastic opening tool vertically into the slit in the front cover.
-
Slowly pull the plastic opening tool outward to remove the four clips holding the covering in place.
-
Repeat this process for all four edges of the front cover.
-
-
-
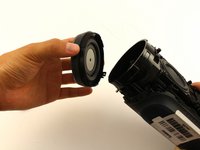
Pull apart your cover gently from both sides and remove it from the speaker housing.
-
-
-
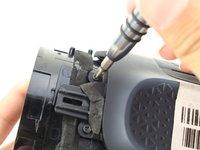
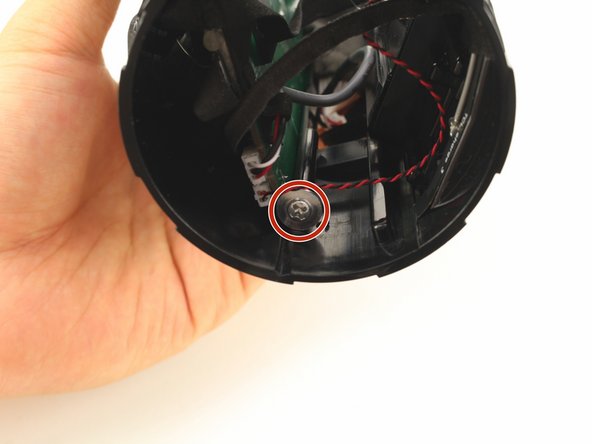
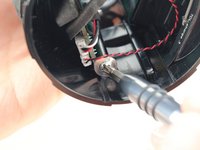
Remove the two 8mm Phillips #1 screws from the tabs.
-
NOTE: There may be only one screw.
-
-
-
Insert the plastic opening tools underneath both tabs.
-
-
-
Twist and pull open the passive radiator. The left radiator twists off clockwise; the right counterclockwise.
-
-
-
Repeat all previous steps for the other passive radiator.
-
NOTE: only the right radiator needs to be removed for changing the battery.
-
-
-
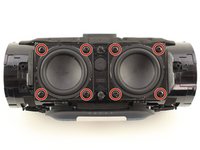
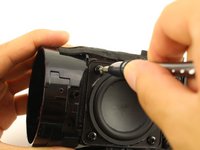
Remove the eight 10mm Phillips #1 screws from around the two front speakers.
-
-
-
Pull gently on one of the speakers so it is outside of the housing. Be careful as it is still attached with the wires to the motherboard.
-
-
-
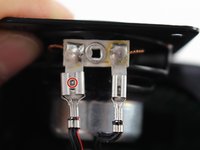
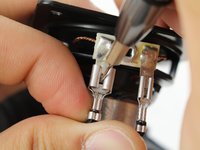
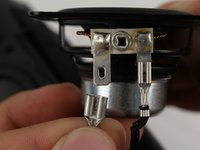
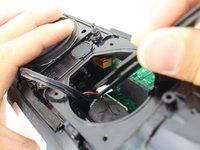
Press the small metal tab on the speaker connector with a Phillips #000 screwdriver and gently pull the connector apart.
-
-
-
-
Repeat the previous step for the second connector.
-
-
crwdns2935267:0crwdne2935267:0Tweezers$4.99
-
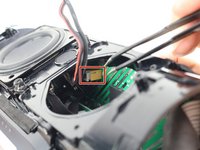
Grab the bundled cable connector that joins the speakers to the motherboard with tweezers. Gently pull the connector free.
-
-
-
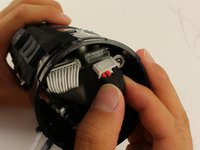
Now that the second speaker is disconnected from the motherboard, pull the speaker and wires out of the housing.
-
-
-
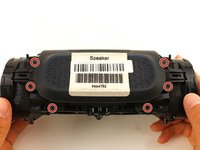
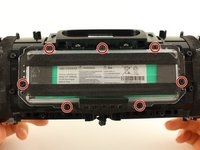
Remove the six 8mm Phillips #1 screws from the outer battery cover.
-
Peel the outer battery cover away from the speaker housing.
-
-
-
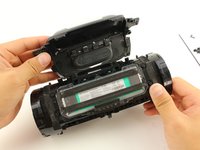
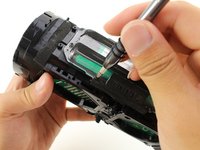
Remove the seven 8mm Phillips #1 screws from interior battery cover.
-
Remove the interior battery cover.
-
-
-
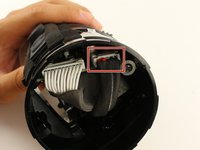
Pull gently to disconnect the bundled cable connector in the side of the speaker. This action will separate the battery from the motherboard.
-
-
-
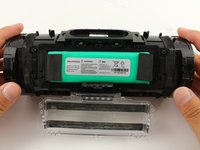
Pull the battery and battery cable out from their housing.
-
-
-
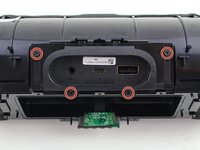
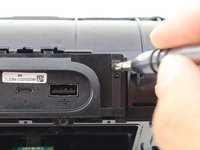
Take out the four 8mm Phillips #1 screws out of the port bay cover.
-
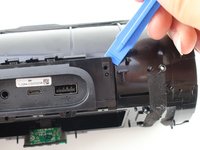
Wedge your plastic opening tool around the port bay to remove it.
-
-
-
Disconnect the two bundled cable connector from the port bay.
-
-
-
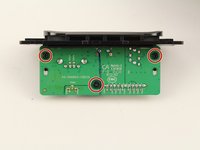
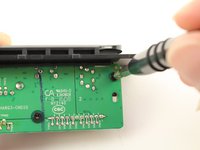
Remove the three 8mm Phillips #1 screws from the port bay circuit board.
-
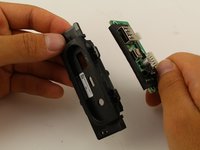
Pull the port bay cover off of the circuit board.
-
-
-
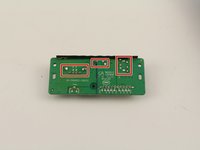
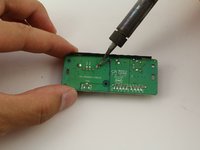
Desolder the USB, MicroUSB, or AUX port off of the circuit board.
-
-
-
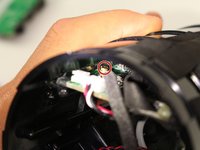
Remove the two 9mm Phillips #1 screws holding in the sides of the motherboard.
-
-
-
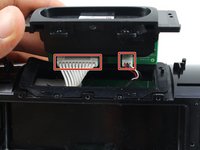
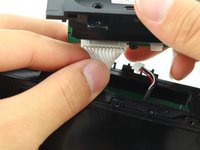
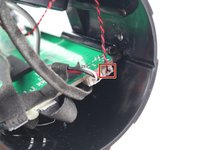
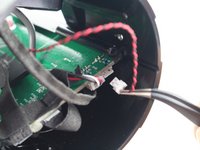
Gently pull the bundled cable connector on the motherboard.
-
-
-
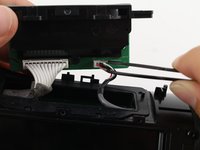
Gently pull the golden connector off of the motherboard.
-
-
crwdns2935267:0crwdne2935267:0Tweezers$4.99
-
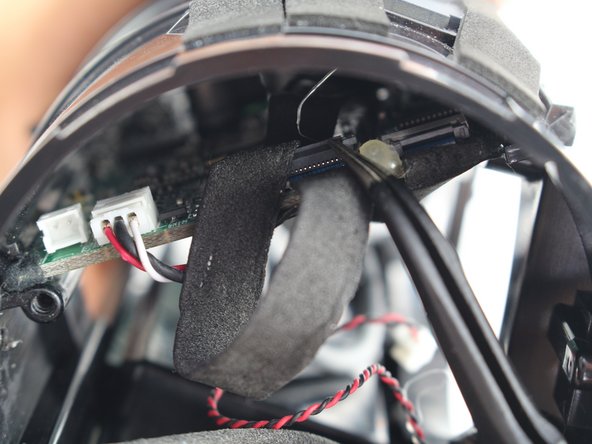
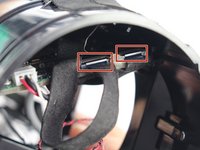
Flip open the top flap on the two ZIF connectors.
-
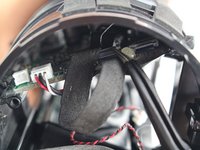
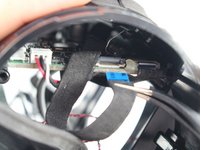
Gently pull out the ZIF connector cables with tweezers.
-
-
-
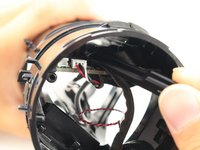
Slide the motherboard out of the housing.
-
To reassemble your device, follow these instructions in reverse order.
crwdns2935221:0crwdne2935221:0
crwdns2935229:012crwdne2935229:0
crwdns2947412:014crwdne2947412:0
Internation version is different. There are no screws for passive radiotors.
You have to twist it. I have to managed to get it open because there is no video on youtube (I can’t find any)
If that even is Charge 3.
My JBL charge 3 is not charging …please give me idea to fix ..but it’s working perfectly only
My jbl charge are charging but it won't turn on…… i have tried several times to turn it on but it won't turn…… hoping for solutions……


