crwdns2915892:0crwdne2915892:0
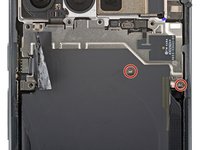
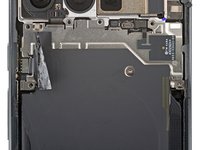
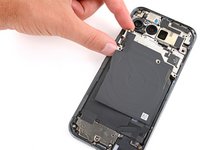
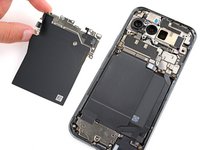
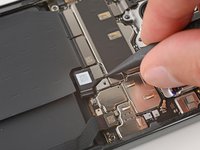
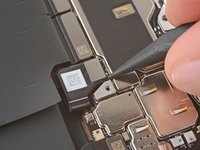
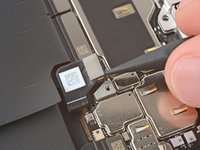
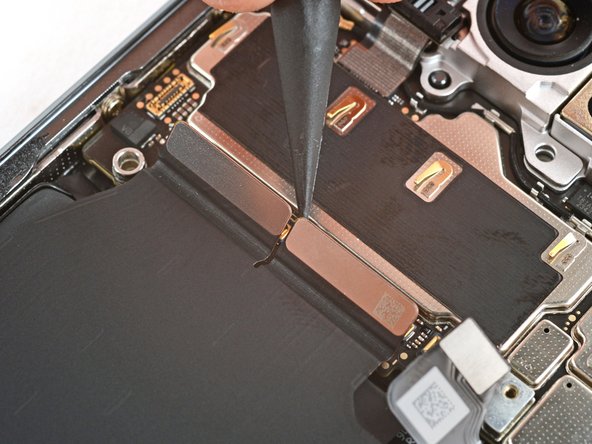
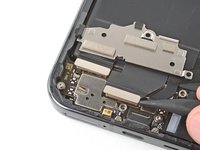
This guide shows how to remove the interconnect cables from your Google Pixel 9 Pro XL.
crwdns2942213:0crwdne2942213:0
-
-
Unplug all cables and completely power down your phone.
-
-
-
Adhesive secures the perimeter of the rear cover to the frame.
-
-
-
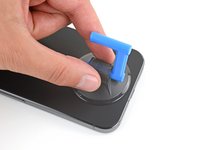
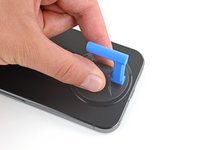
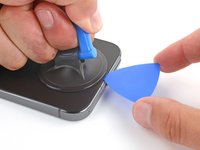
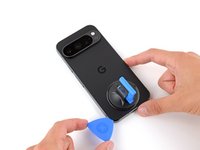
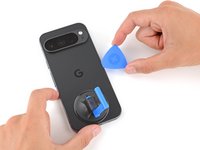
Attach a suction handle to the bottom edge of the rear cover, as close to the edge as possible.
-
-
-
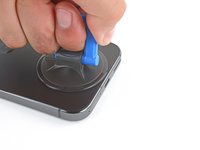
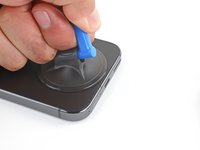
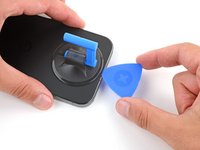
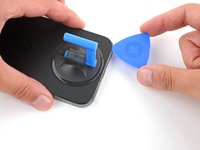
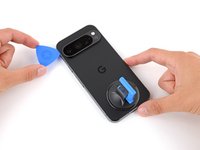
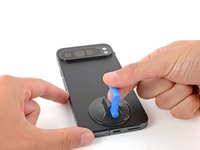
Pull up on the suction handle with strong, steady force to create a small gap under the rear cover.
-
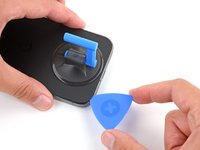
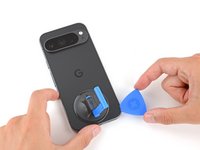
Insert the tip of an opening pick in the gap.
-
-
-
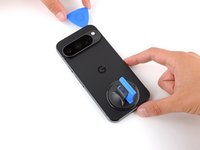
Slide your opening pick along the bottom edge to separate the adhesive securing it.
-
-
-
Slide your opening pick up the left edge and along the top edge to separate the adhesive.
-
-
-
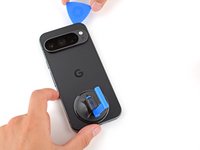
Slide your pick down the right edge to separate the remaining adhesive.
-
-
-
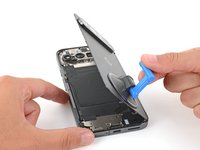
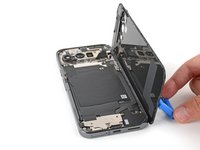
Use the suction handle to lift the left edge of the rear cover and swing it over the right edge, like opening the cover of a book.
-
Prop up the rear cover with the suction handle so you can access the ribbon cable near the top right corner.
-
-
-
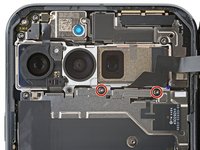
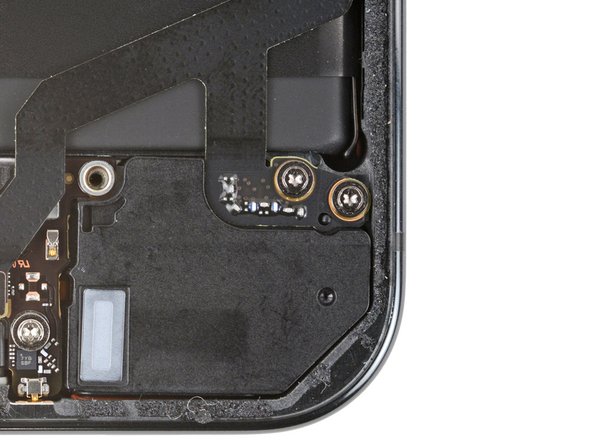
Use a Torx Plus 3IP screwdriver to remove the two 5.2 mm‑long screws securing the cable cover.
-
-
-
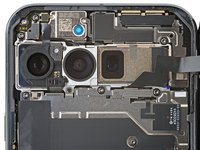
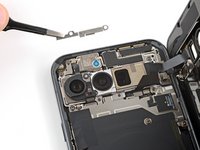
Use tweezers or your fingers to remove the cable cover.
-
-
-
-
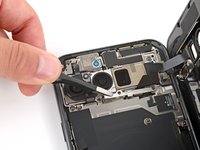
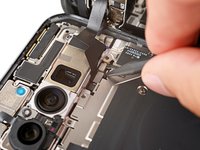
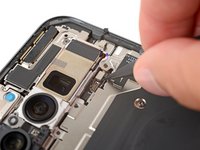
Use the point of a spudger to pry up and disconnect the rear cover press connector.
-
-
-
Remove the rear cover.
-
-
-
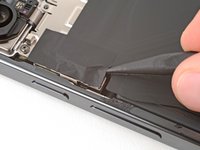
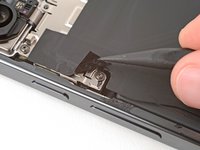
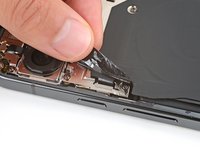
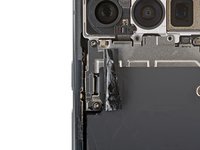
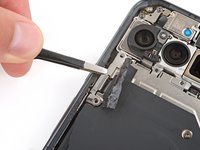
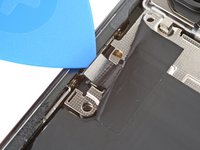
Use the tip of a spudger and your fingers to peel up the piece of tape near the left edge of your phone, enough that you can access the bracket and screws underneath.
-
-
-
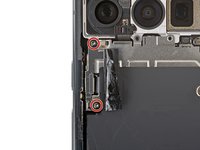
Use a Torx Plus 3IP screwdriver to remove the two 5.2 mm‑long screws securing the wireless charging cable cover.
-
-
-
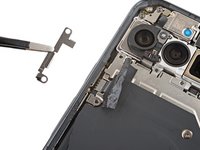
Use tweezers or your fingers to remove the cover.
-
-
-
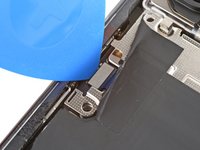
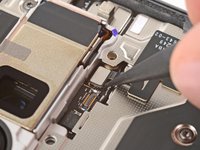
Use the tip of an opening pick to pry up and disconnect the wireless charging press‑connector.
-
-
-
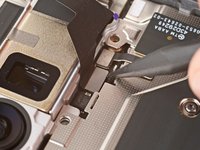
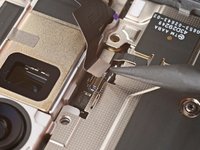
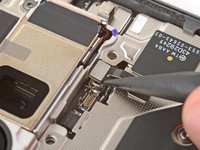
Use the point of a spudger to pry up and disconnect the ultra‑wideband press connector.
-
-
-
Use a Torx Plus 3IP screwdriver to remove the two 2.2 mm‑long screw securing the wireless charging assembly.
-
-
-
Remove the wireless charging assembly.
-
-
-
Use a spudger to pry up and disconnect the battery press connector.
-
-
-
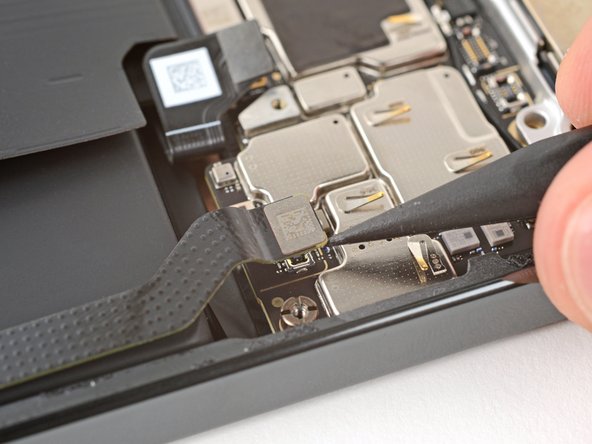
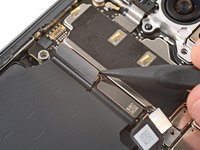
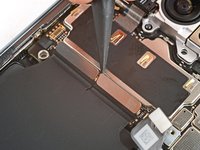
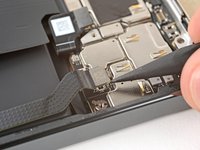
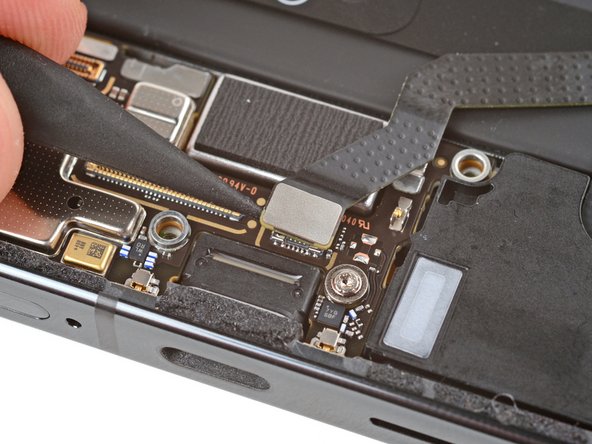
Use a spudger to pry up and disconnect the three remaining press connectors along the bottom edge of the logic board—two larger press connectors near the center and one smaller one on the bottom right corner.
-
-
-
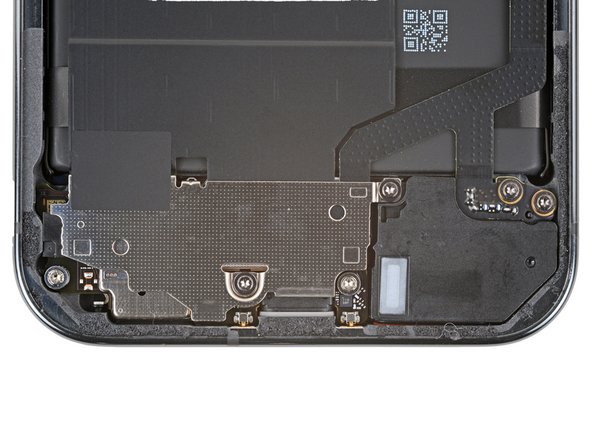
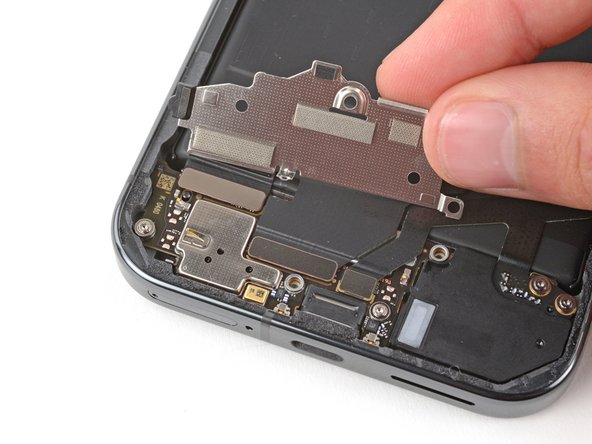
Use a Torx Plus 3IP screwdriver to remove the two 4.2 mm‑long screws securing the charging board cover.
-
-
-
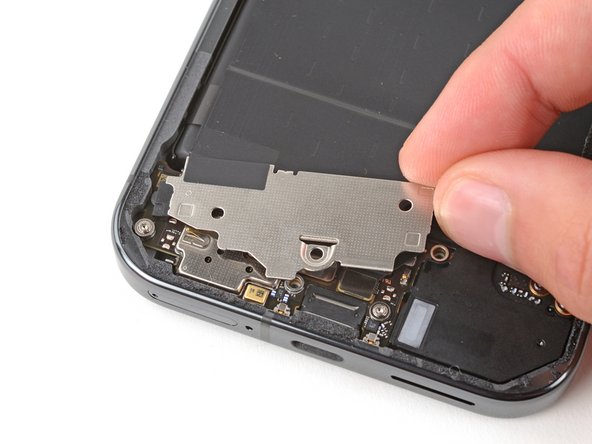
Use your fingers to pull the right edge of the charging board cover towards the top of your phone to unclip the left side of the cover.
-
Flip the cover away from the charging board so you can access its press connectors.
-
-
-
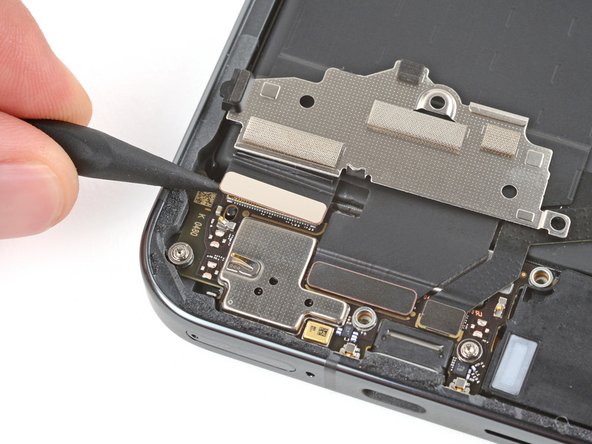
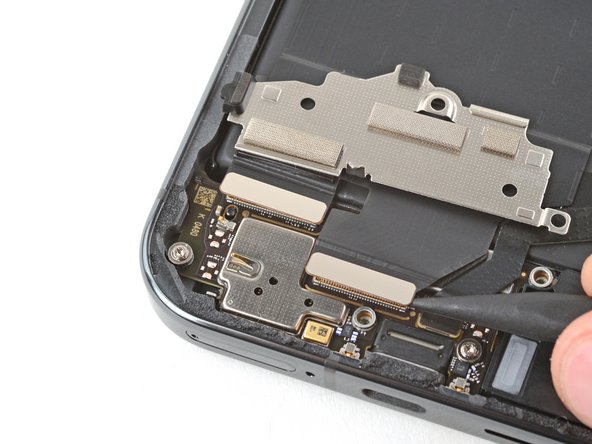
Use the point of a spudger to pry up and disconnect the two larger press connectors on the top edge of the charging board.
-
-
-
Remove the left interconnect cable.
-
-
-
Use the point of a spudger to pry up and disconnect the remaining press connector on the right edge of the charging board.
-
-
-
Use a Torx Plus 3IP screwdriver to remove the two 4.2 mm‑long screws securing the bottom of the right interconnect cable.
-
-
-
Remove the right interconnect cable.
-


