crwdns2915892:0crwdne2915892:0
Removing the motor housing provides access to all of the fan's internal workings.
crwdns2942213:0crwdne2942213:0
-
-
Unplug your fan.
-
Remove the 20 mm bolt that fastens the fan ring located at the bottom of the fan cage with a Phillips #3 screwdriver.
-
-
-
Remove the ring that runs around the edge of the fan cage.
-
-
-
Remove the 8 mm bolt fastening the fan blades to the rotor with a Phillip #3 screwdriver.
-
-
-
Slide the fan blade off the end of the rotor.
-
-
-
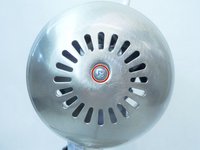
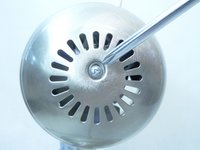
Unscrew the four 8 mm bolts that fasten the back of the fan cage back to the motor housing with a Phillips #3 screwdriver.
-
-
-
-
Unscrew the 10 mm screw in the center hole of the oscillation knob with a Phillips #3 screwdriver.
-
-
-
Use your fingers to gently pull the power knob directly away from the motor housing.
-
-
-
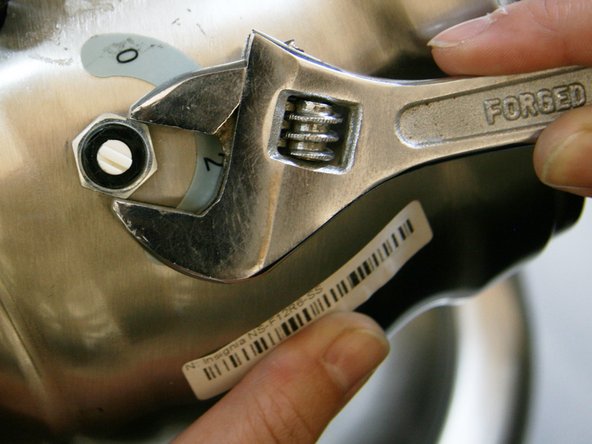
Unscrew the flat 17 mm nut fastened at the bottom of the power knob with a small crescent wrench.
-
-
-
Remove the four 6 mm bolts and small washers that secure the front face of the motor housing with a Phillips #3 screwdriver and remove the washers.
-
-
-
Pull the front face of the motor housing off toward the front of the rotor.
-
-
-
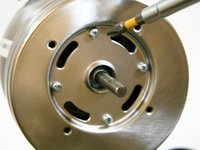
Remove the 10 mm triangular-headed bolt with a Phillips #3 screwdriver.
-
-
-
Slide the back end of the motor housing away from the front of the rotor.
-
-
-
Remove the small piece of paper hanging on the power button.
-


To reassemble your device, follow these instructions in reverse order.
To reassemble your device, follow these instructions in reverse order.
crwdns2935221:0crwdne2935221:0
crwdns2935229:03crwdne2935229:0
crwdns2915084:0crwdne2915084:0

CSU Fullerton, Team S2-G1, Bruce Fall 2018 crwdns2935289:0CSU Fullerton, Team S2-G1, Bruce Fall 2018crwdne2935289:0
CSUF-BRUCE-F18S2G1
crwdns2931471:04crwdne2931471:0
crwdns2935297:08crwdne2935297:0