crwdns2933423:0crwdne2933423:0

Insignia NS-DS9PDVD15 Latch Replacement

crwdns2942213:0crwdne2942213:0

  1. Insignia NS-DS9PDVD15 Latch Replacement, Bottom Cover: crwdns2935265:01crwdnd2935265:01crwdnd2935265:02crwdne2935265:0 Insignia NS-DS9PDVD15 Latch Replacement, Bottom Cover: crwdns2935265:01crwdnd2935265:02crwdnd2935265:02crwdne2935265:0
    • Turn the power off. Slide the power button to OFF.

  2. Insignia NS-DS9PDVD15 Latch Replacement: crwdns2935265:02crwdnd2935265:01crwdnd2935265:02crwdne2935265:0 Insignia NS-DS9PDVD15 Latch Replacement: crwdns2935265:02crwdnd2935265:02crwdnd2935265:02crwdne2935265:0
    • Unplug AC adapter from car cigarette lighter.

  3. Insignia NS-DS9PDVD15 Latch Replacement: crwdns2935265:03crwdnd2935265:01crwdnd2935265:01crwdne2935265:0
    • Make sure there is no DVD or CD in the disc tray

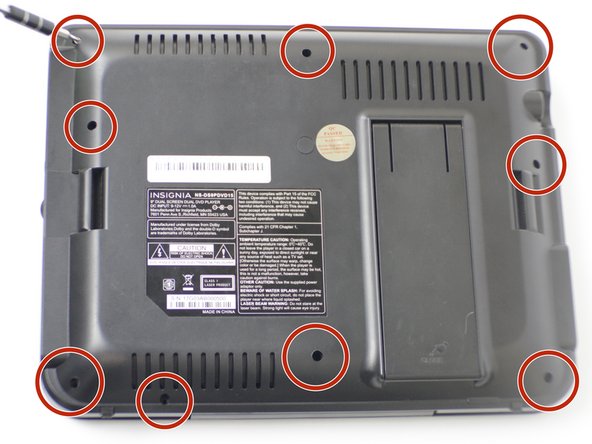
  4. Insignia NS-DS9PDVD15 Latch Replacement: crwdns2935265:04crwdnd2935265:01crwdnd2935265:02crwdne2935265:0 Insignia NS-DS9PDVD15 Latch Replacement: crwdns2935265:04crwdnd2935265:02crwdnd2935265:02crwdne2935265:0
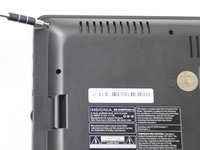
    • Unscrew the nine 9mm screws with a JIS #000 screwdriver.

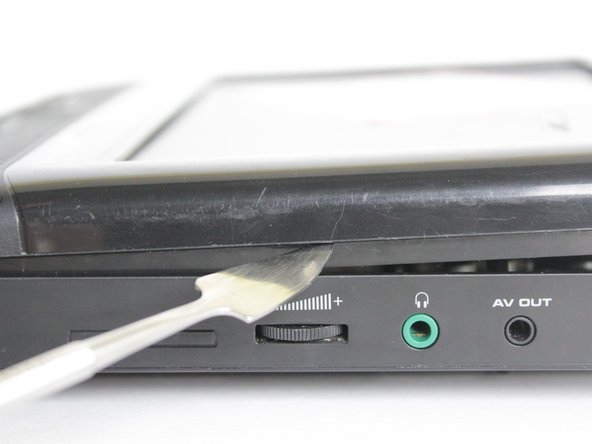
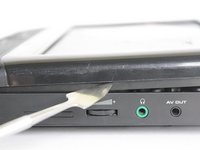
  5. Insignia NS-DS9PDVD15 Latch Replacement: crwdns2935265:05crwdnd2935265:01crwdnd2935265:03crwdne2935265:0 Insignia NS-DS9PDVD15 Latch Replacement: crwdns2935265:05crwdnd2935265:02crwdnd2935265:03crwdne2935265:0 Insignia NS-DS9PDVD15 Latch Replacement: crwdns2935265:05crwdnd2935265:03crwdnd2935265:03crwdne2935265:0
    • Pry off back panel with prying tool, then remove by hand.

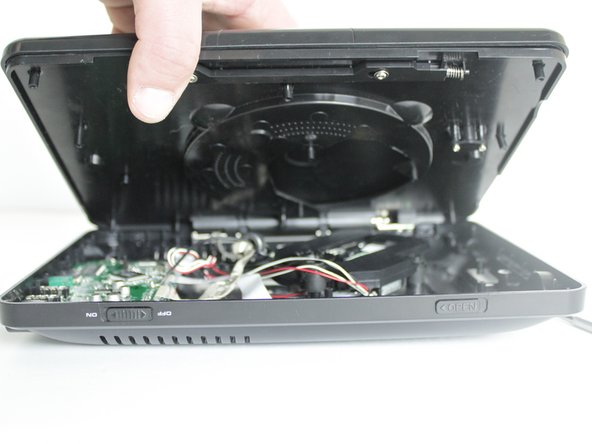
  6. Insignia NS-DS9PDVD15 Latch Replacement, Latch: crwdns2935265:06crwdnd2935265:01crwdnd2935265:01crwdne2935265:0
    • After the back is removed and you can see the interior of the device, push the old latch out.

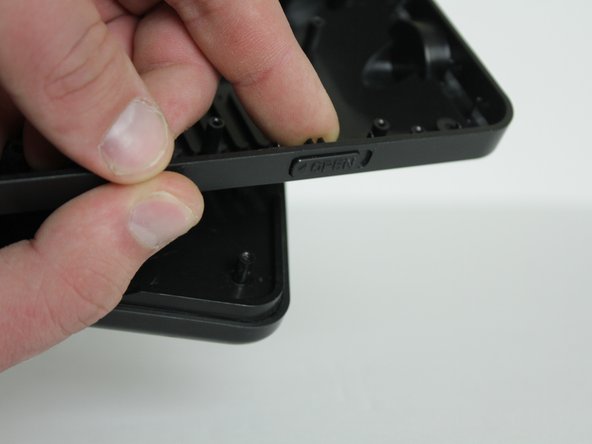
  7. Insignia NS-DS9PDVD15 Latch Replacement: crwdns2935265:07crwdnd2935265:01crwdnd2935265:02crwdne2935265:0 Insignia NS-DS9PDVD15 Latch Replacement: crwdns2935265:07crwdnd2935265:02crwdnd2935265:02crwdne2935265:0
    • Push the new latch in where the old latch was previously held

    • You can lightly tap it from the inside to make sure the new latch is sliding left and right.

crwdns2915888:0crwdne2915888:0

To reassemble your device, follow these instructions in reverse order.

Trenton

crwdns2935283:004/04/18crwdne2935283:0

85 crwdns2915208:0crwdne2915208:0

crwdns2935295:0crwdne2935295:0

crwdns2915084:0crwdne2915084:0

Linn Benton Community College, Team S1-G6, Johnson Spring 2018 crwdns2935289:0Linn Benton Community College, Team S1-G6, Johnson Spring 2018crwdne2935289:0

LBCC-JOHNSON-S18S1G6

crwdns2931471:04crwdne2931471:0

crwdns2935297:06crwdne2935297:0

crwdns2947412:00crwdne2947412:0

crwdns2917038:0crwdne2917038:0

crwdns2936625:0crwdne2936625:0:

crwdns2936751:024crwdne2936751:0 0

crwdns2936753:07crwdne2936753:0 0

crwdns2936753:030crwdne2936753:0 6

crwdns2942667:0crwdne2942667:0 348