crwdns2915892:0crwdne2915892:0
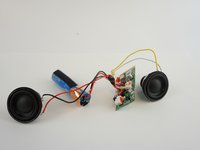
If your speakers no longer sound strong/clear or they stopped producing sound, you may need to replace them. Use this guide to help you replace he speakers.
crwdns2942213:0crwdne2942213:0
-
-
Insert the Spudger between the grated panel and the base of the speaker.
-
-
-
Remove the six 3mm screws using the J00 JIS screw bit. This will require a long, narrow screwdriver.
-
-
-
-
Insert the Spudger between the corners of base and the face of the speaker to open the device.
-
The screw on the upper right corner may be difficult to take out. If you cannot take it out with a screwdriver, using force to pull the face of the speaker apart may break the plastic that surrounds the screw.
-
-
-
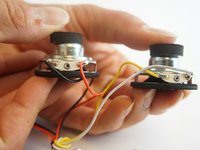
Grab the back piece of the speaker and gently pull upward.
-
-
-
Remove speakers gently one at a time.
-
-
crwdns2935267:0crwdne2935267:0Tweezers$4.99
-
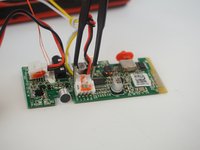
Using blunted tip tweezers, squeeze and pull on the white plastic clip. This will separate the speaker's wires from the motherboard.
-


To reassemble your device, follow these instructions in reverse order.
crwdns2935287:0crwdne2935287:0

USF Tampa, Team 12-6, Eyestone Spring 2017 crwdns2935289:0USF Tampa, Team 12-6, Eyestone Spring 2017crwdne2935289:0
USFT-EYESTONE-S17S12G6
crwdns2931471:03crwdne2931471:0
crwdns2935297:04crwdne2935297:0
crwdns2947410:01crwdne2947410:0
This is a good app really could help some people like myself. Thank you