crwdns2915892:0crwdne2915892:0
This guide shows how to locate and repair broken connections to the speakers.
crwdns2942213:0crwdne2942213:0
-
-
Set the clock radio on the work space so the bottom of the device is showing.
-
-
-
Use a metal spudger to peel back the adhesive sticker on the bottom of the clock.
-
-
-
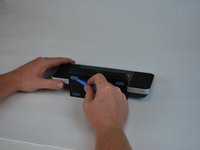
Using a plastic opening tool, peel off the adhesive gel stoppers.
-
-
-
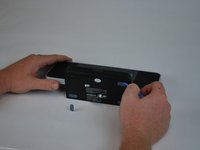
Use a Phillips screwdriver to remove the six 11 mm screws on the bottom of the device.
-
-
-
Remove the bottom cover from the device to reveal the motherboard.
-
-
-
Use a Phillips screwdriver to remove the 9.5 mm screw located near the center of the motherboard.
-
-
-
-
Lift the motherboard away from the device.
-
-
-
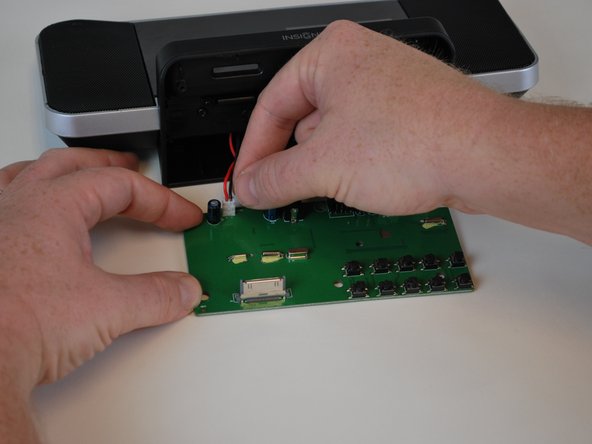
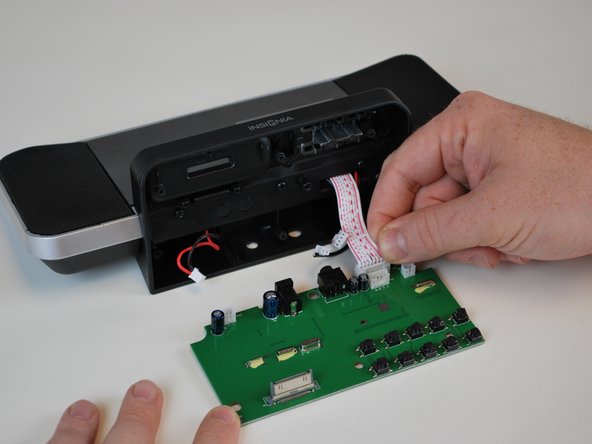
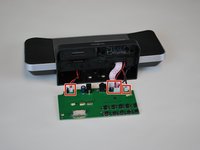
Disconnect the four cables connecting the motherboard to the device.
-
-
-
Remove the three screws located along the center of the base.
-
-
-
Using a metal spudger, remove the plastic face plate from the display.
-
-
-
With a phillips screwdriver, remove the six screws shown pictured to the left.
-
-
-
Using the metal spudger, pry the speaker grilles from the display.
-
-
-
Using the phillips screwdriver, remove the four screws pictured to the left.
-
-
-
Separate the two pieces of the display as shown.
-
-
-
You can see that there are several points where connections to the speaker are soldered.
-


To reassemble your device, follow these instructions in reverse order.
To reassemble your device, follow these instructions in reverse order.
crwdns2915084:0crwdne2915084:0

USF Tampa, Team 9-3, Leahy Winter 2015 crwdns2935289:0USF Tampa, Team 9-3, Leahy Winter 2015crwdne2935289:0
USFT-LEAHY-W15S9G3
crwdns2931471:04crwdne2931471:0
crwdns2935297:06crwdne2935297:0