crwdns2915892:0crwdne2915892:0
This guide will demonstrate how to replace the motherboard of an Insignia NS-CLIP02. If your Insignia NS-CLIP02 is not performing as it should and you have already tried all of the troubleshooting tips, the motherboard may need to be replaced. The motherboard is an essential part of any device, and it is what keeps the device working well and it allows each individual part of the device to interact with each other. However, only replace the motherboard of the Insignia NS-CLIP02 if the device truly is not working and you have gone through all of the troubleshooting guides. Make sure the device is powered off/not plugged in before you begin the motherboard replacement.
crwdns2942213:0crwdne2942213:0
-
-
Set the clock radio on the work space so the bottom of the device is showing.
-
-
-
Use a metal spudger to peel back the adhesive sticker on the bottom of the clock.
-
-
-
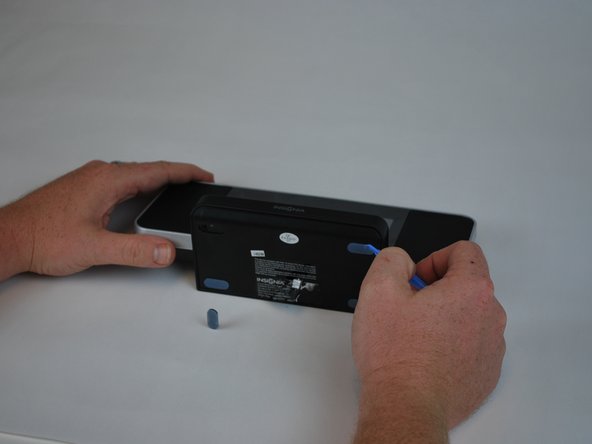
Using a plastic opening tool, peel off the adhesive gel stoppers.
-
-
-
-
Use a Phillips screwdriver to remove the six 11 mm screws on the bottom of the device.
-
-
-
Remove the bottom cover from the device to reveal the motherboard.
-
-
-
Use a Phillips screwdriver to remove the 9.5 mm screw located near the center of the motherboard.
-
-
-
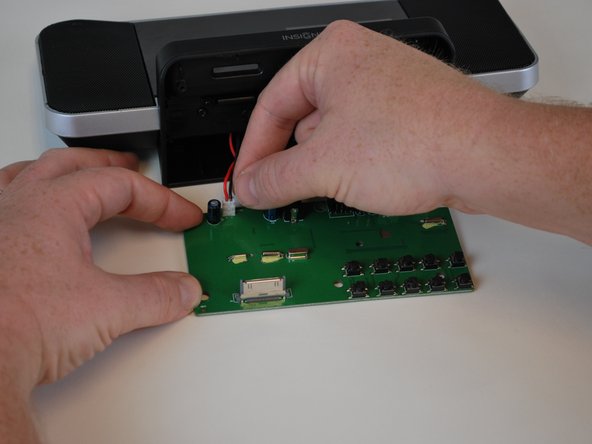
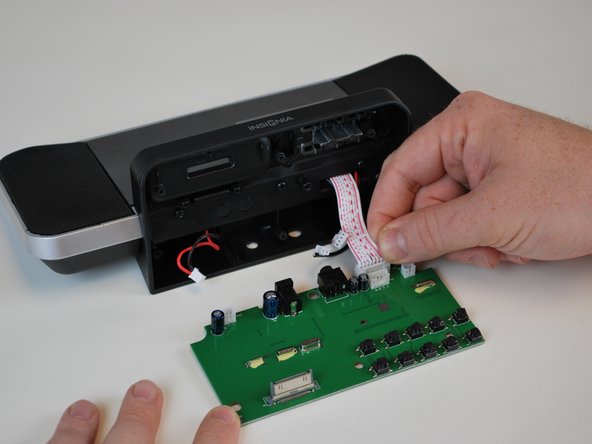
Lift the motherboard away from the device.
-
-
-
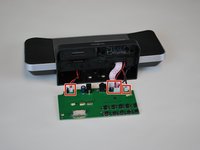
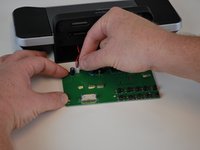
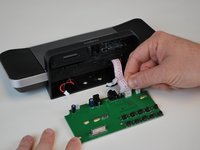
Disconnect the four cables connecting the motherboard to the device.
-
To reassemble your device, follow these instructions in reverse order.
To reassemble your device, follow these instructions in reverse order.


