crwdns2915892:0crwdne2915892:0
If your battery is dying too quickly or it is faulty, this guide will help you. Use caution, a punctured battery could be extremely hazardous.
crwdns2942213:0crwdne2942213:0
-
-
Wedge the plastic opening tool anywhere in the seam between the back casing and screen.
-
Slide the plastic opening tool along the sides and corners of the seam of the device while it separates from the screen.
-
-
-
Lift the back casing away from the screen.
-
Set casing aside.
-
-
-
-
Gently peel the tape that is covering the cable connections going to and from the battery and set tape aside.
-
-
-
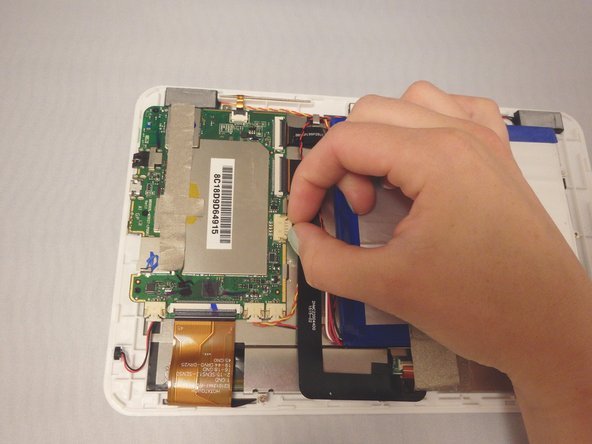
Locate battery cable connection.
-
Pull gently on cable that connects the battery to the motherboard.
-
-
-
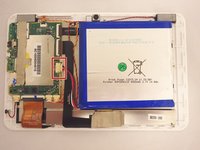
Slide the nylon spudger gently underneath the battery.
-
Using the nylon spudger, gently pry battery from adhesive on metal base.
-
Working around the battery, pry up all the sides to remove the battery from the metal base.
-


To reassemble your device, follow these instructions in reverse order.
crwdns2935221:0crwdne2935221:0
crwdns2935229:06crwdne2935229:0
crwdns2935287:0crwdne2935287:0

Eastern Washington University, Team 2-1, Andersen Spring 2016 crwdns2935289:0Eastern Washington University, Team 2-1, Andersen Spring 2016crwdne2935289:0
EWU-ANDERSEN-S16S2G1
crwdns2931471:05crwdne2931471:0
crwdns2935297:010crwdne2935297:0
crwdns2947412:05crwdne2947412:0
We're do u get a new battery from ???
i know this is an old comment but the solution is the same, ebay the model number and you will find many parts for cheap! good luck!
mathew -
i replaced the battery for a customer and now the tablet is stuck at boot hmmm.....
after about 3 minutes the device booted apparently I am just too impatient, still another happy customer, thanks!
mathew -
Pls help me to send me the phone number of the above mentioned Mattew or give him my phone number. I will discuss with him to replace my charger plug and possibly the battery. thanks.