crwdns2915892:0crwdne2915892:0
This guide will show you how to replace the camera on your Insignia Flex 10.1 tablet.
crwdns2942213:0crwdne2942213:0
-
-
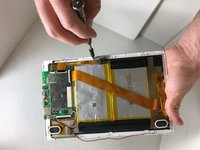
Use a plastic opening tool to remove the rear panel from the front case.
-
Insert the plastic opening tool between the front case and rear panel. Use a prying motion to lift the front case from the rear panel.
-
-
-
Use a plastic opening tool to flip up the ribbon connector that connects the camera to the motherboard.
-
Free the ribbon cable from the motherboard.
-
-
-
-
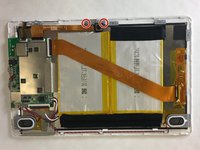
Use a #00 Phillips head screw driver to remove the two screws that hold the camera down to the front case.
-
-
crwdns2935267:0crwdne2935267:0Tweezers$4.99
-
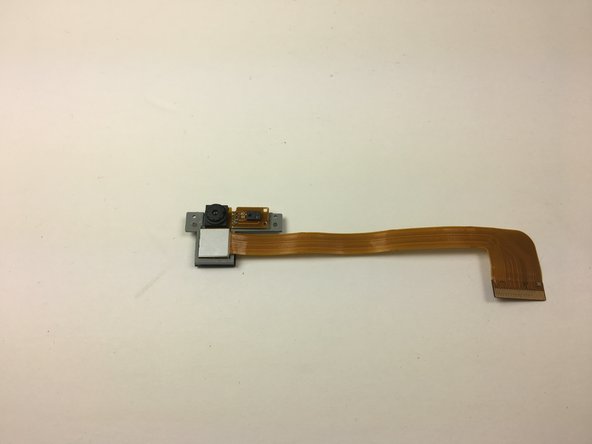
Use tweezers or your fingers to remove the camera from your Insignia Flex 10.1 NS-P16AT10.
-
-
-
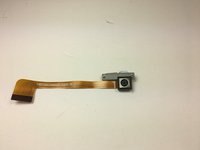
The camera is now free and ready to be replaced.
-


To reassemble your device, follow these instructions in reverse order.
crwdns2935287:0crwdne2935287:0

Texas Tech, Team 12-3, Bennett Fall 2016 crwdns2935289:0Texas Tech, Team 12-3, Bennett Fall 2016crwdne2935289:0
TTU-BENNETT-F16S12G3
crwdns2931471:03crwdne2931471:0
crwdns2935297:06crwdne2935297:0