crwdns2933423:0crwdne2933423:0
crwdns2947577:0crwdnd2947577:0crwdne2947577:0

Infinity Genesis hood Replacement

crwdns2942213:0crwdne2942213:0

    1. Infinity Genesis hood  Replacement, Hood: crwdns2935265:01crwdnd2935265:01crwdnd2935265:03crwdne2935265:0 Infinity Genesis hood  Replacement, Hood: crwdns2935265:01crwdnd2935265:02crwdnd2935265:03crwdne2935265:0 Infinity Genesis hood  Replacement, Hood: crwdns2935265:01crwdnd2935265:03crwdnd2935265:03crwdne2935265:0
      • To begin remove Right and Left armrests . See assembly guide on how to remove these.

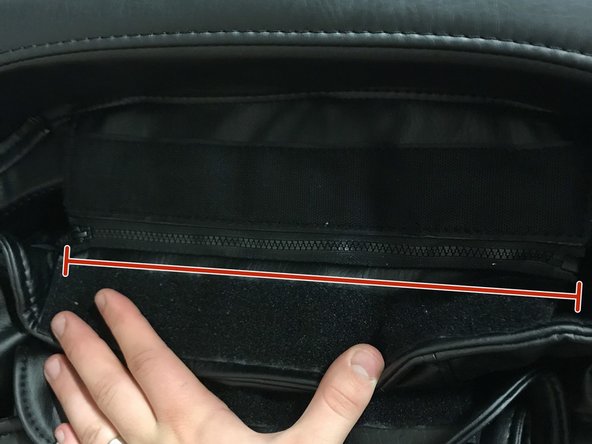
      • Unzip the following zipper at the very top of the chair. It is hidden beneath Velcro .

      • Leave back pad like this no need to unzip any other zippers.

      crwdns2952109:0crwdne2952109:0

      crwdns2917038:0crwdne2917038:0

    2. Infinity Genesis hood  Replacement: crwdns2935265:02crwdnd2935265:01crwdnd2935265:03crwdne2935265:0 Infinity Genesis hood  Replacement: crwdns2935265:02crwdnd2935265:02crwdnd2935265:03crwdne2935265:0 Infinity Genesis hood  Replacement: crwdns2935265:02crwdnd2935265:03crwdnd2935265:03crwdne2935265:0
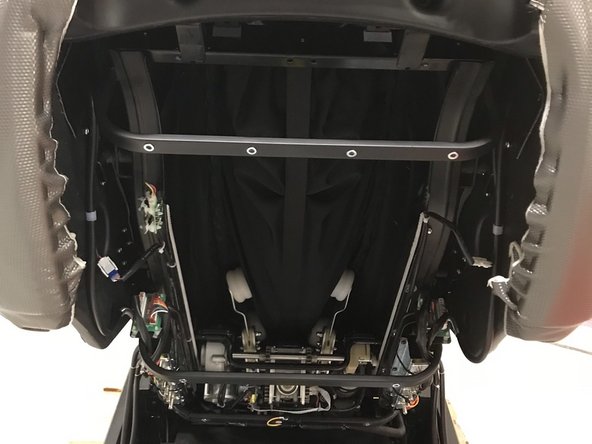
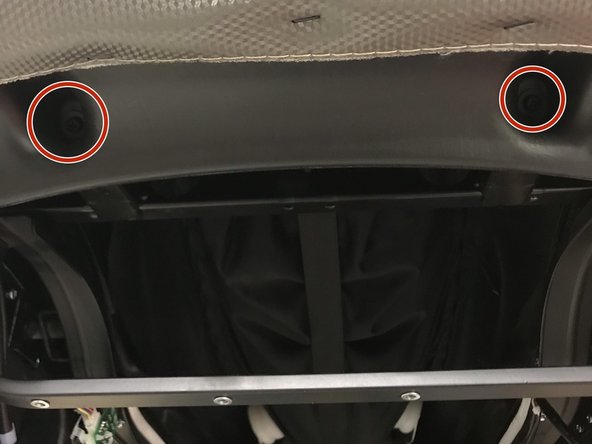
      • Remove all 8 Screws on back cover.

      • End Result should like this .

      crwdns2952109:0crwdne2952109:0

      crwdns2917038:0crwdne2917038:0

    3. Infinity Genesis hood  Replacement: crwdns2935265:03crwdnd2935265:01crwdnd2935265:02crwdne2935265:0 Infinity Genesis hood  Replacement: crwdns2935265:03crwdnd2935265:02crwdnd2935265:02crwdne2935265:0
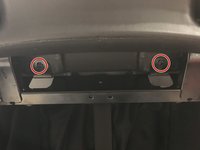
      • Remove Top 4 screws .

      crwdns2952109:0crwdne2952109:0

      crwdns2917038:0crwdne2917038:0

    4. Infinity Genesis hood  Replacement: crwdns2935265:04crwdnd2935265:01crwdnd2935265:03crwdne2935265:0 Infinity Genesis hood  Replacement: crwdns2935265:04crwdnd2935265:02crwdnd2935265:03crwdne2935265:0 Infinity Genesis hood  Replacement: crwdns2935265:04crwdnd2935265:03crwdnd2935265:03crwdne2935265:0
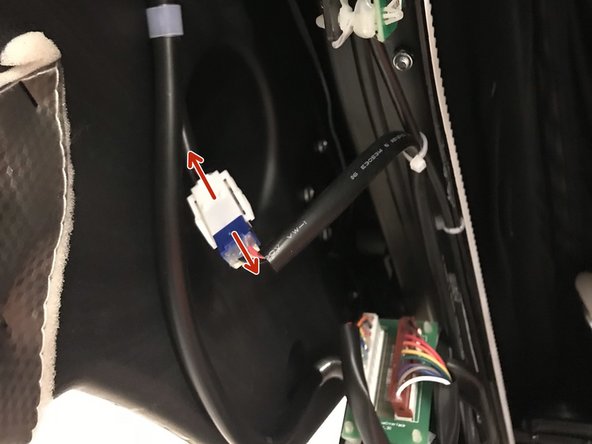
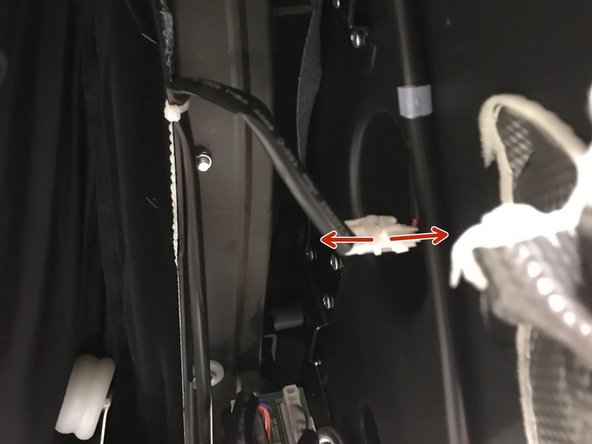
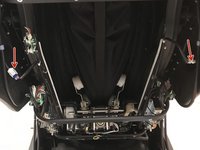
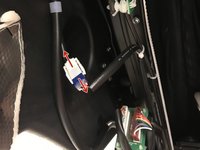
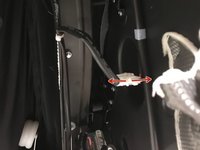
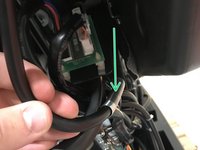
      • You will need to disconnect the power cables on Left and Ride side of the hood assembly . They are attached via a clip. Simply push the clip down and pull them apart.

      crwdns2952109:0crwdne2952109:0

      crwdns2917038:0crwdne2917038:0

    5. Infinity Genesis hood  Replacement: crwdns2935265:05crwdnd2935265:01crwdnd2935265:03crwdne2935265:0 Infinity Genesis hood  Replacement: crwdns2935265:05crwdnd2935265:02crwdnd2935265:03crwdne2935265:0 Infinity Genesis hood  Replacement: crwdns2935265:05crwdnd2935265:03crwdnd2935265:03crwdne2935265:0
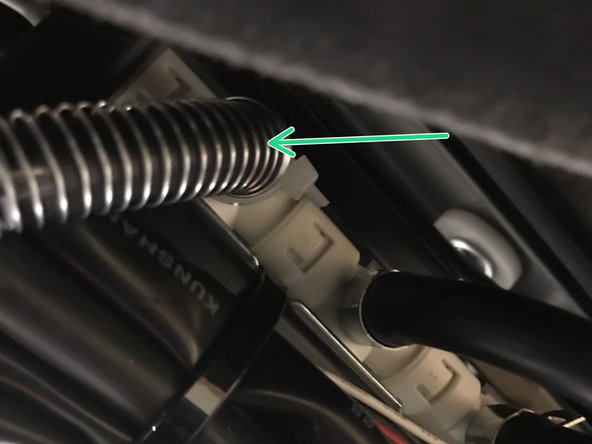
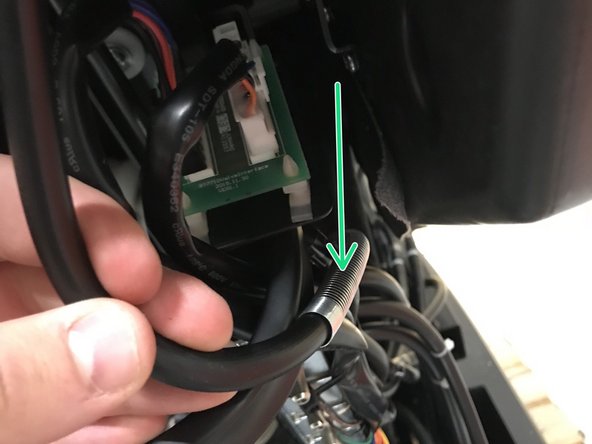
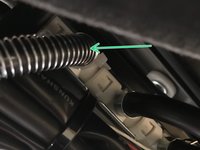
      • You need to find the 6 way air valve on the left and right hand side.

      • You then need to Locate and remove the top air hose from the valve. You can usually identify this hose by the armor cover it has on it . Additionally its the only air hose that goes to the top.

      crwdns2952109:0crwdne2952109:0

      crwdns2917038:0crwdne2917038:0

    6. Infinity Genesis hood  Replacement: crwdns2935265:06crwdnd2935265:01crwdnd2935265:02crwdne2935265:0 Infinity Genesis hood  Replacement: crwdns2935265:06crwdnd2935265:02crwdnd2935265:02crwdne2935265:0
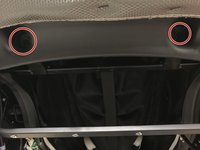
      • BEFORE CONTINUING DOUBLE CHECK YOU HAVE DONE THE PREVIOUS STEPS TO ENSURE EVERYTHING HAS BEEN DISCONNECTED .

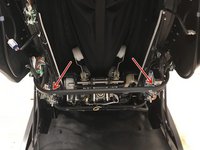
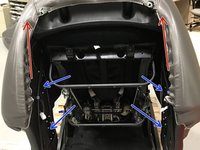
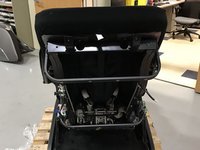
      • To remove the hood piece lift upwards to slide it off of the Frame points.

      • Marked here are the 4 frame points . Remember where these are for re- assembly.

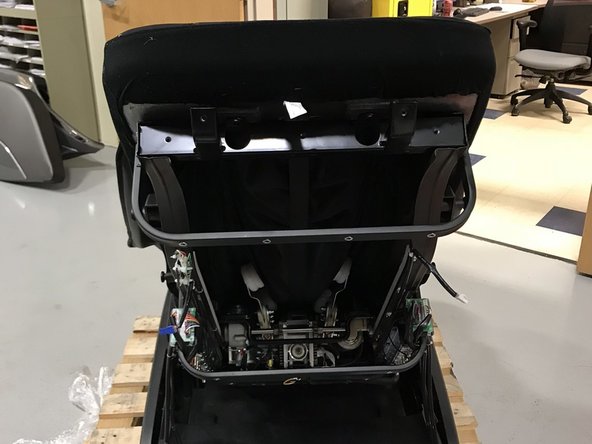
      • See last photo for end result.

      crwdns2952109:0crwdne2952109:0

      crwdns2917038:0crwdne2917038:0

    7. Infinity Genesis hood  Replacement, REASSEMBLY TIPS: crwdns2935265:07crwdnd2935265:01crwdnd2935265:02crwdne2935265:0 Infinity Genesis hood  Replacement, REASSEMBLY TIPS: crwdns2935265:07crwdnd2935265:02crwdnd2935265:02crwdne2935265:0
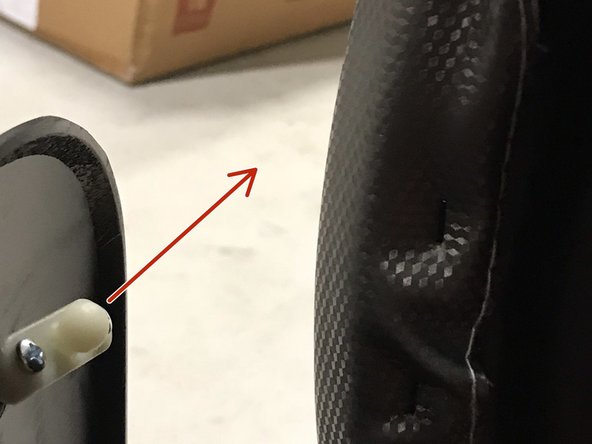
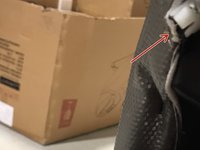
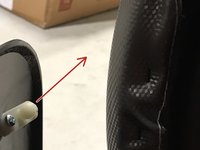
      • For reassembly of back panel Please be sure to lock in these Ball and Joint pieces into each other . They are located at the top of the chair.

      • If you don't lock these in first you will have a harder time securing this panel back on . Additionally once these Ball and joint pieces are connected. Secure the middle screws on the cover first this will ensure the cover will line up with the other bolts.

      crwdns2952109:0crwdne2952109:0

      crwdns2917038:0crwdne2917038:0

crwdns2915888:0crwdne2915888:0

To reassemble your device, follow these instructions in reverse order.

crwdns2935221:0crwdne2935221:0

Nick

crwdns2935283:005/30/17crwdne2935283:0

2,764 crwdns2915208:0crwdne2915208:0

crwdns2935297:016crwdne2935297:0

crwdns2947412:00crwdne2947412:0

crwdns2917038:0crwdne2917038:0

crwdns2936625:0crwdne2936625:0:

crwdns2936751:024crwdne2936751:0 0

crwdns2936753:07crwdne2936753:0 6

crwdns2936753:030crwdne2936753:0 24

crwdns2942667:0crwdne2942667:0 294