crwdns2915892:0crwdne2915892:0
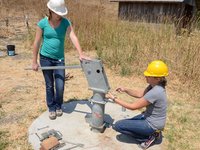
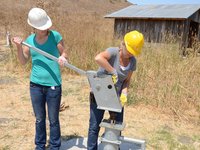
Follow this guide to remove the tank and spout for repair or replacement.
crwdns2942213:0crwdne2942213:0
-
-
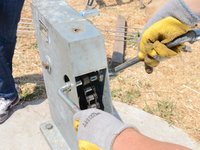
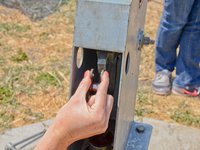
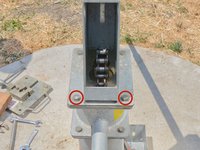
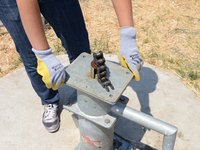
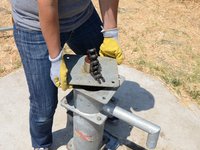
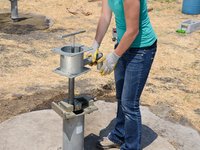
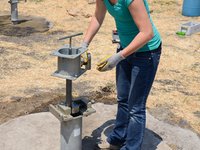
Remove the hex head bolt from the top of the access door on the pump head.
-
-
-
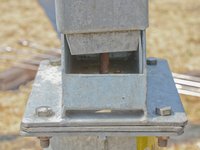
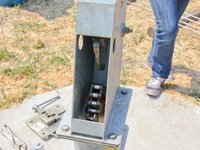
Pull the access door straight up off the pump head.
-
-
-
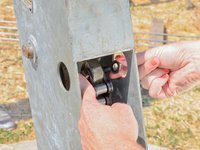
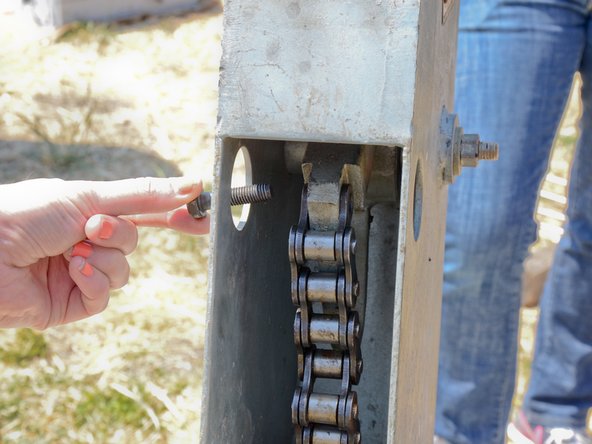
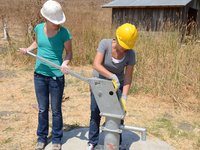
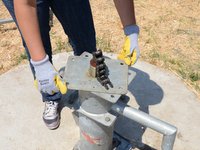
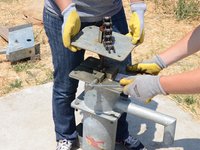
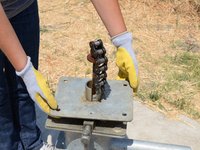
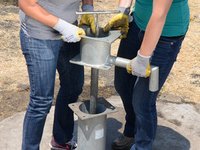
Place the spacer collar around the pump rod below the raised chain, with the beveled side down, and the flat side facing up.
-
-
-
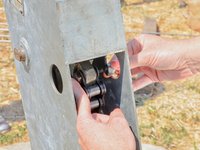
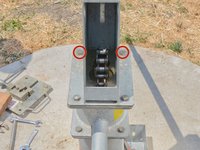
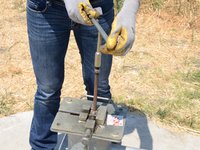
Lift the pump handle until the base of the chain comes to rest on the spacer collar, and the chain is slack. Hold the handle in this position while the chain is being detached.
-
-
-
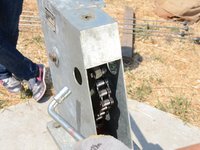
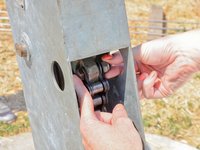
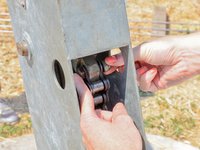
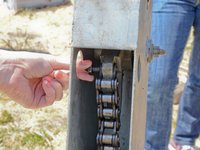
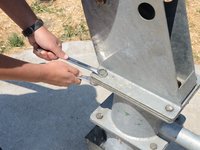
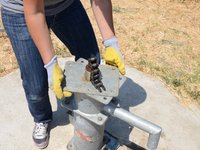
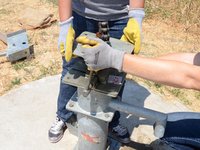
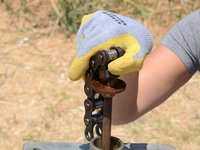
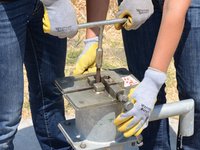
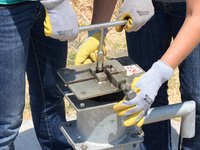
Using the two access holes, place an angled socket wrench on the bolt and nut attaching the chain to the pump handle.
-
-
-
Hold the wrench on the bolt stationary.
-
Loosen the nut.
-
-
-
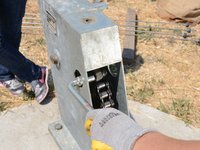
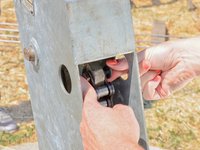
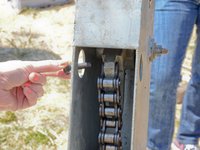
Remove the washer from the chain bolt.
-
-
-
Pull the top of the chain straight off of the pump handle.
-
-
-
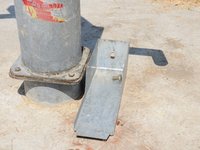
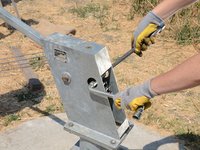
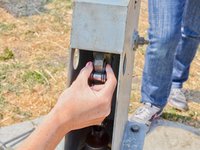
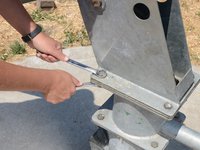
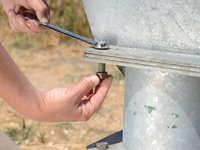
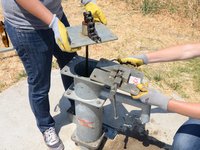
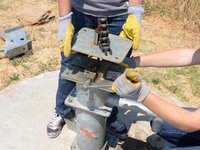
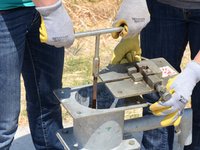
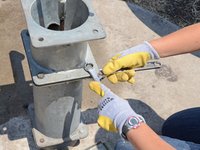
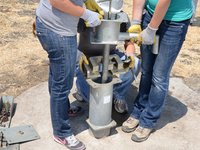
Remove the two bolts from the handle side of the pump head.
-
Use one wrench on the bolt and another on the nut beneath. Hold the bolt stationary and loosen the nut.
-
-
-
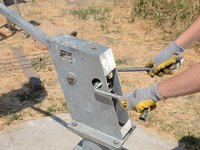
Remove the two bolts and nuts from the handle side.
-
-
-
-
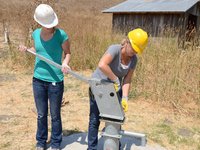
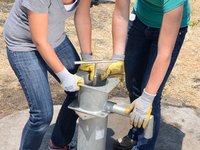
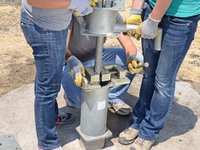
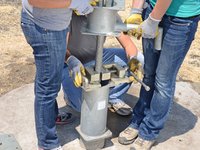
After removing the two handle side bolts, have your partner support the weight of the handle.
-
Remove the two remaining bolts in the same fashion.
-
-
-
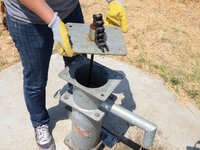
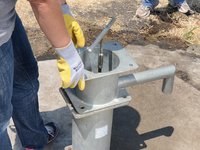
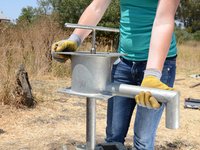
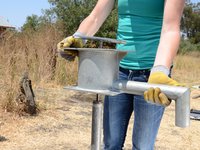
Lift and remove the pump head from the pump.
-
-
-
Slightly twist the head flange, until the corners overhang the top of the tank far enough to grab.
-
-
-
Lift the head flange up about one foot above the tank.
-
-
-
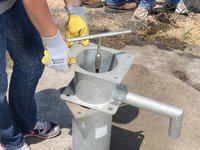
Slide the rod clamp around the pump rod, and support it on the tank base.
-
-
-
Tighten the rod clamp against the pump rod.
-
-
-
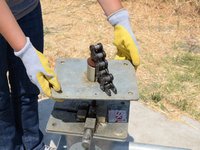
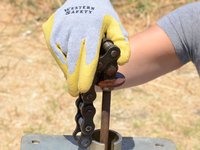
Unscrew the chain from the top of the pump rod.
-
Remove the chain.
-
Check the chain for signs of wear or damage.
-
-
-
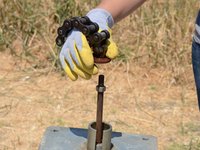
Remove the chain support from around the pump rod.
-
-
-
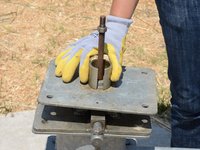
Remove the jam nut from the top of the pump rod.
-
-
-
Screw the jam nut back onto the top of the pump rod.
-
-
-
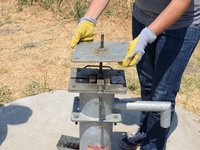
Screw a T-handle onto the top of the pump rod. Tighten the T-handle up against the jam nut.
-
-
-
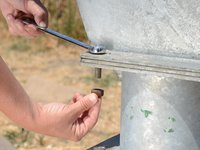
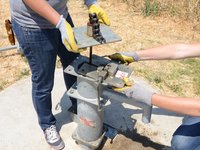
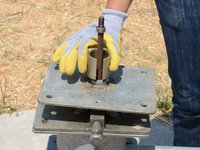
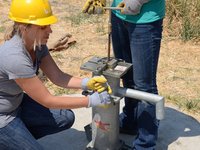
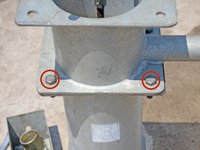
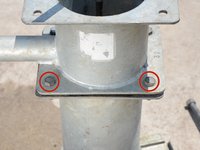
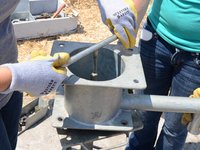
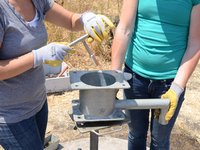
Remove the four bolts connecting the tank to the top flange.
-
Use one wrench on the bolt and a second wrench on the nut beneath. Hold the bolt still and loosen the nut.
-
-
-
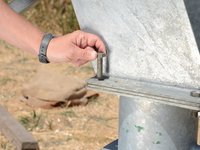
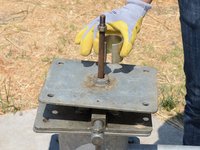
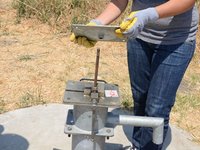
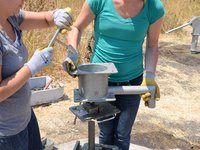
Twist the tank 45 degrees in order to get a better grasp on it.
-
-
-
Lift the tank straight up, about one foot.
-
-
-
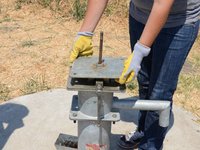
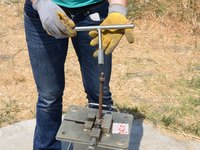
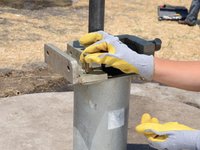
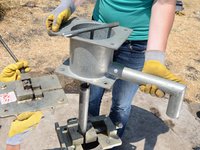
Have a third person place the pipe vise around the riser main, on top of the top flange.
-
Tighten the pipe vise securely around the riser main.
-
-
-
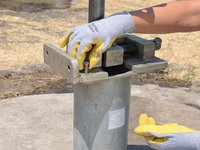
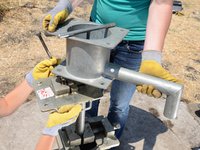
Secure the pipe vise to the top flange with two bolts and nuts to hold the pipe vise in place.
-
-
-
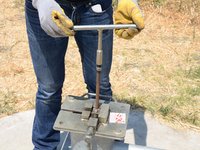
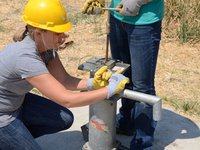
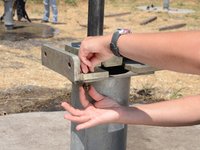
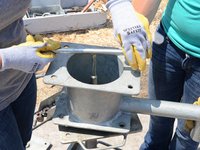
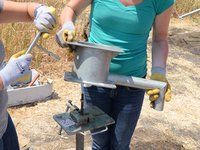
Unscrew the tank from the riser main.
-
-
-
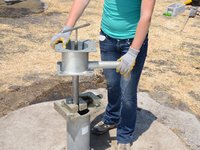
Lift the tank up a few inches above the top of the riser main.
-
-
-
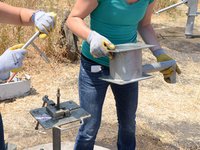
Insert the rod vise between the riser main and the tank, around the pump rod.
-
Tighten the rod vise onto the pump rod.
-
-
-
Unscrew the T-handle from the pump rod and remove it.
-


To reassemble your device, follow these instructions in reverse order.
