crwdns2915892:0crwdne2915892:0
Simple guide to disassembling the keyboard down to the motherboard. In detail explains how to successfully replace the charging port.
crwdns2942213:0crwdne2942213:0
-
-
Remove all ten screws using the T4 Torx screwdriver.
-
Remove the back cover from the device.
-
-
-
Use the blue opening tool to further separate the keyboard bezel.
-
Carefully apply pressure to the keyboard. It should easily pop out.
-
-
-
-
To remove the keyboard bezel, unscrew and remove the five screws using the Phillips #0 screwdriver.
-
-
-
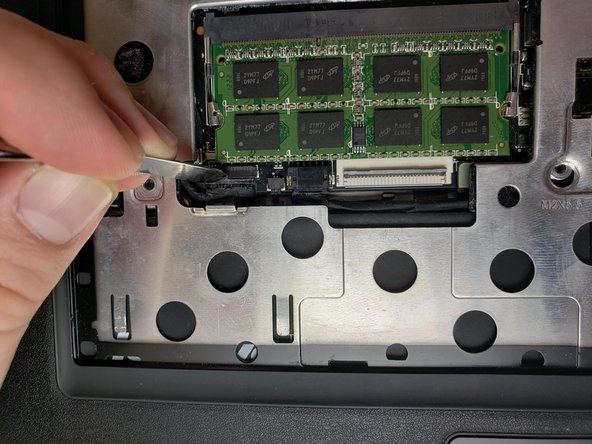
Unplug the connections from the motherboard.
-
There is a different connection for the mouse and keyboard.
-
-
-
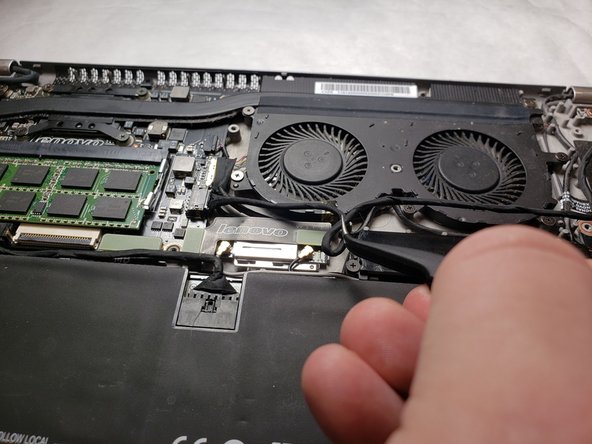
Remove the outer bezel to reveal the entire internal layout of the computer.
-
Motherboard and other internal components are now exposed.
-
-
-
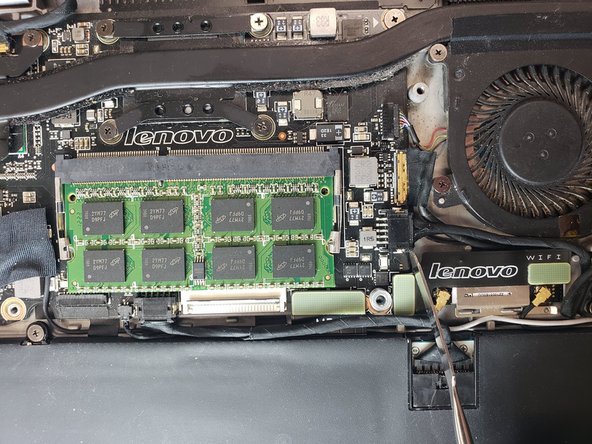
Remove charging port by prying out the yellow port from the computer chassis.
-
Note the route of the cable for re-installation of the replacement.
-


To reassemble your device, follow these instructions in reverse order.
To reassemble your device, follow these instructions in reverse order.
crwdns2935221:0crwdne2935221:0
crwdns2935229:02crwdne2935229:0
crwdns2915084:0crwdne2915084:0

IUPUI, Team S1-G2, Harley Spring 2019 crwdns2935289:0IUPUI, Team S1-G2, Harley Spring 2019crwdne2935289:0
IUPUI-HARLEY-S19S1G2
crwdns2931471:03crwdne2931471:0
crwdns2935297:02crwdne2935297:0
crwdns2947410:01crwdne2947410:0
do you have the schematic of the board?