crwdns2915892:0crwdne2915892:0
In this guide you will learn how to replace the output jack. Output jack replacement will need to be done if your bass no longer makes sound, the bass only makes sound when the cable is orientated awkwardly or the bass cuts in and out when the cable is moved. Your output jack can break because the delicate metal parts which make contact with the instrument cable have been worn out or bent out of shape. Sadly, this Ibanez series bass uses a closed output jack, thus it is impossible to fix, and can only be replaced.
crwdns2942213:0crwdne2942213:0
-
-
Gently place the instrument upside-down on a soft surface.
-
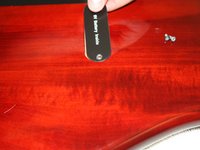
Locate the battery cavity cap and screws.
-
-
-
Use a Phillips #2 head screwdriver to unscrew both screws. Two #1 1mm long screws.
-
-
-
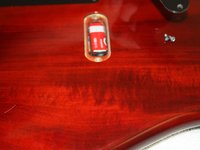
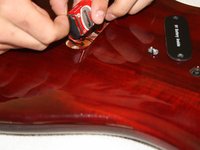
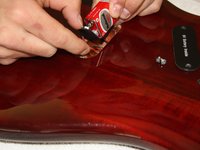
Remove the cap by lifting upwards to reveal the battery.
-
-
-
Gently lift the battery from the cavity.
-
Detach the battery completely by firmly pulling the fabric connector from the conducting end of the battery.
-
-
-
-
Use a Phillips #2 screwdriver to remove the four screws on the backplate.
-
-
-
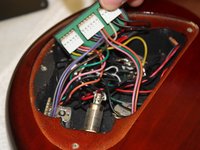
Remove the cap by lifting upwards, revealing the circuitry of the instrument.
-
-
-
Lift the green printed circuit board to move some of the wires.
-
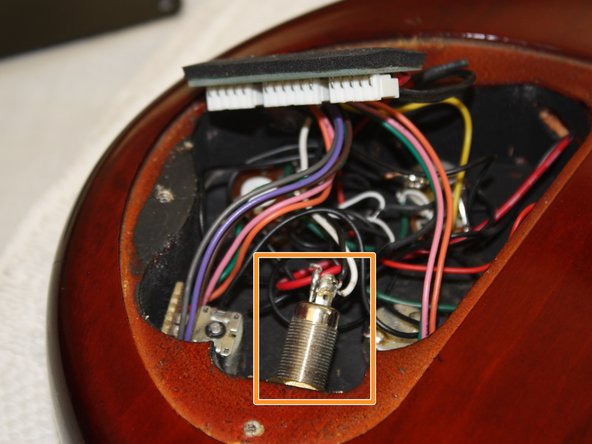
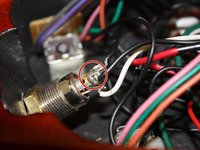
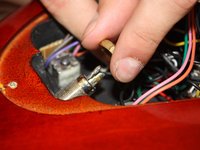
Locate the output jack at the base of the cavity.
-
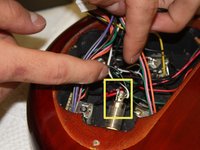
Move wires away from the end of the output jack to expose the three pins.
-
-
-
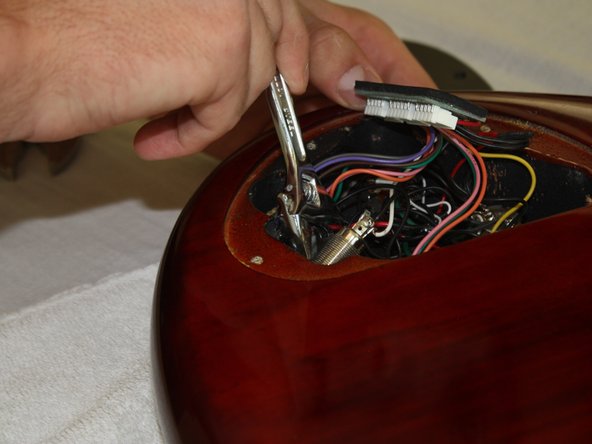
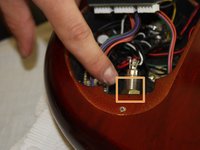
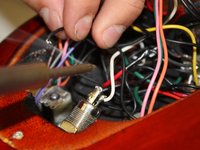
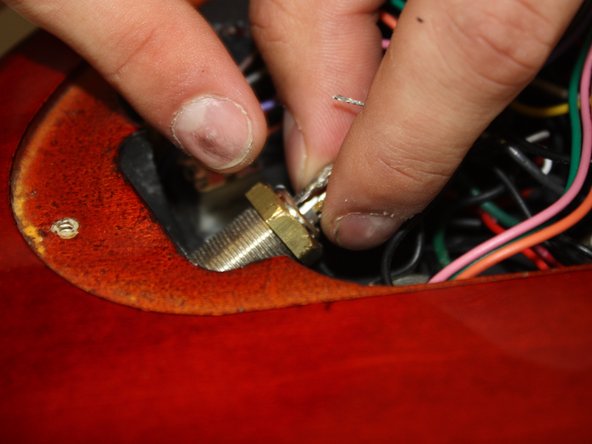
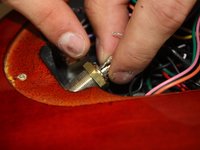
Locate the gold nut at the base of the output Jack.
-
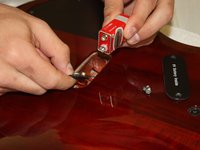
Use the wrench to loosen the nut.
-
-
-
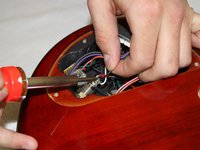
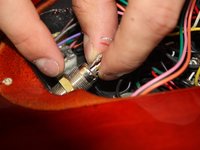
Use a soldering iron to remove the three wires (two black, one white) from the output jack.
-
-
-
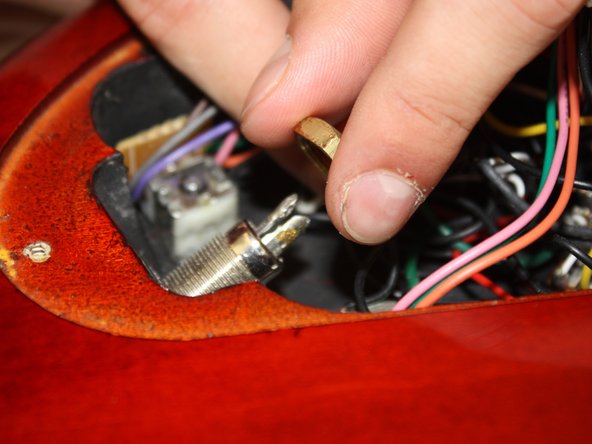
Remove the loosened nut completely by rotating it counter-clockwise.
-
-
-
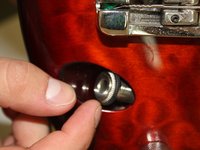
Flip the bass over.
-
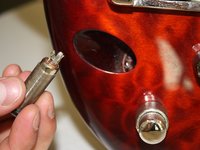
Remove output jack by pushing it gently from the back of the instrument and pulling it out from the front.
-
Insert a new output jack and tighten the nut about halfway.
-
-
-
Use the soldering iron to attach the wires on to the new output jack according to the wiring diagram.
-
Securely tighten the nut using the adjustable wrench.
-


To reassemble your device, follow steps 1-7 in reverse order.
To reassemble your device, follow steps 1-7 in reverse order.
crwdns2935221:0crwdne2935221:0
crwdns2935229:04crwdne2935229:0

crwdns2915084:0crwdne2915084:0

Cal Poly, Team 5-18, Forte Winter 2013 crwdns2935289:0Cal Poly, Team 5-18, Forte Winter 2013crwdne2935289:0
CPSU-FORTE-W13S5G18
crwdns2931471:04crwdne2931471:0
crwdns2935297:09crwdne2935297:0
crwdns2947410:01crwdne2947410:0
Thanks for the good, clear instructions. Well done, very helpful.
m10, Socorro NM