crwdns2933423:0crwdne2933423:0

IQ America VD-8810L Motherboard Replacement

crwdns2942213:0crwdne2942213:0

  1. IQ America VD-8810L Motherboard Replacement, Motherboard: crwdns2935265:01crwdnd2935265:01crwdnd2935265:03crwdne2935265:0 IQ America VD-8810L Motherboard Replacement, Motherboard: crwdns2935265:01crwdnd2935265:02crwdnd2935265:03crwdne2935265:0 IQ America VD-8810L Motherboard Replacement, Motherboard: crwdns2935265:01crwdnd2935265:03crwdnd2935265:03crwdne2935265:0
    • Wedge the spudger into the slot of the panel on the bottom of the device.

    • Rotate out the panel to reveal the screw holding the device together.

  2. IQ America VD-8810L Motherboard Replacement: crwdns2935265:02crwdnd2935265:01crwdnd2935265:02crwdne2935265:0 IQ America VD-8810L Motherboard Replacement: crwdns2935265:02crwdnd2935265:02crwdnd2935265:02crwdne2935265:0
    • Use the Phillips head screwdriver to remove the screw.

    • Separate the Top and bottom halves of the device.

  3. IQ America VD-8810L Motherboard Replacement: crwdns2935265:03crwdnd2935265:01crwdnd2935265:03crwdne2935265:0 IQ America VD-8810L Motherboard Replacement: crwdns2935265:03crwdnd2935265:02crwdnd2935265:03crwdne2935265:0 IQ America VD-8810L Motherboard Replacement: crwdns2935265:03crwdnd2935265:03crwdnd2935265:03crwdne2935265:0
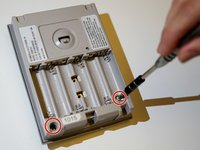
    • Remove batteries from the battery slot.

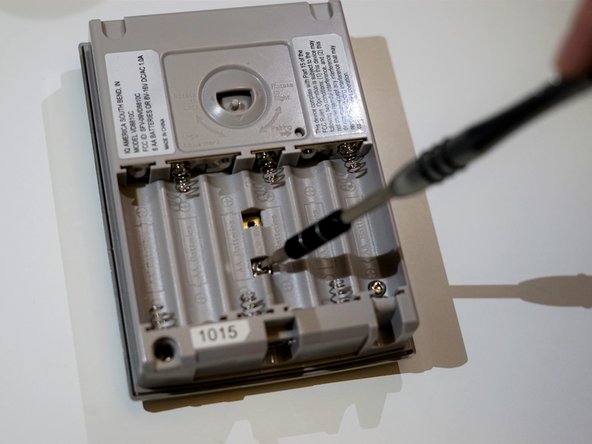
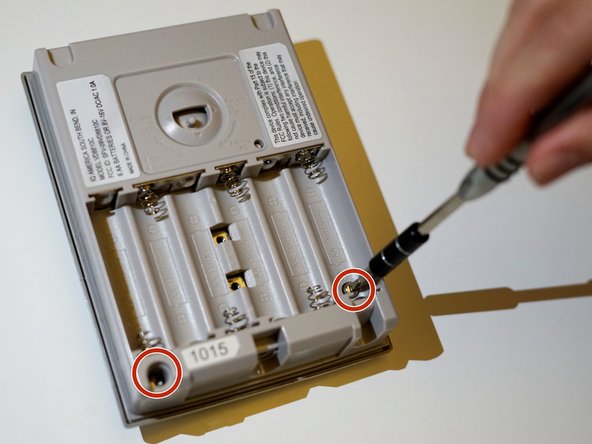
    • Unscrew the two Phillips head screws in the center of the battery slot.

    • Unscrew the remaining two screws at the bottom of the unit using the 3.0 triangle head screwdriver.

  4. IQ America VD-8810L Motherboard Replacement: crwdns2935265:04crwdnd2935265:01crwdnd2935265:01crwdne2935265:0
    • Use the spudger to separate the top and bottom halves of the screen.

  5. IQ America VD-8810L Motherboard Replacement: crwdns2935265:05crwdnd2935265:01crwdnd2935265:01crwdne2935265:0
    • Disconnect the wires from the green motherboard to the bottom half by pulling apart the connecting pins.

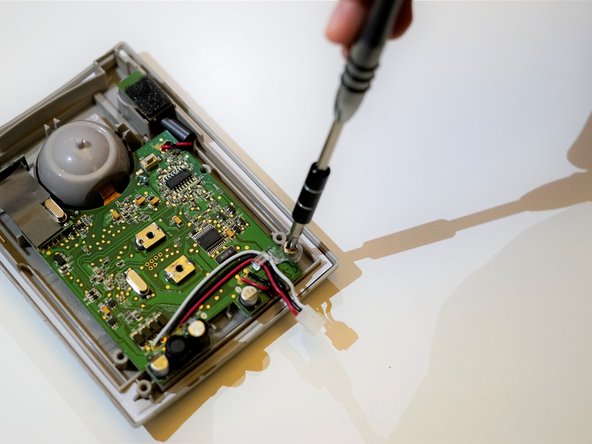
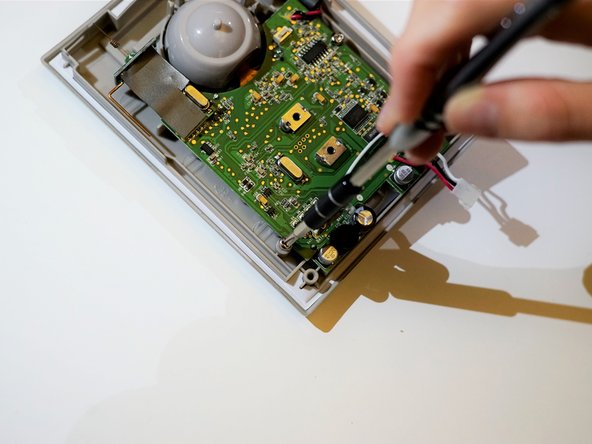
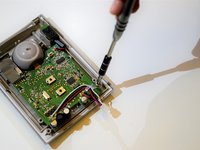
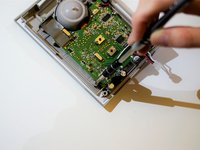
  6. IQ America VD-8810L Motherboard Replacement: crwdns2935265:06crwdnd2935265:01crwdnd2935265:03crwdne2935265:0 IQ America VD-8810L Motherboard Replacement: crwdns2935265:06crwdnd2935265:02crwdnd2935265:03crwdne2935265:0 IQ America VD-8810L Motherboard Replacement: crwdns2935265:06crwdnd2935265:03crwdnd2935265:03crwdne2935265:0
    • Unscrew all 3 Phillips head screws on the outside edges of the motherboard.

  7. IQ America VD-8810L Motherboard Replacement: crwdns2935265:07crwdnd2935265:01crwdnd2935265:01crwdne2935265:0
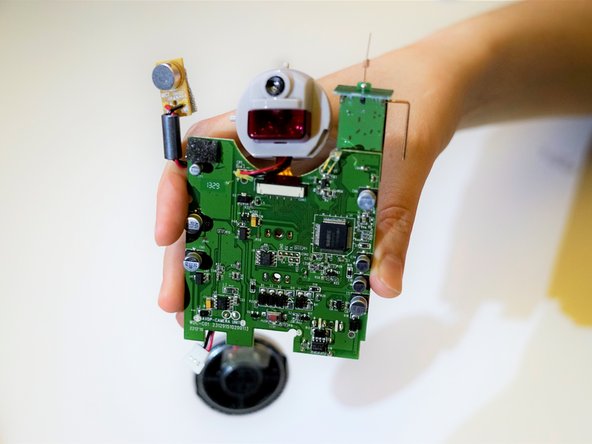
    • Carefully remove the microphone from the casing by pulling away from the device.

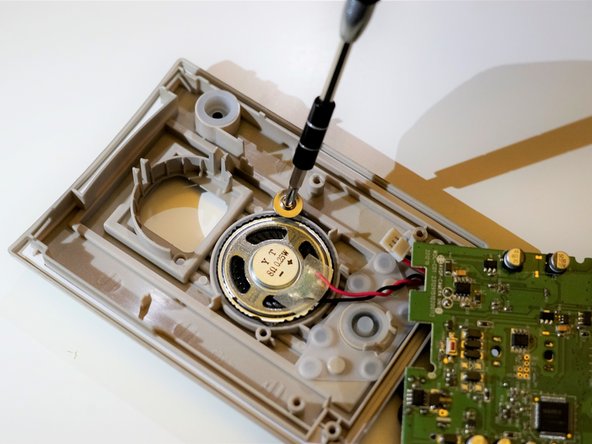
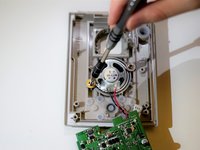
  8. IQ America VD-8810L Motherboard Replacement: crwdns2935265:08crwdnd2935265:01crwdnd2935265:02crwdne2935265:0 IQ America VD-8810L Motherboard Replacement: crwdns2935265:08crwdnd2935265:02crwdnd2935265:02crwdne2935265:0
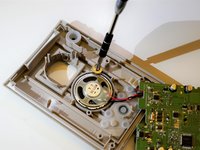
    • Gently lift the motherboard from the casing to reveal the speaker.

    • Unscrew the two Phillips head screws that hold the speaker in place.

  9. IQ America VD-8810L Motherboard Replacement: crwdns2935265:09crwdnd2935265:01crwdnd2935265:01crwdne2935265:0
    • Refer to this guide to desolder the speaker from the motherboard.

crwdns2915888:0crwdne2915888:0

To reassemble your device, follow these instructions in reverse order.

Jackey Lau

crwdns2935283:010/17/17crwdne2935283:0

301 crwdns2915208:0crwdne2915208:0

crwdns2935297:03crwdne2935297:0

crwdns2915084:0crwdne2915084:0

UC Santa Barbara, Team S1-G3, Weedon Fall 2017 crwdns2935289:0UC Santa Barbara, Team S1-G3, Weedon Fall 2017crwdne2935289:0

UCSB-WEEDON-F17S1G3

crwdns2931471:05crwdne2931471:0

crwdns2935297:06crwdne2935297:0

crwdns2944067:00crwdne2944067:0

crwdns2917038:0crwdne2917038:0

crwdns2936625:0crwdne2936625:0:

crwdns2936751:024crwdne2936751:0 0

crwdns2936753:07crwdne2936753:0 4

crwdns2936753:030crwdne2936753:0 7

crwdns2942667:0crwdne2942667:0 237