crwdns2915892:0crwdne2915892:0
This guide will show how to replace the mechanical key switches from your HyperX Alloy Origins mechanical keyboard (serial number HX-KB6RDX and its variants).
The stock key switches on the HyperX Alloy Origins are custom HyperX switches. However, they can be replaced with any number of other MX-type switches. Replacing a key switch on the HyperX Alloy Origins may be a quite difficult task for some people, as it requires the use of a soldering iron. However, a new key switch may be able to save a what was previously a broken keyboard.
Before you begin, ensure that the key you want to replace is entirely broken before resorting to such drastic measures. Unplug and reconnect the keyboard, reset the keyboard through the NGENUITY software, and ensure that nothing is preventing the key from being pressed. If none of these methods are working, proceed with the switch removal by first unplugging the keyboard and bringing it to a well lit area. Ground yourself before beginning replacement.
Usage of a desoldering iron or a desoldering pump (alongside a normal soldering iron) is strongly recommended. The HyperX key switches contain pins which make it difficult to wick away solder. This guide uses a sole soldering iron for demonstration purposes only.
crwdns2942213:0crwdne2942213:0
-
-
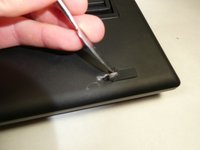
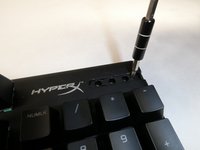
Locate the toggle indicator tab on the top right corner of the keyboard.
-
-
-
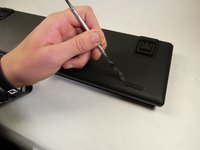
Insert the metal spudger or some other separating instrument into the right crevasse between the tab and the keyboard.
-
Lift up gently on the tab, while holding the left side of the tab down.
-
-
-
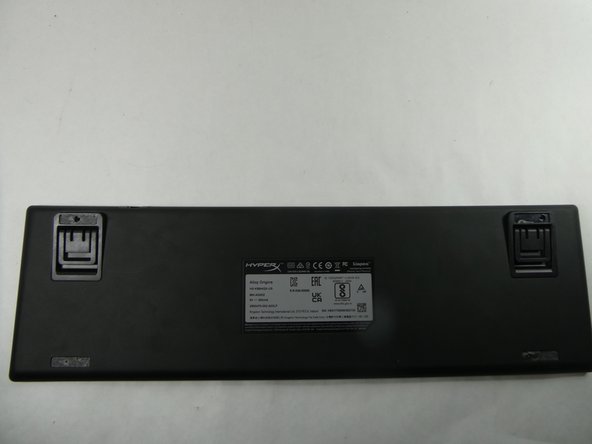
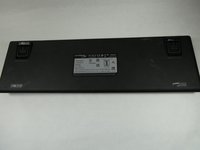
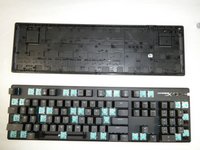
Flip the keyboard over so that the backplate is facing you.
-
-
-
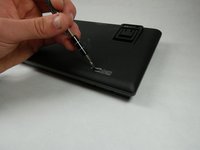
Remove the rubber feet on the four corners of the backplate.
-
-
-
-
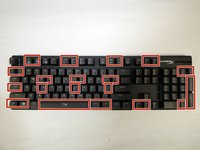
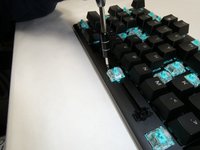
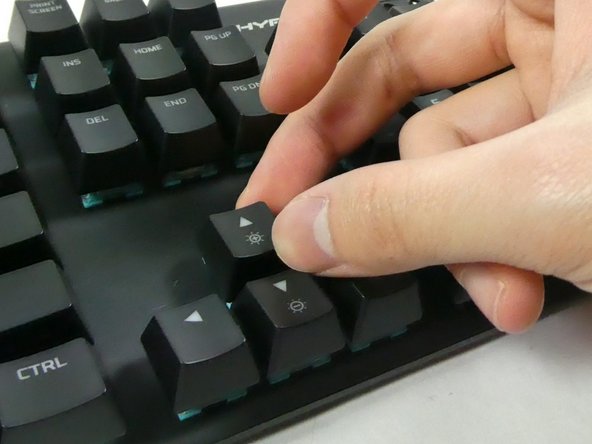
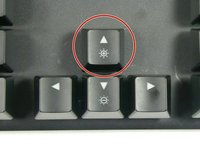
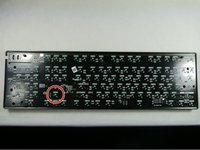
Remove the specified keycaps as depicted in the image.
-
-
-
Remove all Philips #0 screws from the new openings created after removing the rubber feet and plastic tab.
-
-
-
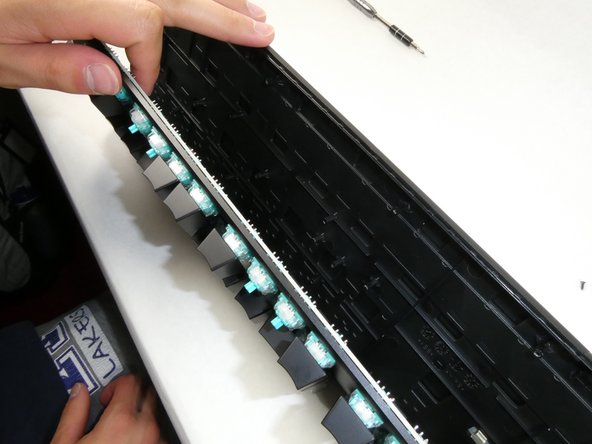
Separate the backplate from the keyboard using your hands.
-
-
-
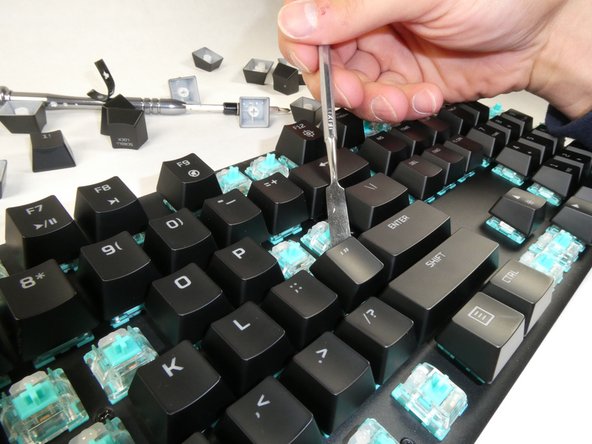
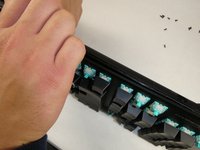
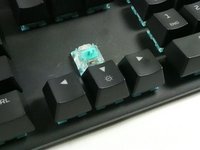
Identify the key switch to be replaced.
-
Remove its keycap by carefully prying it off of the keyboard with your fingers.
-
-
-
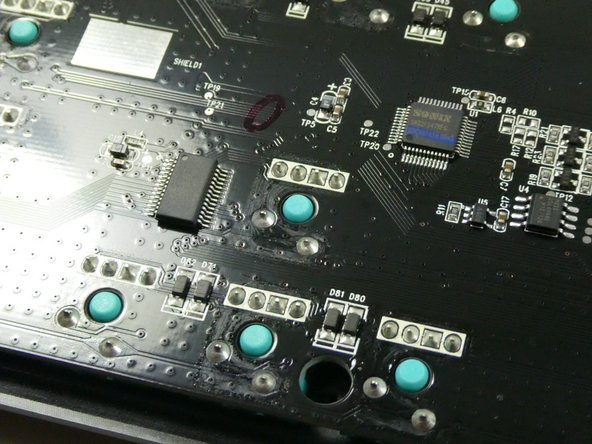
Flip the keyboard over to face the PCB.
-
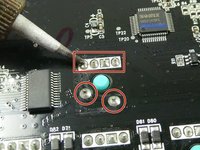
Identify the corresponding switch to be removed.
-
-
-
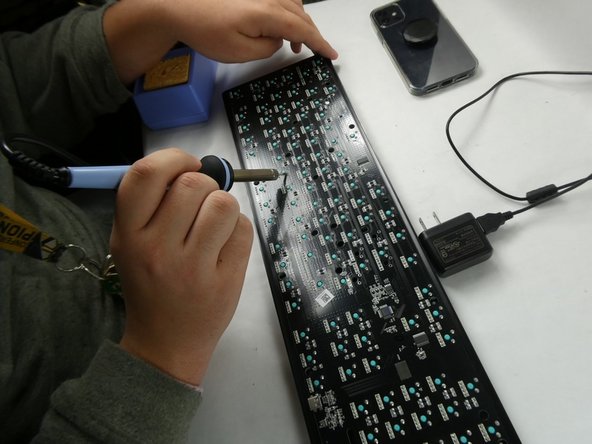
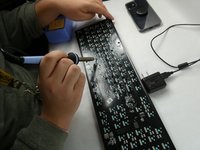
Plug in and turn on your soldering iron.
-
-
crwdns2935267:0crwdne2935267:0Desoldering Pump$3.99
-
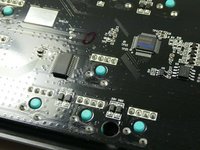
Melt the solder surrounding the four pins of the switch's LED, and the two lower pins of the switch body.
-
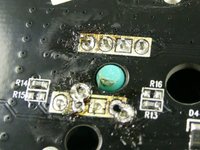
To remove the melted solder, use a desoldering iron, a desoldering pump, or desoldering braid.
-
-
-
Using a spudger or another metallic instrument, firmly press down upon the exposed plastic of the switch. This will separate the switch from the rest of the keyboard.
-


To reassemble your device, follow these instructions in reverse order. Note that when reattaching the switch back to the keyboard PCB, the switch needs to be held in place behind the keyboard while soldering.
To reassemble your device, follow these instructions in reverse order. Note that when reattaching the switch back to the keyboard PCB, the switch needs to be held in place behind the keyboard while soldering.
crwdns2935221:0crwdne2935221:0
crwdns2935229:07crwdne2935229:0

crwdns2915084:0crwdne2915084:0

UMass Dartmouth, Team 5-2, Sinclaire Fall 2022 crwdns2935289:0UMass Dartmouth, Team 5-2, Sinclaire Fall 2022crwdne2935289:0
UMASSD-SINCLAIRE-F22S5G2
crwdns2931471:05crwdne2931471:0
crwdns2935297:015crwdne2935297:0
crwdns2947412:07crwdne2947412:0
Hi, I needed to replace the stabilizers for my spacebar and was able to repaire it successfully by removing the spacebar switch and using the stabilizers from the + key on the keypad which I dont care about. But now when I plug in the keyboard, there's no power at all and no input. If I didn't solder the spacebar switch back on properly, could this cause the whole keyboard to stop working? Also, I decided not to put the + switch back on since I wouldnt be using it anyway.
I need to replace some switches on the same keyboard and I don't know yet. where to buy it or what is the switch model or manufacturer, could you help me with that information?
Holaaa ando buscando un diagrama del circuito del teclado, ya que al cambiar un led una parte del teclado solo ilumina color rojo y los demas iluman en rgb :C
The W key isn’t working on my sons HyperX Alloy Origins Keyboard… he’s cleaned underneath all keys for any debris and tried pressing the escape and function keys at the same time to try and reset plus tried plugging the usb into another port but W key still doesn’t work. Any other suggestions? Can you buy a replacement W key for this keyboard?