crwdns2915892:0crwdne2915892:0
If you need to replace the keyboard on your HP 15-f305dx laptop, use this guide.
The keyboard is the main way you interface with your computer. It is a crucial component in order effectively use a computer. There are several reasons why a keyboard may fail or stop working, including liquid, dust/debris, dropping the laptop, or bad hardware. All of these have the potential to cause a keyboard to fail resulting in the need for replacement.
Before using this guide, ensure your laptop’s battery has been removed so there is no chance of electric shock or further damage to your laptop.
crwdns2942213:0crwdne2942213:0
-
-
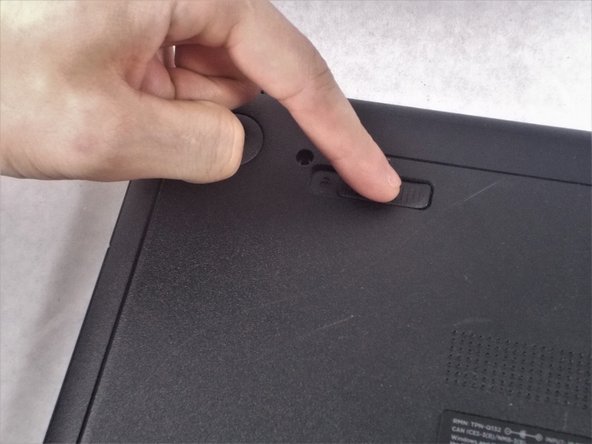
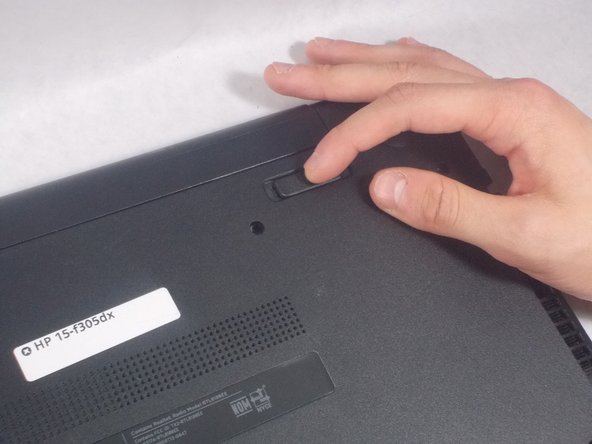
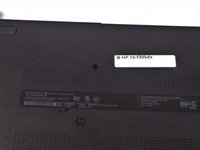
Turn the computer upside down on a flat surface.
-
-
-
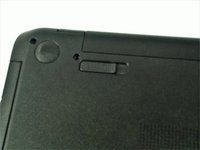
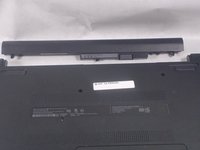
Firmly slide the release latch to unlock the battery and slide the battery release latch to release the battery.
-
-
-
-
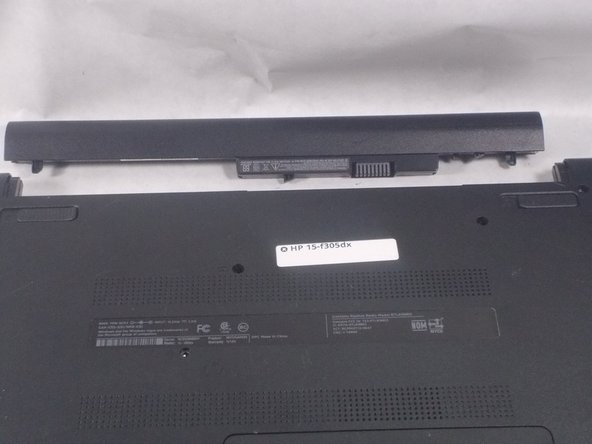
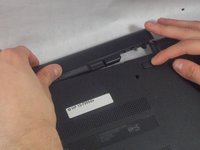
Lift the battery from the middle and then pivot it outward to remove it from the computer.
-
-
-
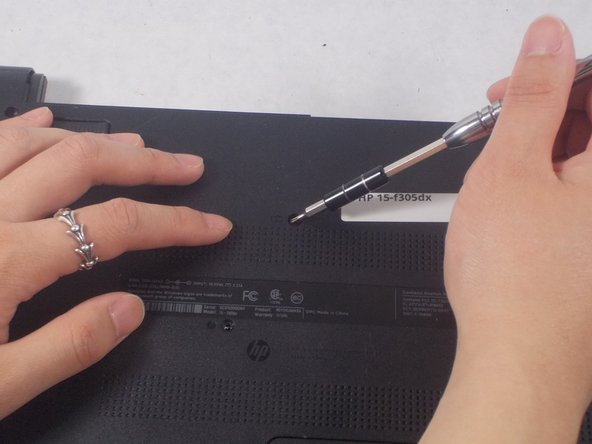
Remove the single 7 mm screw from the top middle of the laptop using a Phillips #0 screwdriver.
-
-
-
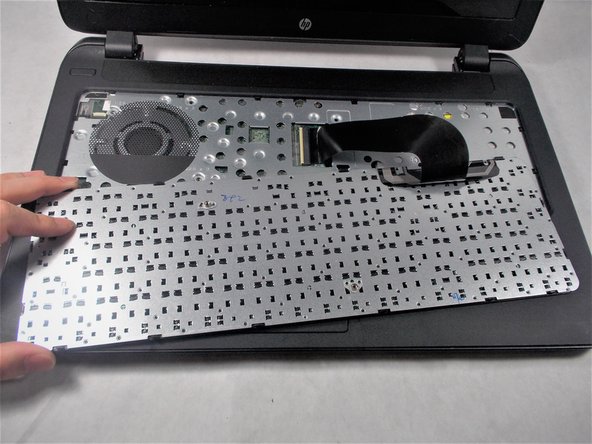
Pry the keyboard out of the laptop gently and flip the keyboard around.
-
-
-
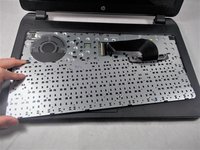
Disconnect the connected cable from the mainboard.
-


To reassemble your device, follow these instructions in reverse order.
crwdns2935287:0crwdne2935287:0

UMass Dartmouth, Team S2-G3, Bernier Spring 2018 crwdns2935289:0UMass Dartmouth, Team S2-G3, Bernier Spring 2018crwdne2935289:0
UMASSD-BERNIER-S18S2G3
crwdns2931471:03crwdne2931471:0
crwdns2935297:04crwdne2935297:0