crwdns2915892:0crwdne2915892:0
This guide will assist you in unclogging your water dispensing hose. To get to the hose you are going to need a #1 Phillips screw driver.
crwdns2942213:0crwdne2942213:0
-
-
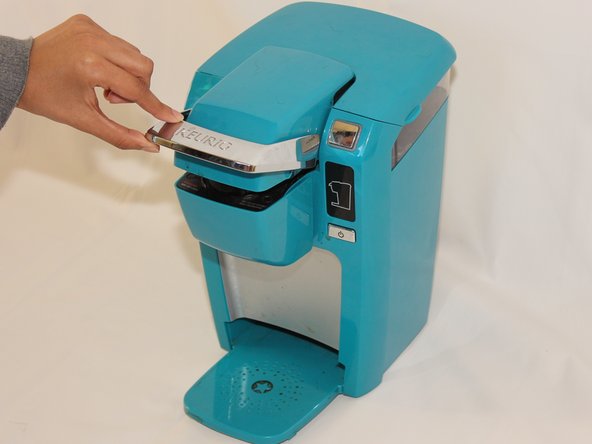
Lift up the handle of the Keurig Mini.
-
-
-
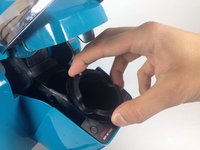
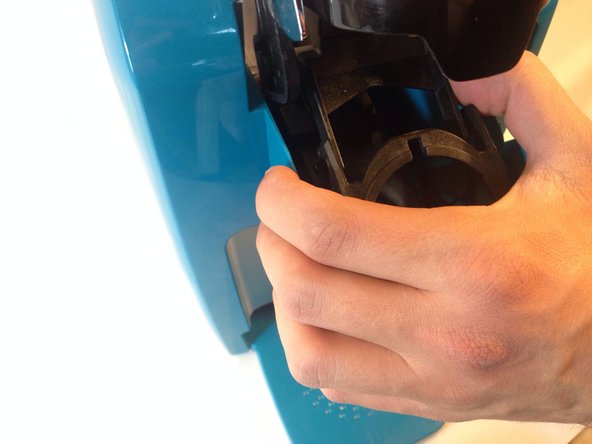
Firmly place a finger on each one of the three tabs that hold the K-cup holder into place, pushing in lightly. The tabs are difficult to see, but they are there and will make the removal easier. The top tab is located in the same location as the white triangle and the bottom two are located under the plastic bumps highlighted in the picture.
-
-
-
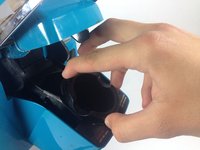
Firmly rock the K-cup holder from side to side, loosening the K-cup holder from its seat.
-
-
-
Open the top lid of the Keurig.
-
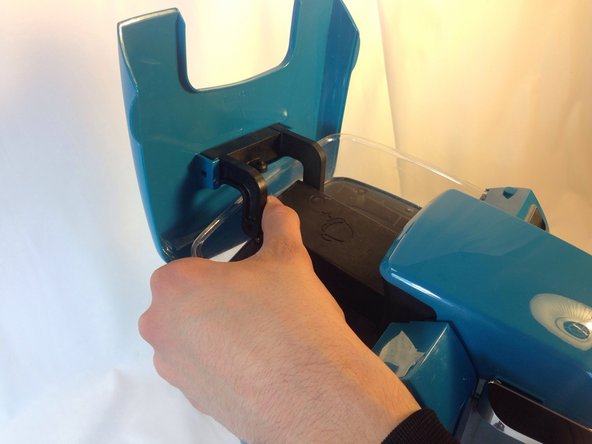
Pull directly outwards on one of the arms that holds the top lid in place. It will take some force to get the arm off the peg. Once one side is off, repeat the process on the second arm.
-
-
-
Lay the Keurig on its back with the water reservoir pointing away from you.
-
-
-
-
Unscrew the two 9mm #1 Philips screws that hold the top plastic cover in place.
-
-
-
Set the Keurig in an upright position with the front side facing you.
-
Pull the cover off the top of the Keurig. It should come off easily with little force.
-
-
-
Firmly grasp the hose and pull it off of the plastic nozzle.
-
-
-
Unscrew the two 9 mm #1 Philips screws at the top of the device.
-
-
-
Push down lightly on the nozzle that the hose was attached to. The plastic housing along with the needle should pop off without much force.
-
-
-
With the needle removed, open the device by pulling up on the handle.
-
-
-
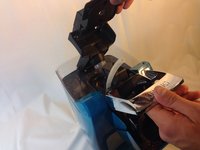
Push in on one of the arms attached to the K-cup holder plastic housing to remove it from its rails. The arms are identical for both sides so once one side is free repeat the process for the second side.
-
Once the arms are removed, the configuration should look like the picture. The K-cup holder housing should be separated from the arms.
-
-
-
Use a Phillips #1 screw driver to remove the four 12 mm screws that hold the arm assembly in place.
-
-
-
Lift up the arm and pull up the handle assembly. It should easily come off.
-
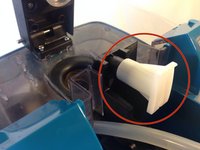
This white tab falls off easily, remove it and set it aside to ensure it is not lost.
-
-
-
Lift up the arm of the Keurig Mini to get it out of the way.
-
Hold the water tube at its base while pinching it tightly.
-
While maintaining pressure on the tube, slide your fingers along until the tip to push out any material clogging the hose.
-
Repeat this process until all obstructions are removed.
-


To reassemble your device, follow these instructions in reverse order.
crwdns2935221:0crwdne2935221:0
crwdns2935229:038crwdne2935229:0
crwdns2935287:0crwdne2935287:0

Cal Poly, Team 17-1, Forte Winter 2014 crwdns2935289:0Cal Poly, Team 17-1, Forte Winter 2014crwdne2935289:0
CPSU-FORTE-W14S17G1
crwdns2931471:05crwdne2931471:0
crwdns2935297:024crwdne2935297:0
crwdns2947412:042crwdne2947412:0
To clear the hose I needn't have gone beyond step 9. Once the hose is detached one can run a pipe cleaner down it. I was amazed how many coffee grounds were stuck way up there where there shouldn't be any!
A tip would be to use a magnetized screwdriver: I was worried that the screws would fall into the workings of the machine.
For the final step of reattaching the lid, having a second person would help or perhaps holding it between your knees might help - trying to apply pressure to the screws also made the arms/compartment want to collapse/ close so that was a bit of a challenge.
Very informative instructions and I now have a Keurig that works again!! :)
Thumbs up on the magnetized screwdriver tip
M A -
The screws are stainless steel and are thus not magnetic.
jastpeel -
The screws were magnetic for me.. they are probably a carbon steel Or galvanized. They aren’t stainless.
Amanda T -
While you have your brewer this far apart it would be wise to take a small wire or even a sewing needle and run it down the slightly squared, open side of both of the Keurig needles. You'll be surprised at how grounds have gotten in there and slowed the flow of output liquid, mine flows like a new one again.