crwdns2915892:0crwdne2915892:0
During sport, the hem of your trousers or jacket sleeves may become damaged and frayed. This will often get worse if not fixed, so don't let it get to that stage! This guide is one of two options for fixing this defect, and will result in the leg/sleeve becoming shorter. If you prefer not to make the item shorter, please check the other guide: How to repair a trouser/cuff hem (without shortening).
➡️Before you get started, please check the safety disclaimer at the bottom of the page.
crwdns2942213:0crwdne2942213:0
-
-
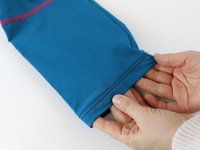
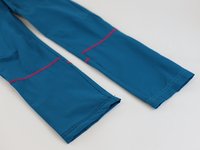
Identify the defective area and assess how large the damage is.
-
-
-
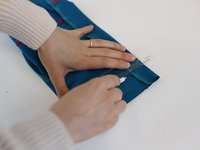
Use a "seam ripper" tool to unstitch the original hem.
-
Unfold the hem.
-
Draw line above the defective part that you want to remove.
-
-
-
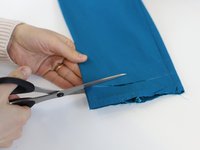
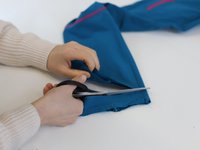
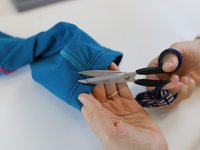
Cut along the line and set the removed piece aside.
-
Turn the item inside-out.
-
-
-
-
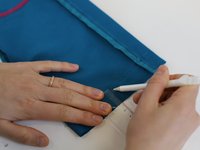
Draw a 1st line 2 cm from the edge - and a 2nd line with 2cm on top of it.
-
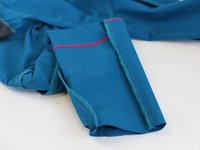
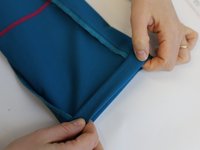
Fold the new hem twice on those lines.
-
-
-
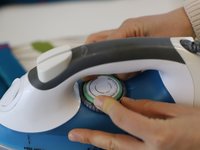
Set up the iron on moderate heat without stream
-
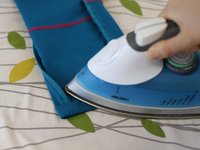
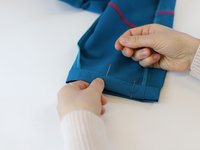
Fixed the folded hem by ironing and then with pins.
-
-
-
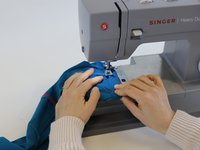
Use a sewing machine to fix the hem.
-
Stitch 2mm from the edge and add a locking stitch at both ends.
-
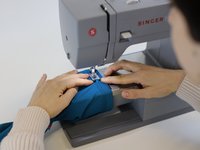
Stitch the 2nd line parallel with the first.
-
Cut the extra thread to make a clean finished seam. Turn the item right-way-round.
-
-
-
🛠️🏆👏 Congratulations! The repair is complete, and you're ready to go!
-
In need of another repair? Don't worry! Check out our other guides to find quick solutions for your favourite clothing, footwear and equipment!
----------------------------------------
🚨🛠️🩹 IMPORTANT SAFETY NOTICE:
The repair guides provided on this site are intended to help you repair products on your own. While we have put a lot of care into them, all repair work carries some risk:
- Safety Precautions: When repairing your product, take all necessary precautions to ensure your safety. Use appropriate tools and follow the instructions carefully.
- Product Condition: Once your product has been repaired, it may not meet original compliance guidelines anymore and could potentially have issues.
- Liability: We are not responsible for any damage or injury that may occur during the repair process or as a result of using a repaired product. You, as the repairer, assume all risks and responsibilities associated with the repair.
By using these repair guides, you fully acknowledge and accept the potential risks and responsibilities involved.


