crwdns2915892:0crwdne2915892:0
Some fabrics can degrade over time with pilling. But this could be removed with a very easy process.
Pilling often appears on winter products like knitted jumpers, merino wool sweaters, knitted 2nd layers like fleece jackets - but can sometimes also be visible on cotton or polyester T-Shirts.
With this repair guide, you will be able to refresh your damaged products to look as good as new!
➡️Before you get started, please check the safety disclaimer at the bottom of the page.
crwdns2942213:0crwdne2942213:0
-
-
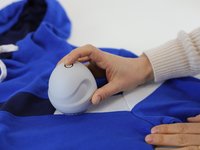
Lay out the garment on a clean surface. Prepare the pilling shaver.
-
-
-
-
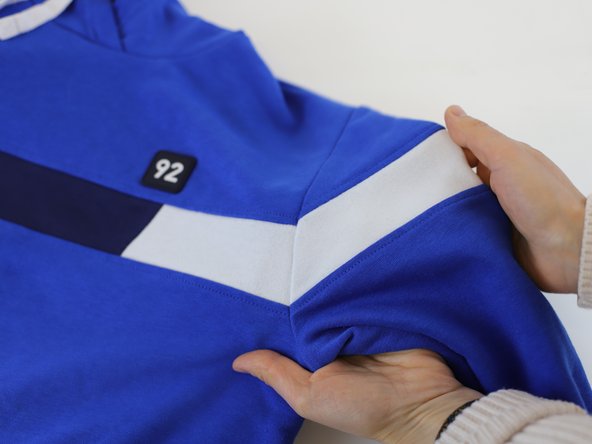
Smooth the garment to make sure it is flat before starting.
-
Make little circles with light pressure on the damaged fabric. The pilling will be cut away by the shaver.
-
-
-
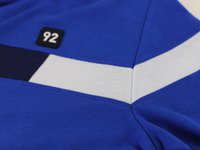
🛠️🏆👏 Congratulations! The repair is complete, and you're ready to go!
-
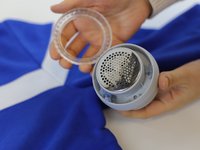
Be sure to clean the lint from inside your shaver after use.
-


In need of another repair? Don't worry! Check out our other guides to find quick solutions for your favourite clothing, footwear and equipment!
----------------------------------------
🚨🛠️🩹 IMPORTANT SAFETY NOTICE:
The repair guides provided on this site are intended to help you repair products on your own. While we have put a lot of care into them, all repair work carries some risk:
- Safety Precautions: When repairing your product, take all necessary precautions to ensure your safety. Use appropriate tools and follow the instructions carefully.
- Product Condition: Once your product has been repaired, it may not meet original compliance guidelines anymore and could potentially have issues.
- Liability: We are not responsible for any damage or injury that may occur during the repair process or as a result of using a repaired product. You, as the repairer, assume all risks and responsibilities associated with the repair.
By using these repair guides, you fully acknowledge and accept the potential risks and responsibilities involved.
crwdns2935221:0crwdne2935221:0
crwdns2935227:0crwdne2935227:0

crwdns2915084:0crwdne2915084:0

INTERSPORT crwdns2935289:0INTERSPORTcrwdne2935289:0
Community
crwdns2931471:024crwdne2931471:0
crwdns2935297:0164crwdne2935297:0