crwdns2915892:0crwdne2915892:0
The HP LaserJet 2100 has an issue where printing multiple pages at once causes a paper jam.
The issue is that inside the printer, there are relays (one for each of the two paper feeds) that allow the rollers to turn and feed a sheet of paper into the printer. I think that between each sheet of paper, the relay should release a hook which blocks those rollers. The problem is that HP put a dampener on the relay to reduce the noise it makes. Unfortunately, after more than 20 years (the printer was apparently released before the year 2000) the dampener might have become quite sticky and so the hook stays in place for several seconds before blocking the rollers again.
This guide will show you how to put some tape over the dampener so the hook does not stick to the relay any longer.
Before doing any of the steps in the guide, pull the power plug from the device.
This guide is based on this article and this video (both are not mine).
crwdns2942213:0crwdne2942213:0
-
-
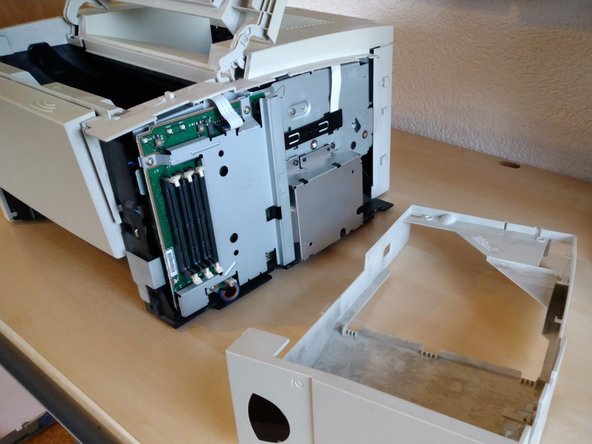
Remove the cover on the right side.
-
-
-
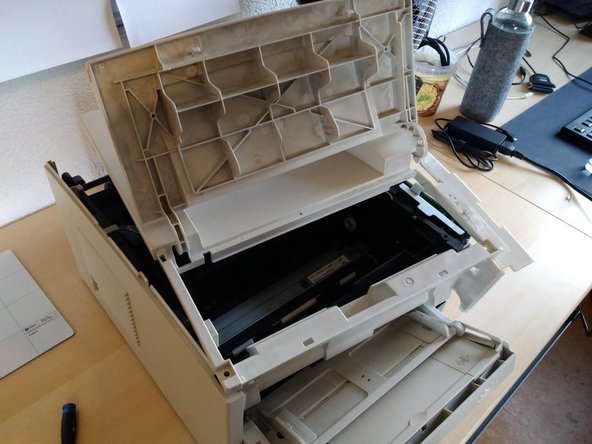
Open the top lid and remove the toner cartridge.
-
-
-
Depress the button which was below the lid you opened in the previous step. At the same time, pull the right plastic side panel of the printer forwards to remove it from the printer. The panel can be quite stubborn, but be patient so you don't break any of the plastic hooks.
-
-
-
Open the flap on the rear of the printer.
-
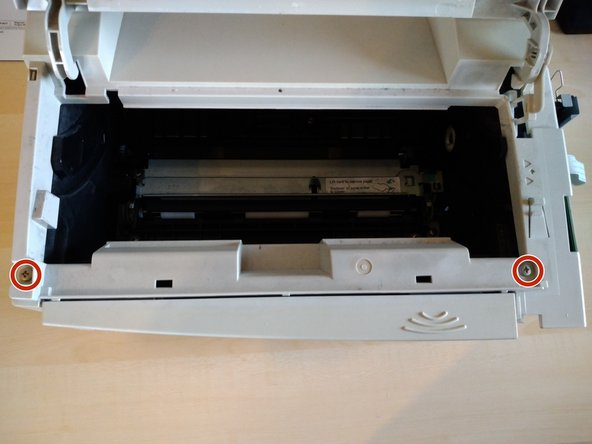
Remove the two screws. Keep track of where the screws came from since different kinds of screws are used throughout the printer.
-
Remove the rear panel. To do so, pull on the left side (when viewing from the rear) where there are plastic clips. Also pull from under the flap you opened at the beginning of this step.
-
The panel is kind of hooked at the top of the device, so after pulling it away from the bottom you should be able to remove it by pulling it down. For that it is helpful to move the rear of the printer over the edge of the table.
-
-
-
-
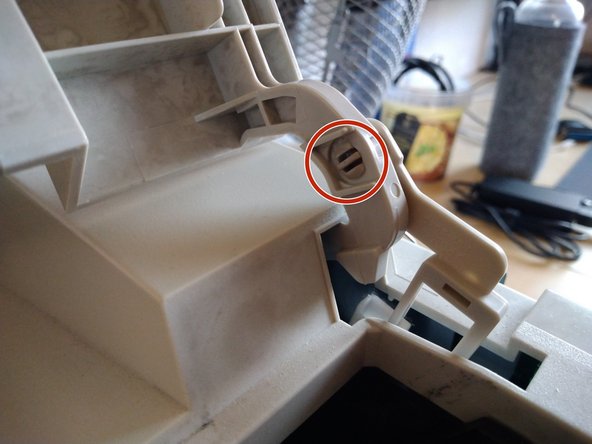
Next up you need to disconnect some kind of hook from the top lid.
-
To do so, compress this pin and pull it out to the right.
-
Push the hook down into the printer.
-
When reassembling the printer later, you have to pull this hook out of the printer again. To do so, some kind of hook tool can come in handy. Alternatively, a screwdriver can also be used.
-
-
-
Now you can remove the whole top panel of the printer.
-
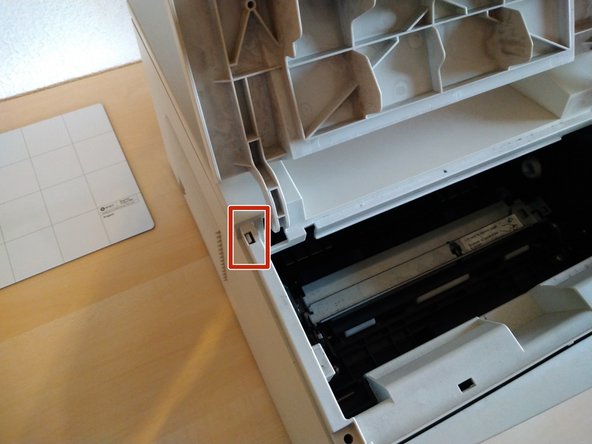
Open the front paper feed.
-
Push this plastic hook aside.
-
Now remove the top panel. I found it easiest to first twist it clockwise and then lift it up.
-
When reassembling the printer, I found it easiest to just put it straight in instead of rotating it into place.
-
-
-
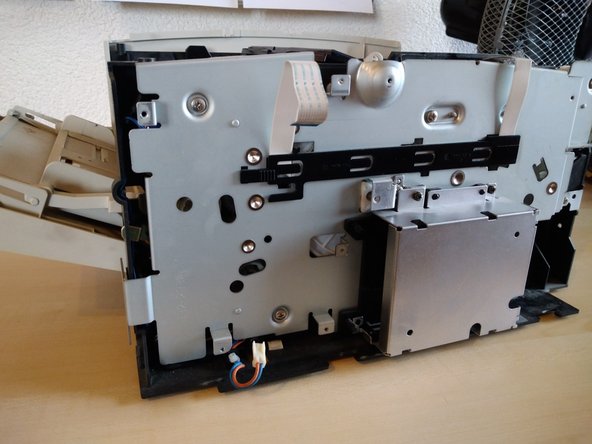
This is the printer without the top panel.
-
-
-
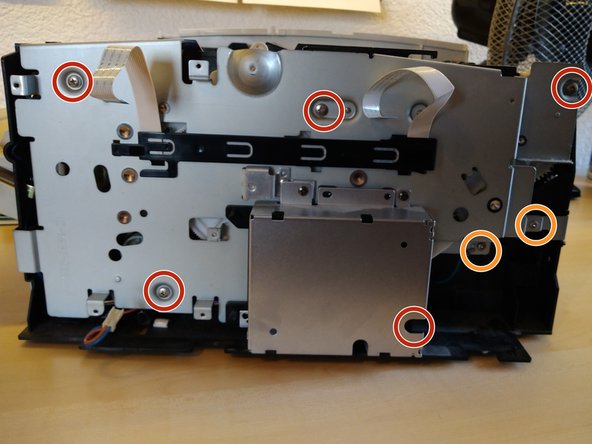
Next, you can remove the PCB from the right side of the printer.
-
Remove these five screws.
-
Unplug these two cables.
-
Now you can remove the PCB.
-
-
-
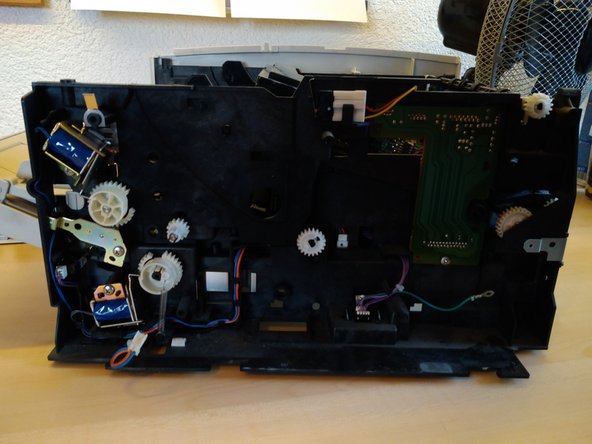
Now you can remove the gear unit from the right side of the printer.
-
Remove these five screws.
-
Also remove these two screws. Note that they are different from the other screws in this step. Also note that one of them is there to secure a grounding wire which you have to reconnect when reassembling the device.
-
Then you can remove the whole gear unit. Don't worry, all the gears are secured on their axes so they don't fall off.
-
To remove the gear unit, pull the top of the unit forward and then lift the whole thing up because at the bottom center, there is a gap in which one of the gears sits.
-
When reassembling the device, make sure that that one gear is in the gap at the bottom center before pushing the rest of the unit onto the device.
-
-
-
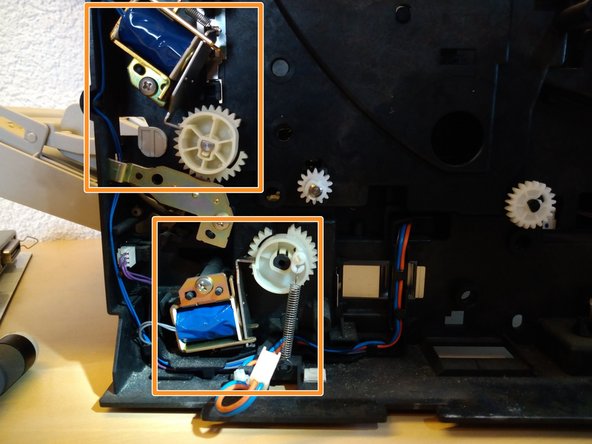
Now you can see the culprits of the issue: There are two relays, one for each paper feed.
-
When I opened my printer, both of the gears which these relays block were "under tension". Since we want to remove the relays, you should first push on the hooks of the relays so that the gears can turn freely.
-
When reassembling the device, I would recommend to turn the gears until the hook snaps into place again (not sure if that is necessary).
-
When pressing the hook of the relay to the relay itself (even when pressing it with a lot of force) it should not stick and instead retract immediately. So if you find that the hook does stick to the relay, you've probably found your problem. You can see an extreme case of that in this video (not mine).
-
-
-
I will only show steps for fixing the bottom relay as fixing the top relay works in exactly the same way.
-
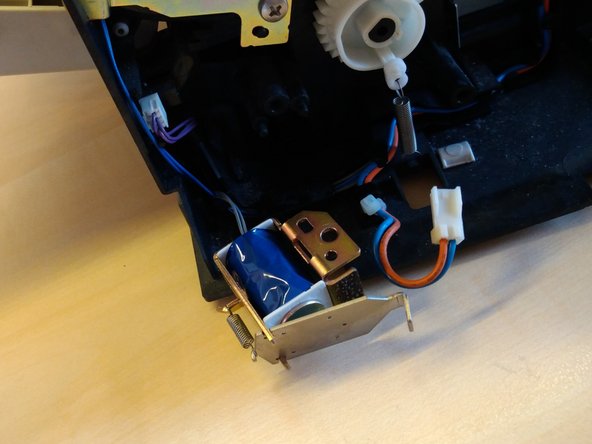
Remove the screw and carefully twist out the relay.
-
-
-
Remove the spring from the relay. Be careful so you don't lose it.
-
Now you can separate the hook from the relay. You can see the sticky material that was used as a dampener.
-
-
-
Put some kind of tape over the sticky part on both the relay and the hook.
-
I would also recommend putting tape over the center part of the relay and hook (I found that the hook would still stick to the relay a bit without the tape there).
-
When reassembling the relay, be careful so you don't loose the spring - putting it back is tricky and a very thin hook can come in handy.
-


To reassemble your device, follow these instructions in reverse order.
Pay attention to the comments I made regarding reassembly.
Definitely don't forget to reattach the grounding wire from step 11.
To reassemble your device, follow these instructions in reverse order.
Pay attention to the comments I made regarding reassembly.
Definitely don't forget to reattach the grounding wire from step 11.