crwdns2942213:0crwdne2942213:0
-
-
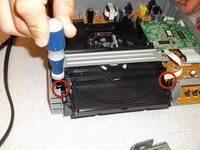
Use a Phillips #2 screwdriver to remove the two screws on the top of the device toward the back.
-
-
-
Remove the plastic cover by lifting up the back and pulling it away from the faceplate.
-
-
-
Unclip the three latches on the bottom of the device.
-
-
-
Use a Phillips #2 screwdriver to remove the two screws at the base of the disk drive.
-
-
-
-
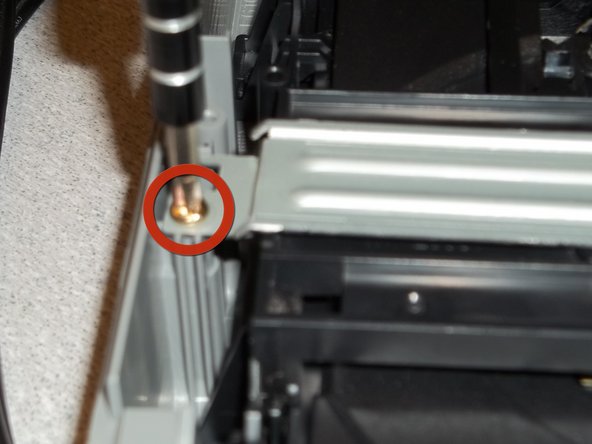
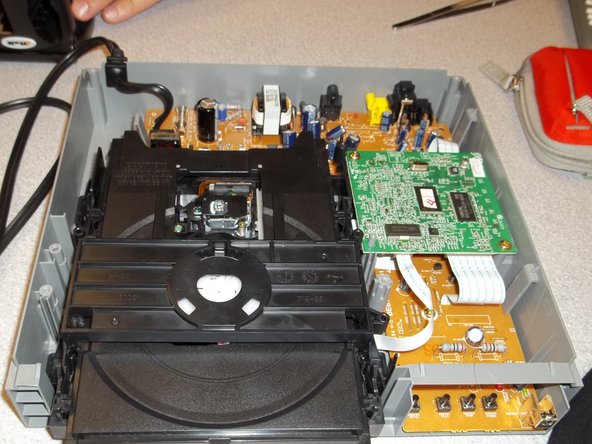
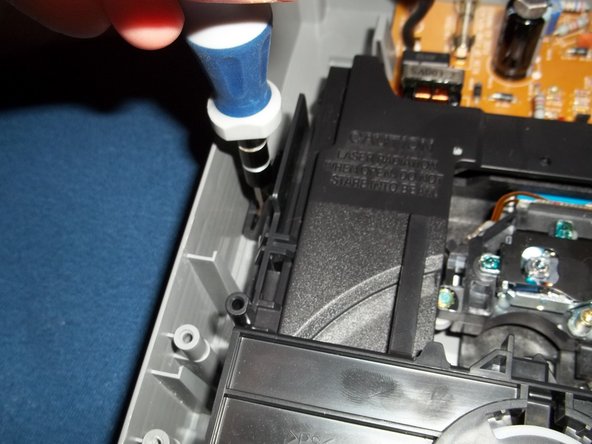
Use the screwdriver to remove two screws on either side of the silver security bar.
-
-
-
Pull out the silver security bar and set aside.
-
-
-
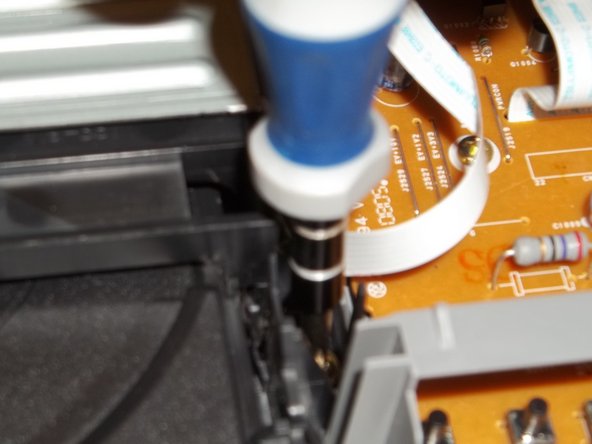
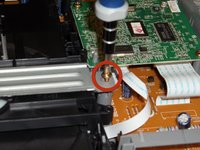
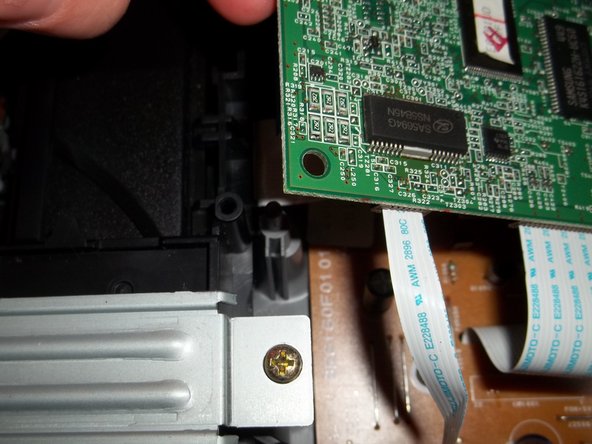
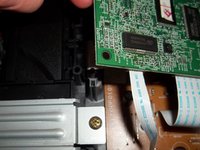
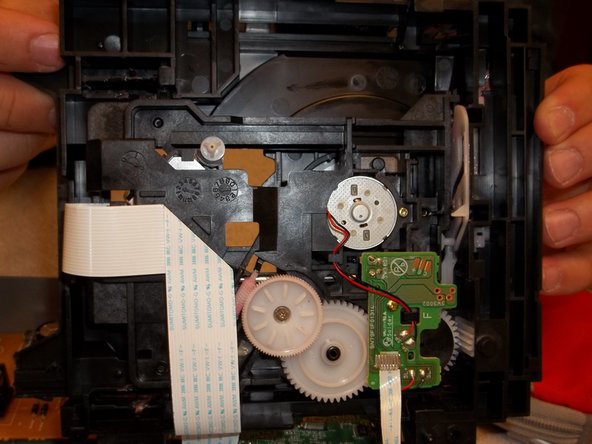
Take out the two screws on either side of the green circuit board.
-
-
-
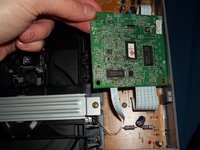
Carefully lift the board just enough to remove the disk drive.
-
-
-
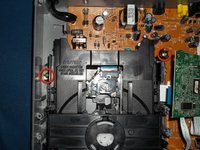
Remove the two screws at the back of the disk drive.
-
-
-
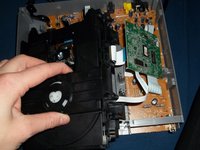
Gently lift the disk drive out of the DVD player.
-
-
-
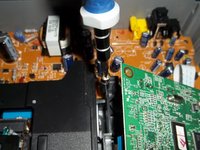
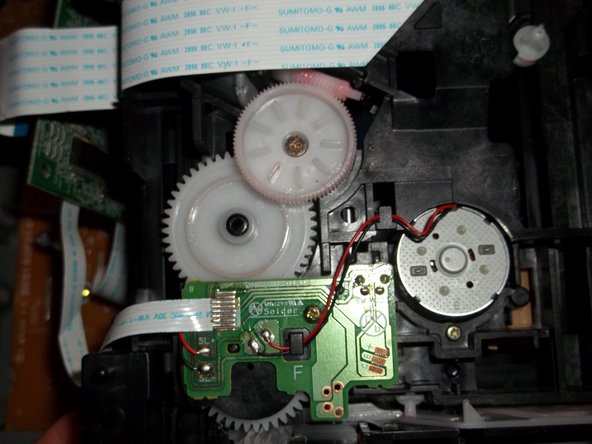
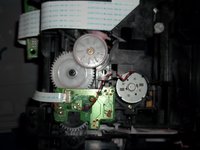
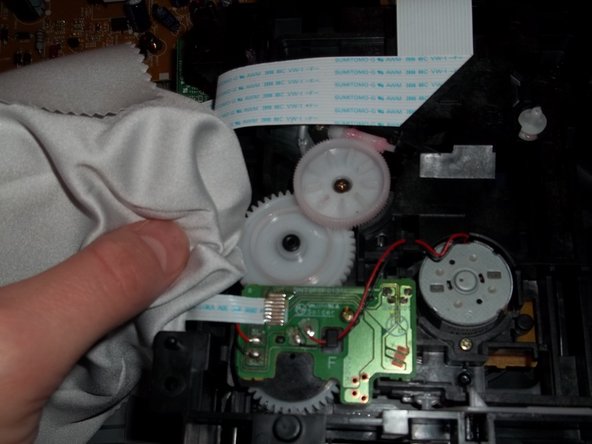
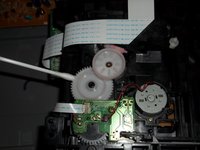
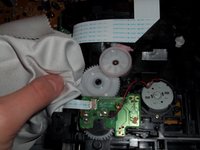
Turn disc drive over so you can see the gears on the bottom.
-
-
-
Using a cotton swap or a cleansing cloth and alcohol, gently rub the gears ridding of any debris and dust.
-
You can also use a compressed air can as well. Just point the nozzle at the gears and spray with the compressed air.
-


To reassemble your device, follow these instructions in reverse order.
To reassemble your device, follow these instructions in reverse order.
crwdns2935221:0crwdne2935221:0
crwdns2935229:02crwdne2935229:0
crwdns2915084:0crwdne2915084:0

University of Maine, Team 1-2, Diaz Fall 2011 crwdns2935289:0University of Maine, Team 1-2, Diaz Fall 2011crwdne2935289:0
UMAINE-DIAZ-F11S1G2
crwdns2931471:02crwdne2931471:0
crwdns2935297:05crwdne2935297:0