crwdns2915892:0crwdne2915892:0
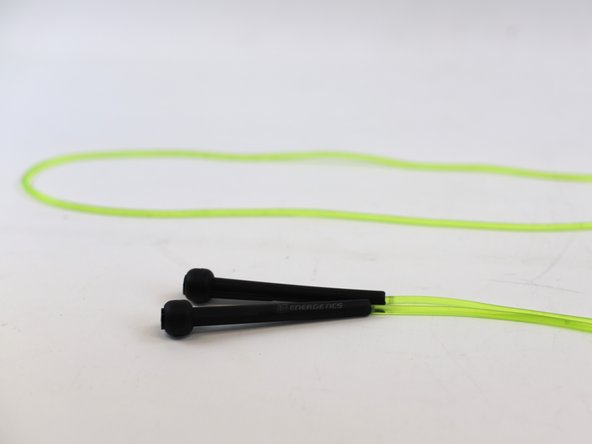
Using a kinked jump rope for exercise can be a bit uncomfortable, but did you know there is a quick fix? To get you jumping smoothly again, we will show you step by step how to straighten it. Let's dive in and fix that rope!
➡️Before you get started, please check the safety disclaimer at the bottom of the page.
crwdns2942213:0crwdne2942213:0
-
-
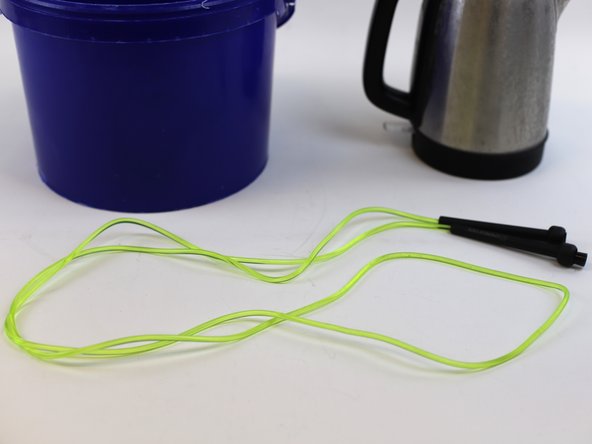
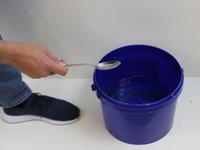
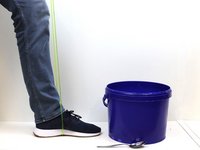
Prepare all the tools needed for the repair.
-
-
-
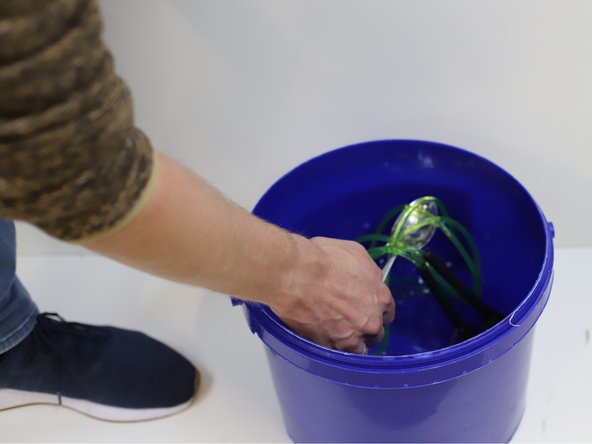
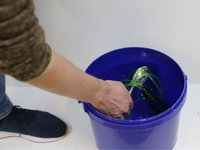
Fill the bucket with hot water and gently insert the jump rope.
-
Leave it fully submerged for 3 minutes.
-
Tip: The hot water might cool down so it is always better to have backup water in a kettle to keep refilling the bucket.
-
-
-
-
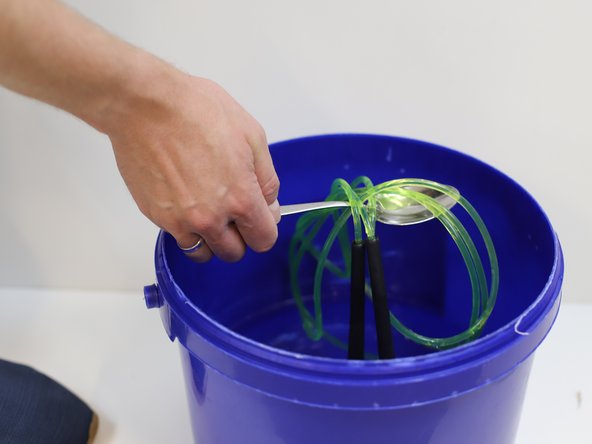
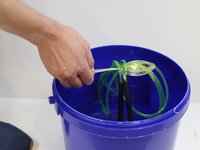
Use a spoon to remove the jump rope from the water.
-
Tip: Avoid touching the water as it might still be hot.
-
-
-
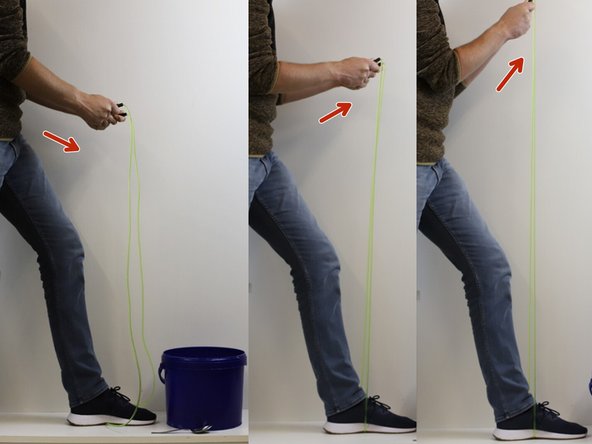
Put the rope under your foot and press it against the floor.
-
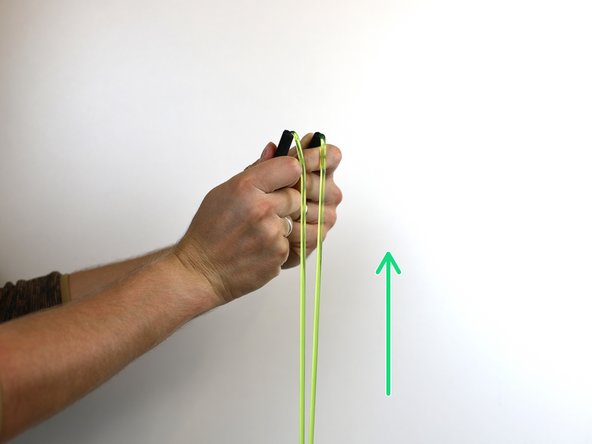
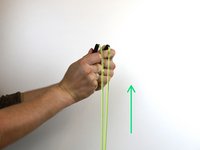
Pull the rope upwards in a straight and vertical motion, following the green arrow.
-
Hold onto the grips and firmly push the rope upwards following the red arrows.
-
Keep on holding the rope tight for 3 minutes.
-
-
-
🛠️🏆👏 Congratulations! The repair is complete, and you're ready to go!
-
In need of another repair? Don't worry! Check out our other guides to find quick solutions for your favourite clothing, footwear and equipment!
----------------------------------------
🚨🛠️🩹 IMPORTANT SAFETY NOTICE:
The repair guides provided on this site are intended to help you repair products on your own. While we have put a lot of care into them, all repair work carries some risk:
- Safety Precautions: When repairing your product, take all necessary precautions to ensure your safety. Use appropriate tools and follow the instructions carefully.
- Product Condition: Once your product has been repaired, it may not meet original compliance guidelines anymore and could potentially have issues.
- Liability: We are not responsible for any damage or injury that may occur during the repair process or as a result of using a repaired product. You, as the repairer, assume all risks and responsibilities associated with the repair.
By using these repair guides, you fully acknowledge and accept the potential risks and responsibilities involved.

