crwdns2915892:0crwdne2915892:0
The Xbox 360 is an iconic console, but as time passes the disc tray often stops functioning properly. When this happens we lose the ability to play any desired game. This guide demonstrates how to carefully disassemble the Xbox 360, and replace the drive belt inside the optical drive, so you can go back to enjoying those games. Please use the tools gently, so the Xbox 360 won't get scratched and pieces won't tear off.
Don't forget to fully disconnect your Xbox 360 before beginning the guide. Lastly, here is a link for Screwdriver Best Practices that can help.
Screwdriver Best Practices
crwdns2942213:0crwdne2942213:0
-
-
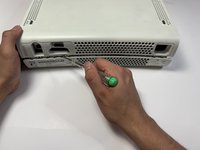
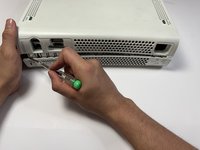
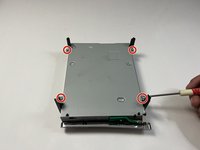
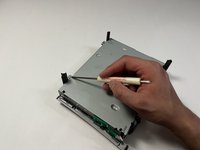
Remove the hard drive.
-
-
-
Use a pry tool to gently remove the faceplate from the Xbox.
-
-
-
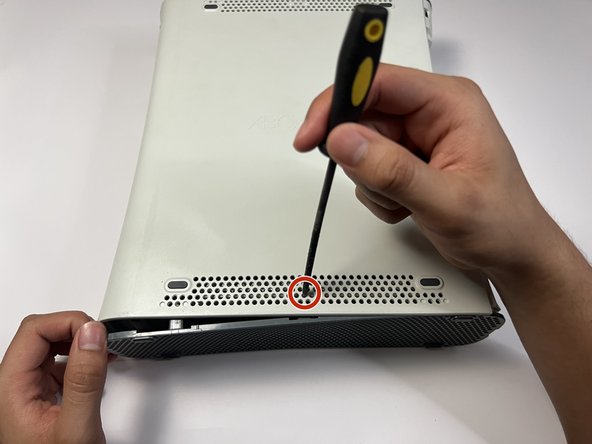
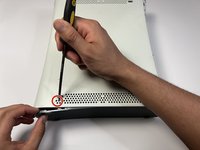
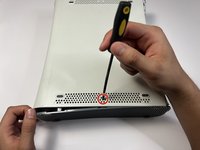
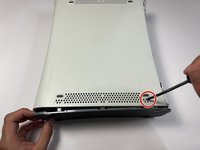
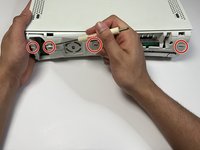
Press down on the three holes as indicated to release the clips securing the base plate.
-
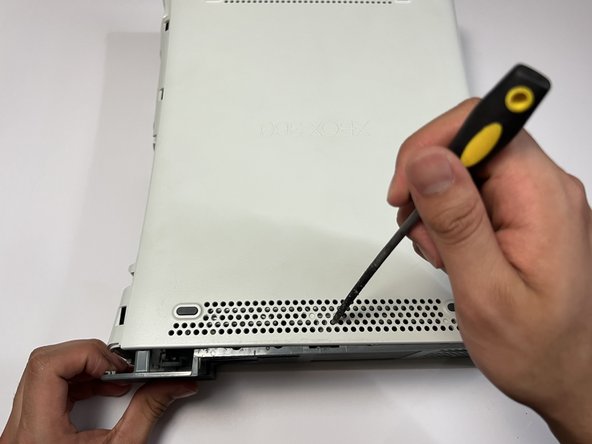
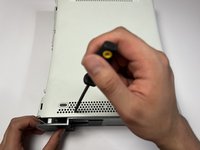
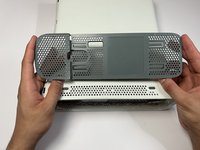
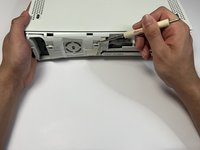
Remove the base plate.
-
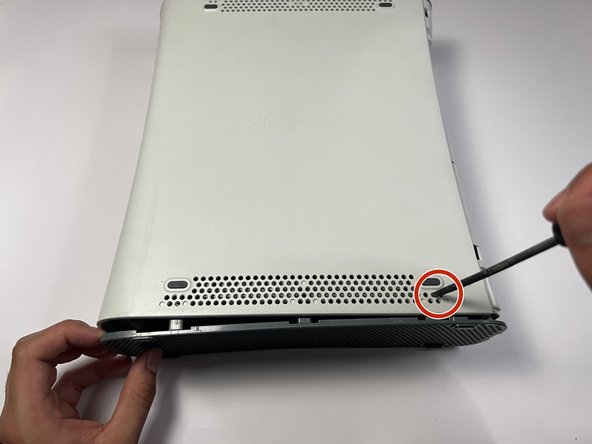
Repeat this step on the other side.
-
-
-
Repeat the previous step to remove the top plate of the Xbox.
-
-
-
-
Gently unhook all four clips located on the front of the Xbox.
-
-
-
Use the flathead screwdriver to gently press down on all of the indicated indents.
-
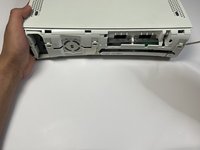
Remove the top casing from the Xbox.
-
-
-
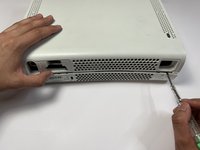
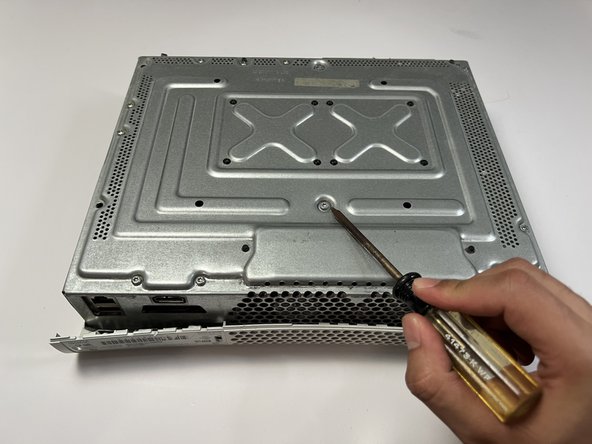
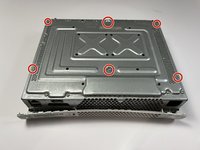
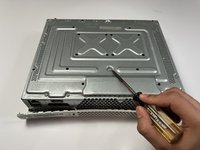
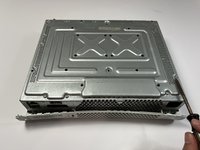
Use the T3 Torx screwdriver to remove all six screws.
-
-
-
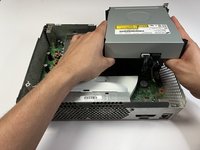
Carefully flip over the Xbox to the other side.
-
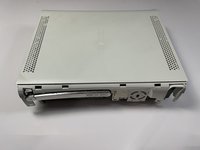
Lift the Xbox casing off.
-
-
-
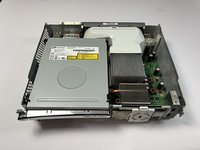
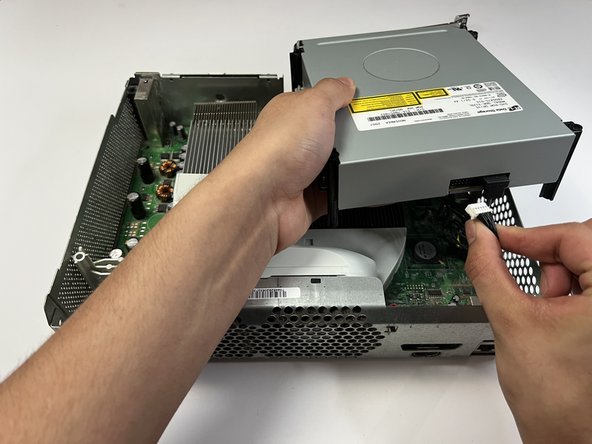
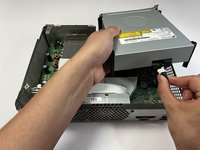
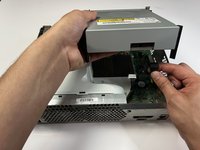
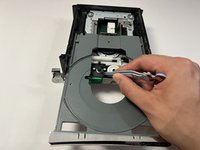
Unplug the two connections in the rear of the disk drive.
-
-
-
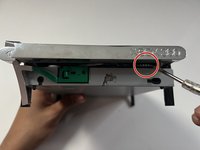
Use a flat screwdriver to remove the four screws underneath the disc drive.
-
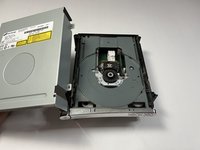
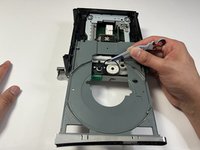
Flip over the DVD disc drive and remove the casing.
-
-
crwdns2935267:0crwdne2935267:0Tweezers$4.99
-
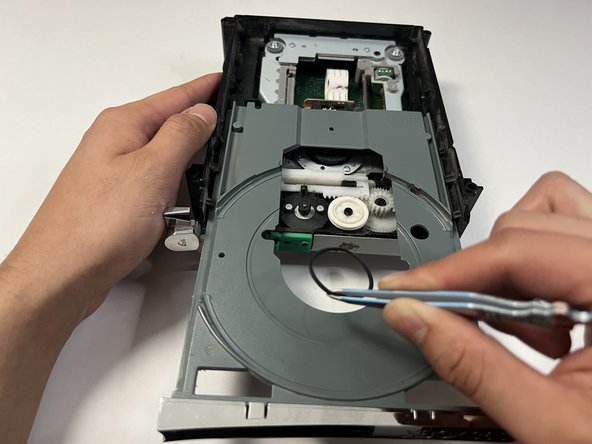
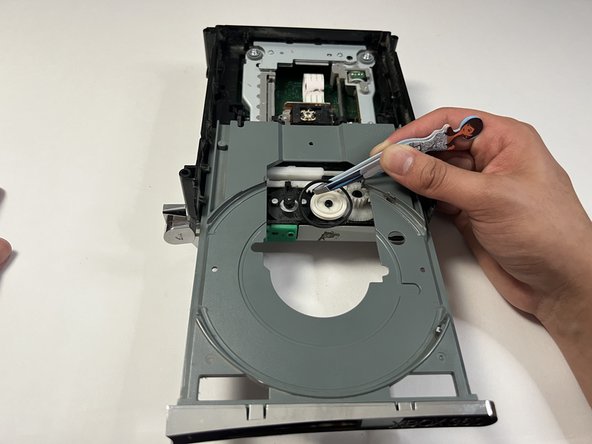
Spin the located area with the flathead screwdriver to open up the disc drive.
-
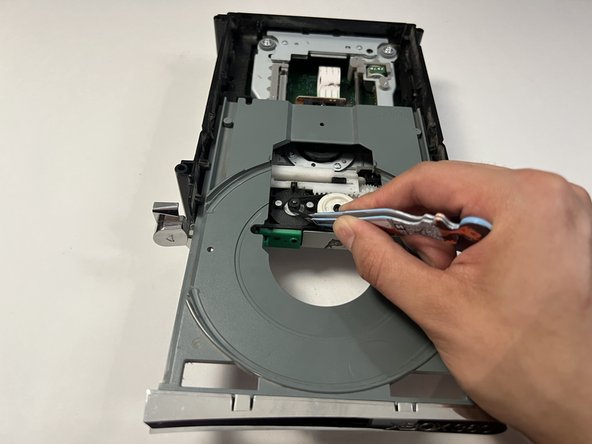
Use tweezers to remove the belt drive.
-


To reassemble your device, follow these instructions in reverse order.
crwdns2935221:0crwdne2935221:0
crwdns2935229:07crwdne2935229:0
crwdns2935287:0crwdne2935287:0

Austin Community College, Team 60-7, Watkins Spring 2023 crwdns2935289:0Austin Community College, Team 60-7, Watkins Spring 2023crwdne2935289:0
AUSTINCC-WATKINS-S23S60G7
crwdns2934841:01crwdne2934841:0
crwdns2935297:03crwdne2935297:0
crwdns2947412:03crwdne2947412:0
I CANNOT get past step six. No matter how hard I pry, the pieces are not coming apart. I have pressed and twisted my screwdriver so much that it is damaging the plastic around it yet the pieces still stay together. What do I do?
Gotta buy the available 360 opener tool, its dirt cheap on aliexpress. Attempting via a screwdriver will just trash your case and get you nowhere.
When I get to step 11, there is literally no opening to be able to spin the wheel manually to open it and replace the band. Step 12 shows 2 rectangular openings in the front of the DVD drive, mine is solid plastic with no open gaps. There must be different types of drives used. Right now I cannot get to the belt to replace it. Anyone see this other type of drive? Any thoughts?