crwdns2915892:0crwdne2915892:0
If one or more of the rivets in a clipboard begin to corrode due to age or wear, the metal clip can become detached from the board. This guide documents the way to remove and replace aging rivets in a clipboard and reattach the metal clip.
Please note that this guide is made for repairing clipboards that use one or more rivets to attach a flat metal clip. Other clipboard models are constructed differently from the one photographed and described in this guide.
Before using this guide, please ensure that the rivets require complete replacement. Often, rivets can simply be hammered gently back into place.
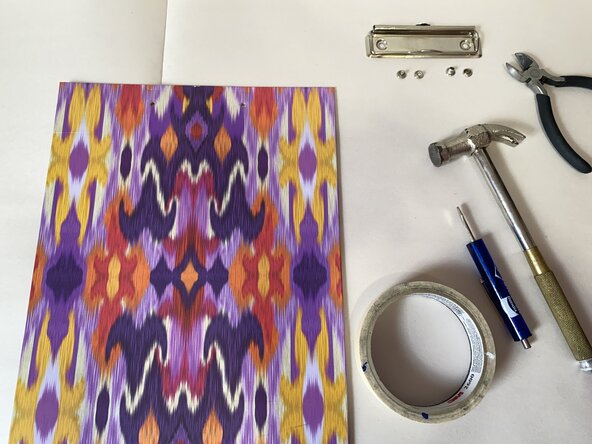
crwdns2942213:0crwdne2942213:0
-
-
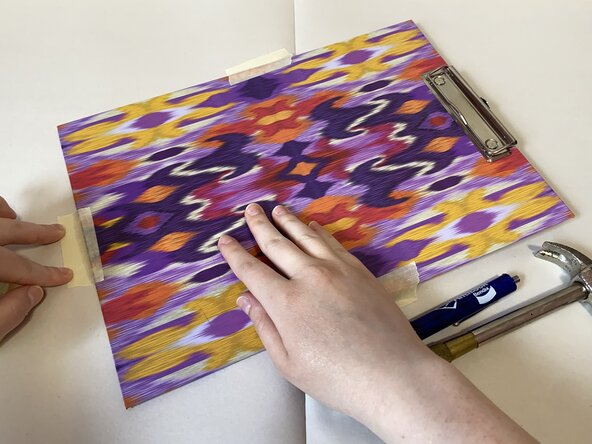
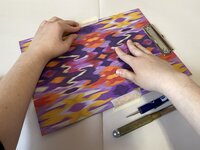
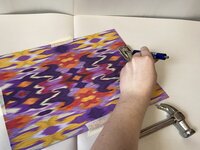
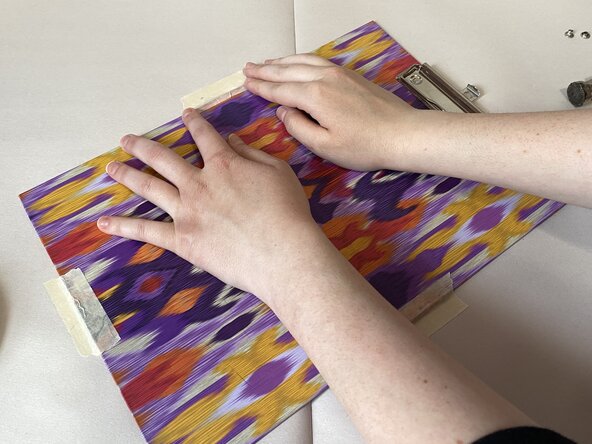
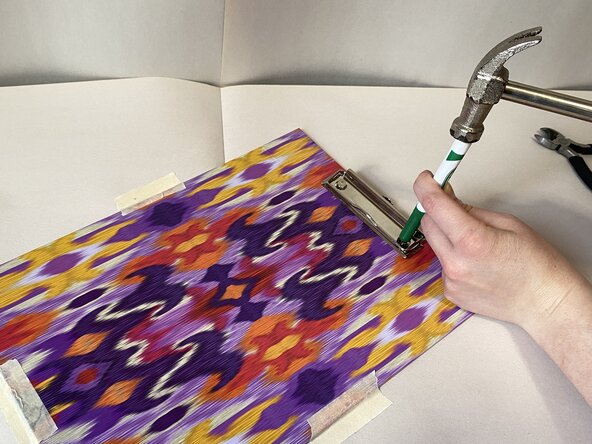
Use masking tape to secure the clipboard on a hard, flat surface.
-
-
-
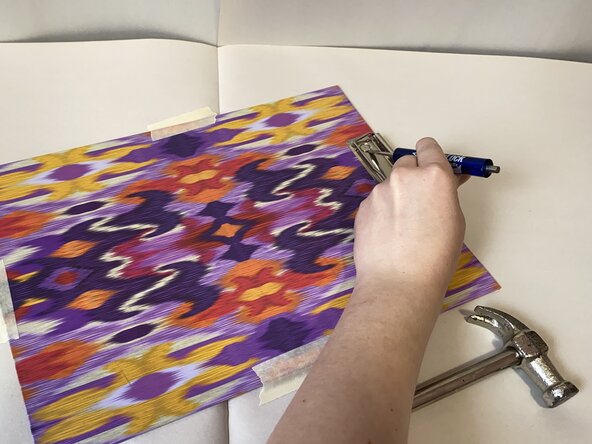
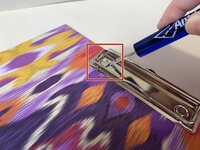
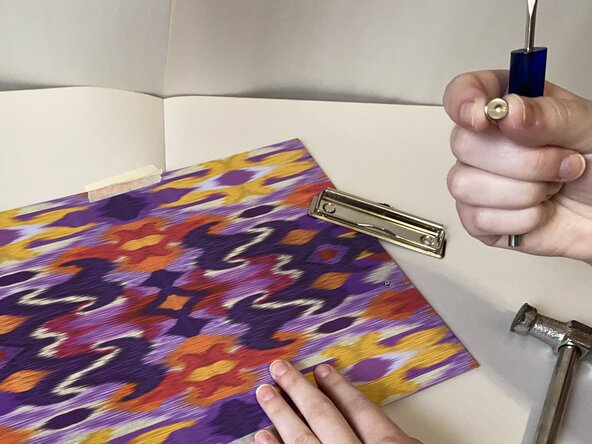
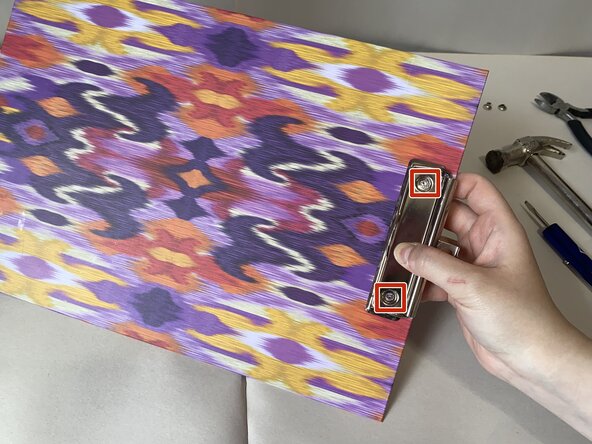
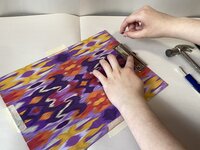
Wedge a screwdriver head under the rivets that need to be replaced.
-
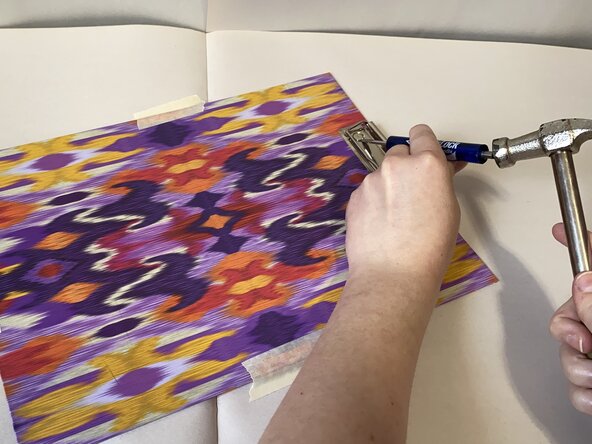
Use a hammer to tap down on the handle of the screwdriver and pop the rivet heads upward and off the rivet backs.
-
-
-
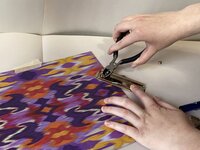
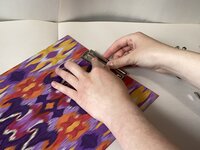
If necessary, use pliers to remove tricky rivet heads.
-
-
-
-
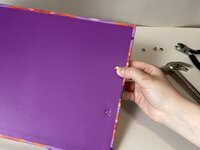
Remove the tape from the clipboard.
-
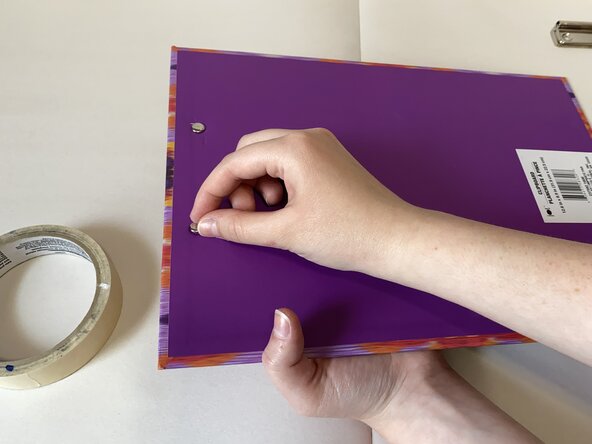
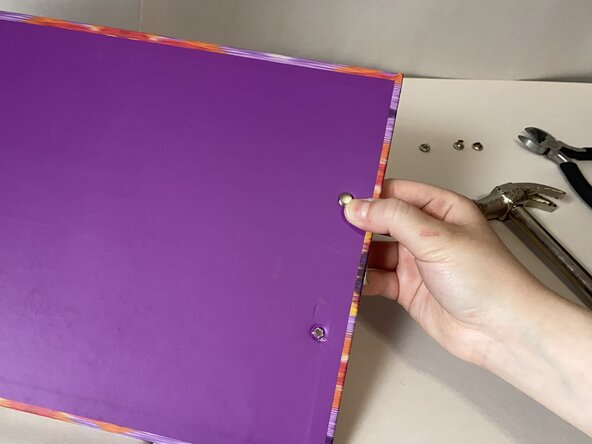
Pull the backs of the old rivets from the cutout holes in the clipboard.
-
Set aside the old rivet pieces and the detached metal clip.
-
-
-
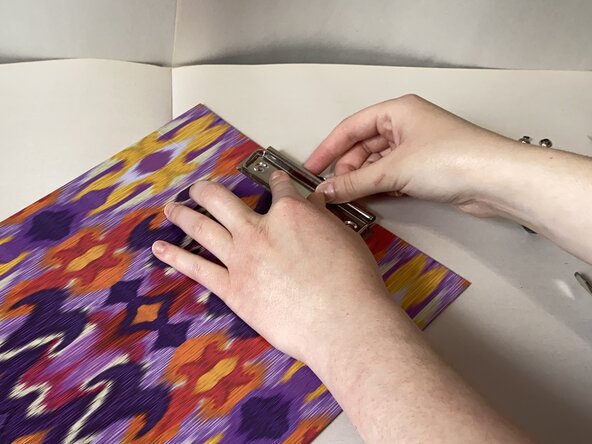
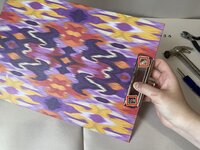
Place the metal clip on the board, aligning its cutout holes with those in the board.
-
Thread the new rivet backs through the cutout holes in the wooden board and those in the metal clip.
-
-
-
Use masking tape to secure the clipboard on a flat surface.
-
-
-
Align the new rivet heads with the rivet backs.
-
Gently push the rivet heads into the rivet backs to temporarily secure them in place.
-
-
-
Place a marker or pad over the rivet heads to protect them and the clipboard while hammering.
-
Hammer the rivet heads into the rivet backs to secure the metal clip to the board.
-
-
-
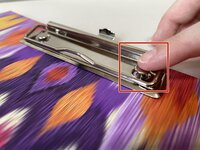
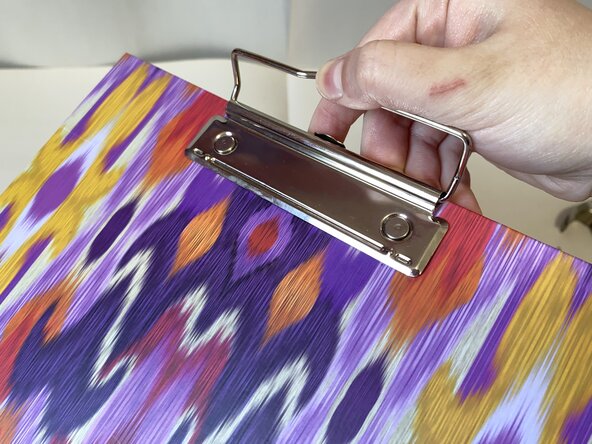
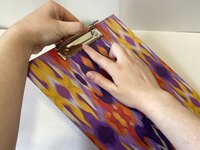
Remove the tape and check that the rivets have securely fastened the metal clip.
-


crwdns2935287:0crwdne2935287:0

University of North Texas, Team 40-3, Kilpatrick Summer 2025 crwdns2935289:0University of North Texas, Team 40-3, Kilpatrick Summer 2025crwdne2935289:0
UNT-KILPATRICK-SU25S40G3
crwdns2934841:01crwdne2934841:0
crwdns2935303:01crwdne2935303:0