crwdns2915892:0crwdne2915892:0
Working with electricity and replacing an entire light fixture can sound intimidating, but this step-by-step guide will demonstrate how to perform this task effectively, safely and confidently.
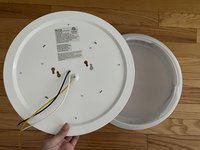
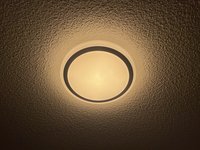
The new ceiling light fixture displayed in the guide is named Illume Flush 13' Round Flush Mount, model number CFG13-CC.
crwdns2942213:0crwdne2942213:0
-
-
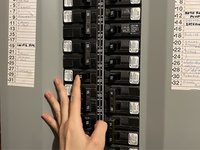
Turn the main power off.
-
-
-
Remove the cover of the old light fixture.
-
Unscrew all lightbulbs.
-
-
-
Remove the screws holding the old light fixture's housing with a screwdriver
-
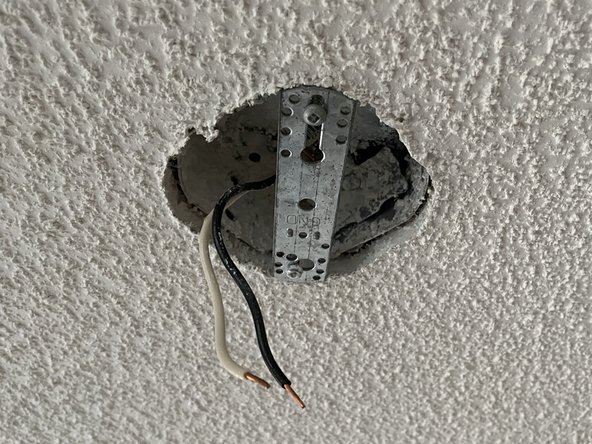
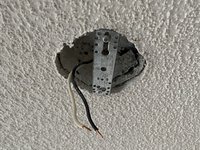
Carefully pull the old light fixture and its wiring down.
-
-
-
-
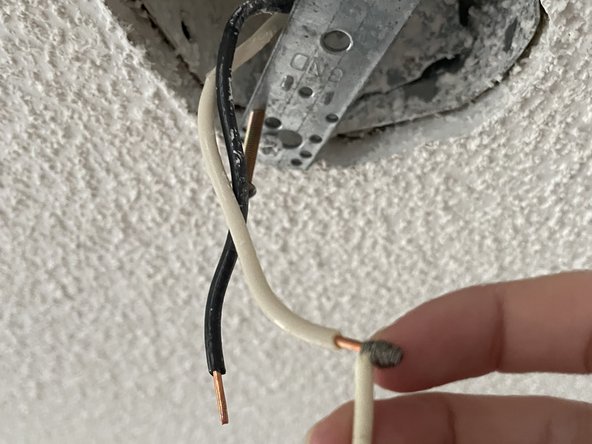
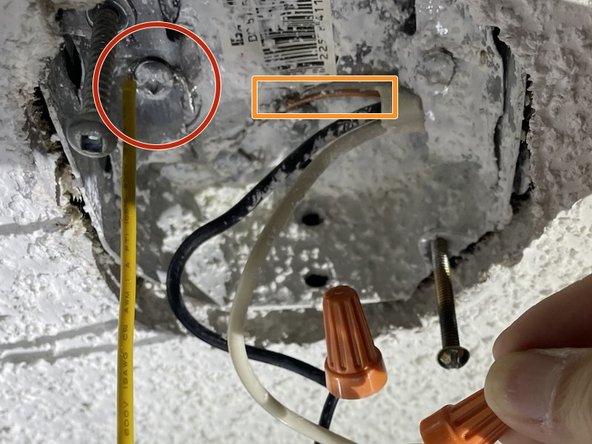
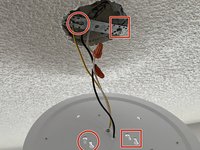
Remove the old wire connectors and untwist the wires.
-
-
-
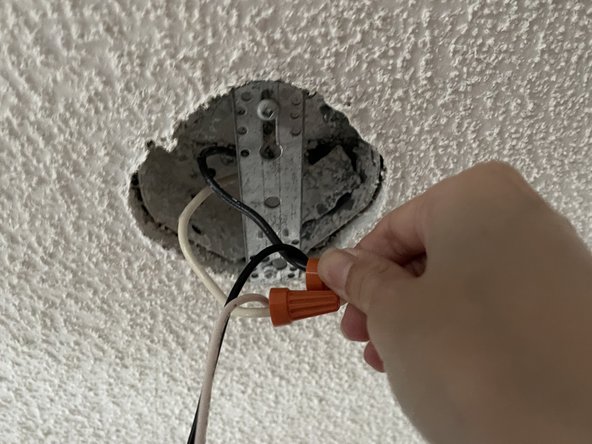
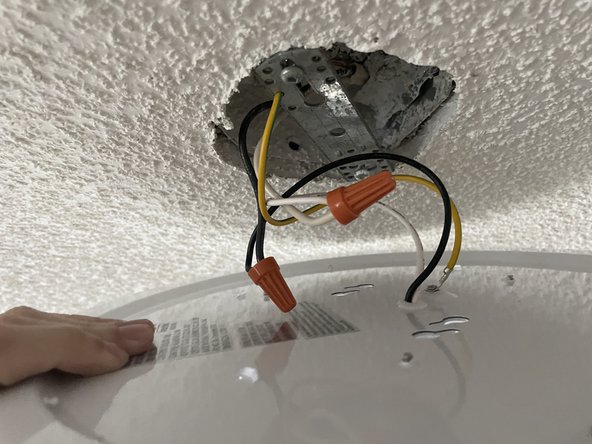
Match the new ceiling light wiring to your home’s existing wires.
-
Link each pair with wire connectors by placing the exposed ends inside, and twisting down until tight.
-
You must connect the fixture ground wire to the ground screw of the ceiling crossbar.
-
Or you must connect the fixture ground wire to the house ground wire (the bare copper wire without any insulation)
-
-
-
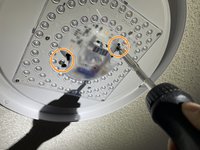
Find the proper alignment for the holes of the new housing with the ceiling's mounting bar.
-
Carefully place all wiring into the electrical box or empty space within the ceiling.
-
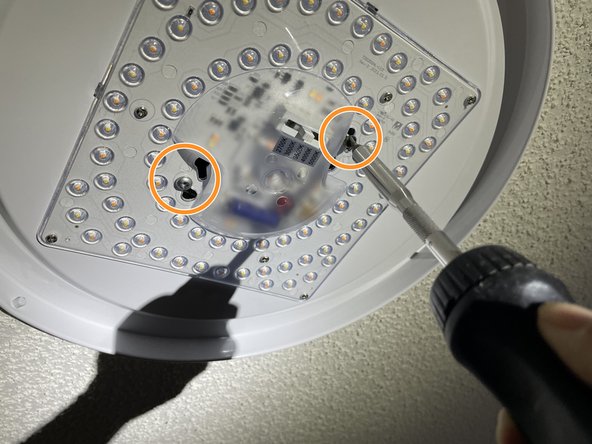
Secure the housing to the ceiling with two screws, tightening them firmly with a screwdriver.
-
-
-
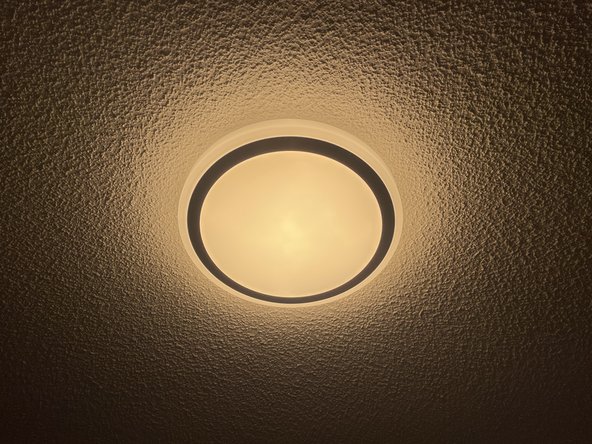
Attach the cover and/or lightbulbs of the new light fixture.
-
-
-
Turn the main power back on and watch as your handiwork lights up the room!
-


To reassemble your device, follow these instructions in reverse order.
crwdns2935287:0crwdne2935287:0

York University, Team 1-2, Morris Winter 2024 crwdns2935289:0York University, Team 1-2, Morris Winter 2024crwdne2935289:0
YORK-MORRIS-W24S1G2
crwdns2931471:05crwdne2931471:0
crwdns2935297:02crwdne2935297:0