crwdns2915892:0crwdne2915892:0
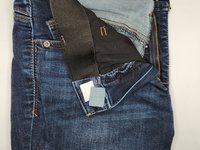
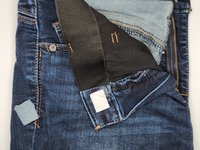
If you've ever had the button of your jeans come loose because the hole is compromised - making it difficult to keep your pants buttoned (and keeping you in a constant state of worry that your jeans will pop open at an unfortunate moment) - then this guide is for you.
Follow the 10 steps outlined here to learn how to remove the button from your jeans, patch the frayed or damaged stud buttonhole, and install a new button. If you're like the author and lack any sewing skills, be assured that needle and thread are not required for this fix.
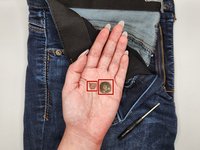
The type of button required for this repair is a tack back or button pin.
crwdns2942213:0crwdne2942213:0
-
-
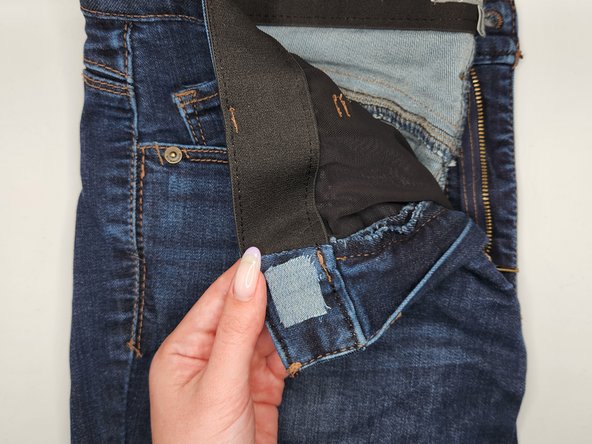
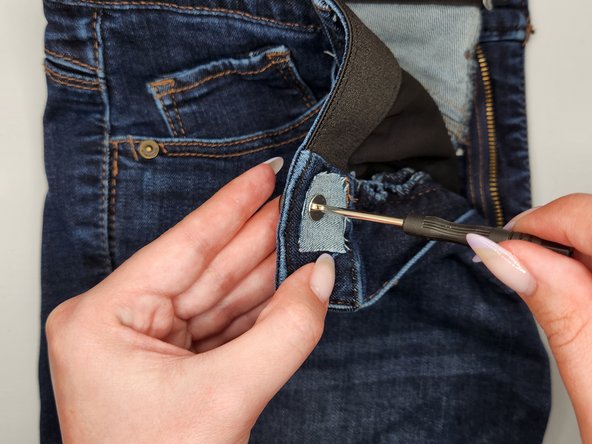
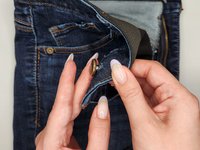
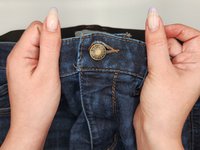
Grip one side of the button with your hand and use the needle-nose pliers to pull on the other side to separate them.
-
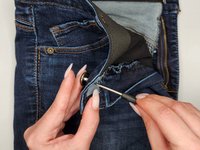
If you have issues separating the two parts with the above technique, carefully wiggle the button out through the frayed stud hole.
-
-
-
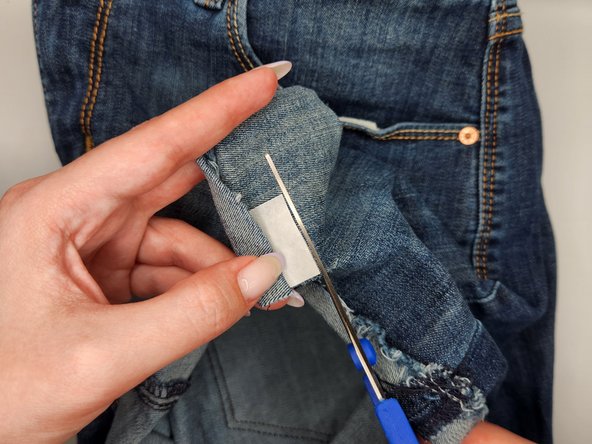
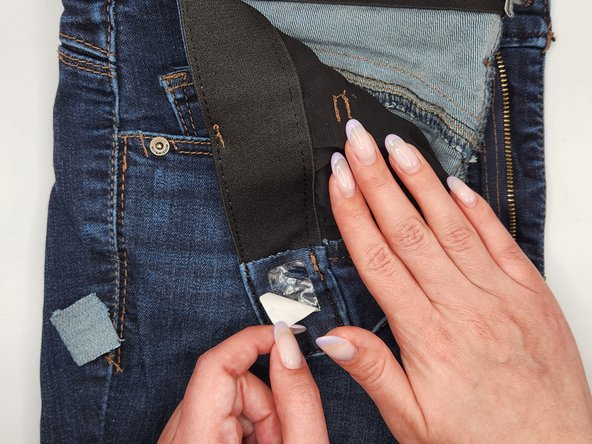
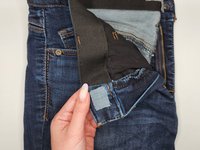
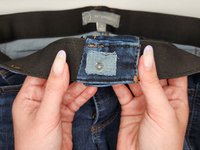
Cut about an inch or so of adhesive tape—enough to cover the frayed hole but still big enough to work with easily.
-
If the size of the piece of tape you cut is too short, cut a new piece and try again. If the piece you cut is too long, shorten it accordingly.
-
-
-
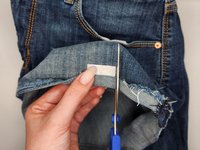
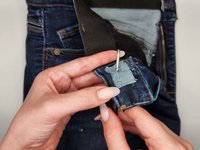
Place the piece of fabric tape on top of the denim swatch.
-
Using the piece of fabric tape as a guide, cut out a similarly sized piece of fabric from the denim.
-
-
-
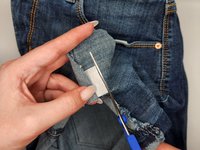
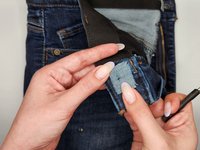
Double-check that the sizes of the adhesive tape and denim piece match.
-
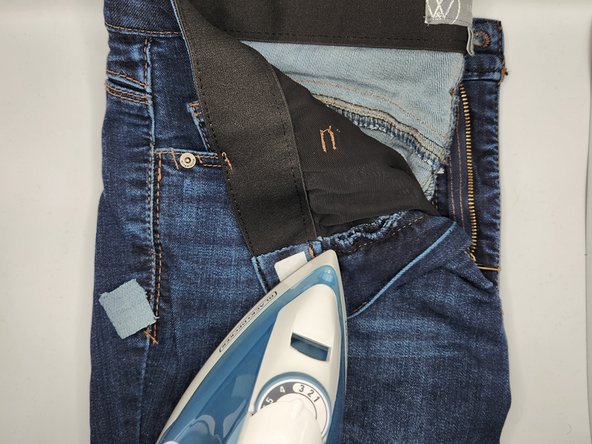
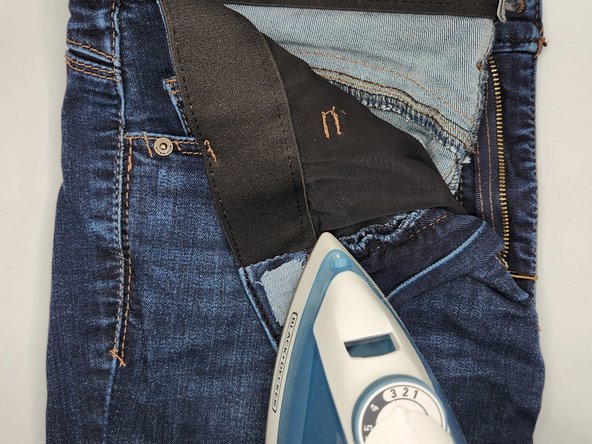
Plug in the clothing iron and wait for it to heat up. Set it to medium heat.
-
Apply the hot clothing iron to the fabric tape that is covering the frayed section of the jean stud buttonhole.
-
Hold your iron to the tape for approximately 10 seconds. If the tape is not sticking after you apply heat for 10 seconds, repeat this step.
-
Once finished, the tape should lie flat.
-
-
-
-
Carefully lift the edge of the paper cover (without lifting the adhesive!) and pull the paper slowly away from the tape.
-
-
-
Place the jean fabric piece you cut out on top of the adhesive tape.
-
Press down on the fabric and smooth it out over the tape so that no bumps exist and the edges are flat and aligned.
-
Apply the heated clothing iron to that section for approximately 10 seconds.
-
If the jean fabric and the adhesive tape are not sticking together or lying flat along the edges, apply heat for another 10 seconds and repeat as necessary.
-
-
-
Align a screwdriver or another small, pointed object (such as scissors) with the original buttonhole to create a hole for the new button through the patched fabric.
-
-
-
Your new button should have two parts: the button part and the stud part. They are depicted in the first photo - the button part is on the right, and the stud part is on the left.
-
Insert the stud piece from the back side of the new hole (the side that would be touching your skin if you were wearing the jeans).
-
-
-
Insert the button part through the front of the hole.
-
Hold both button pieces together to connect them.
-
Using your screwdriver, screw the stud part into the button part until there is too much resistance to continue turning it.
-
-
-
Test your fix by trying the repaired jeans on. Enjoy the finished product!
-


crwdns2935221:0crwdne2935221:0
crwdns2935227:0crwdne2935227:0

crwdns2935287:0crwdne2935287:0

Austin Community College, Team 52-9, Watkins Spring 2024 crwdns2935289:0Austin Community College, Team 52-9, Watkins Spring 2024crwdne2935289:0
AUSTINCC-WATKINS-S24S52G9
crwdns2934841:01crwdne2934841:0
crwdns2935303:01crwdne2935303:0