crwdns2915892:0crwdne2915892:0
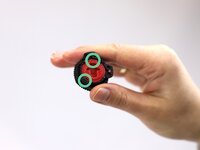
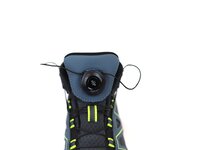
The dial-lace system boot is by far one of the most comfortable boots for hiking, if you feel it is too tight or too loose you can adjust with just a simple twist! But, what happens when the dial is not working as it should? Do not worry, we will show you a step-by-step guide on how to replace it with a new part.
➡️Before you get started, please check the safety disclaimer at the bottom of the page.
crwdns2942213:0crwdne2942213:0
-
-
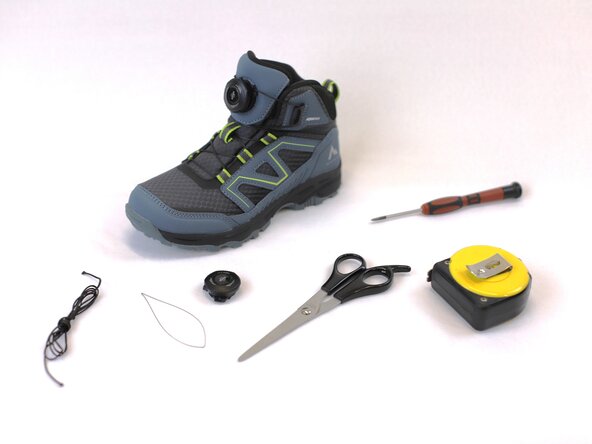
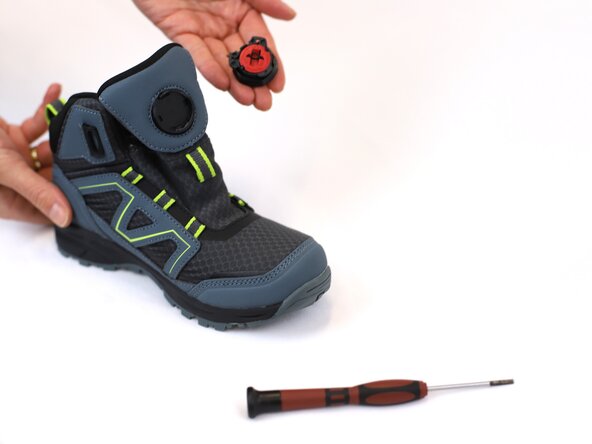
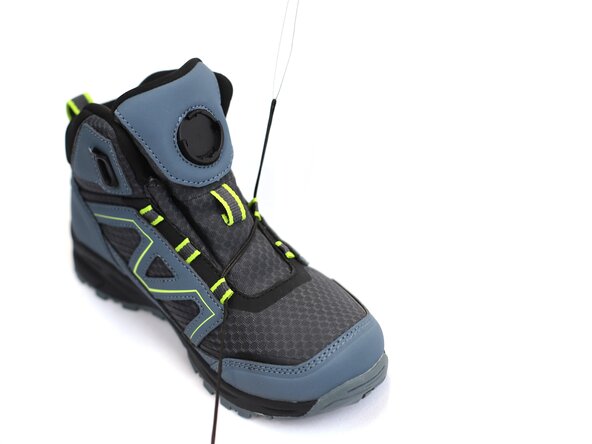
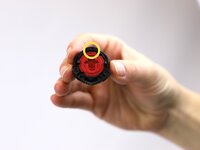
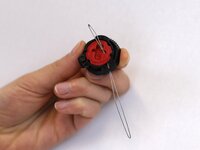
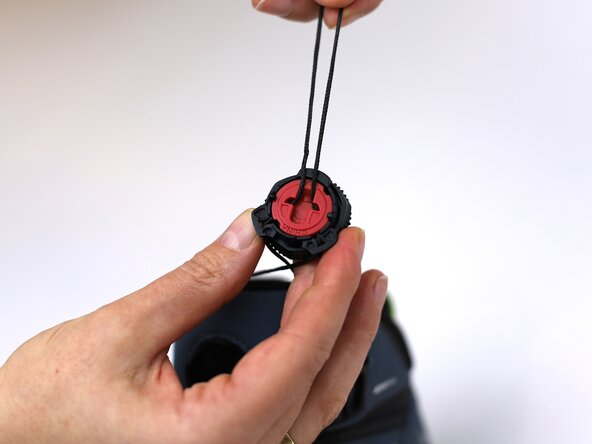
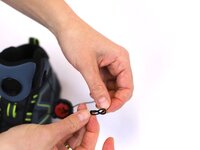
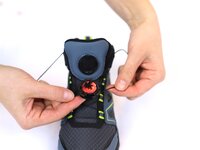
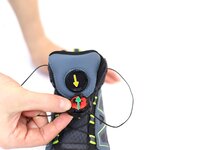
Prepare all the tools needed for the repair and locate the part of the dial-lace system that needs repairing.
-
Note: in this guide we are replacing the whole dial and lace.
-
-
-
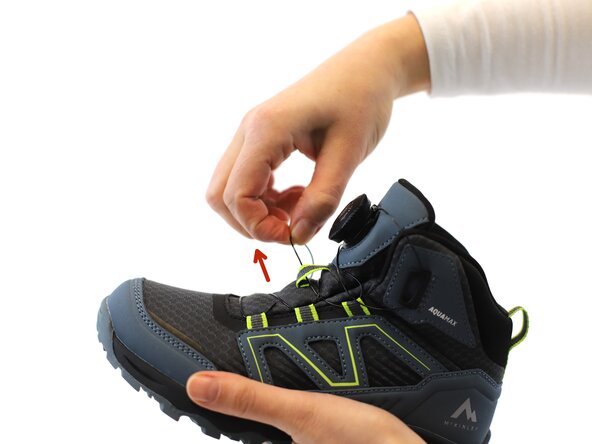
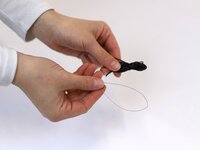
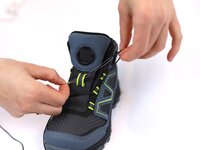
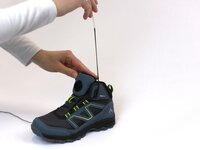
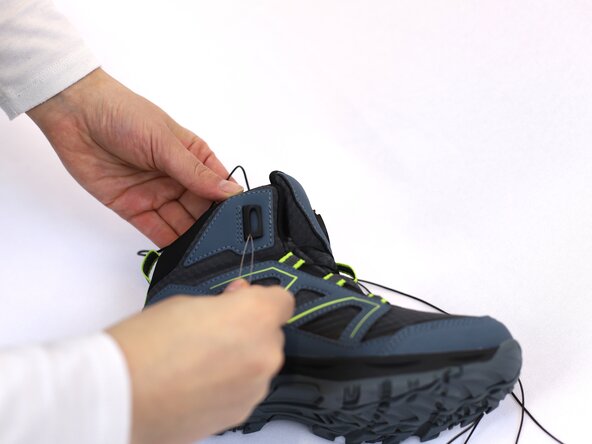
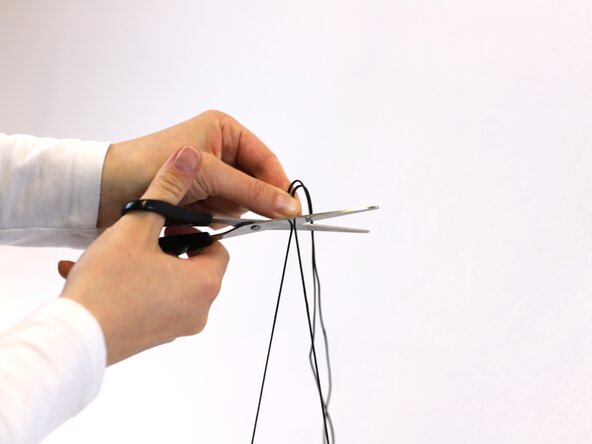
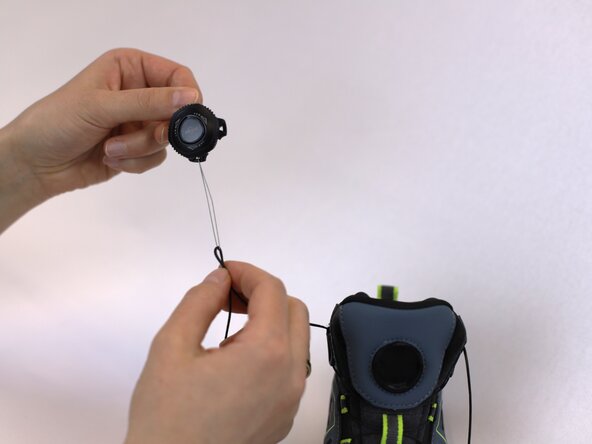
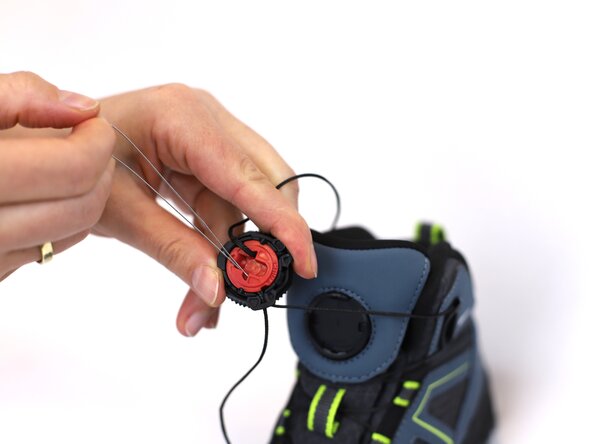
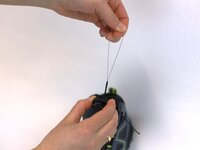
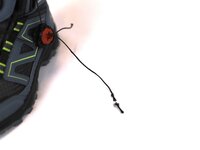
Cut the lace at starting at the bottom part of the shoe.
-
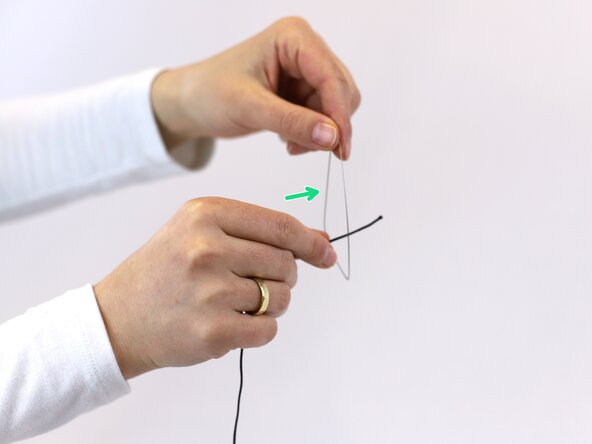
Use your hands to pull the lace upwards, following the direction of the red arrows.
-
-
-
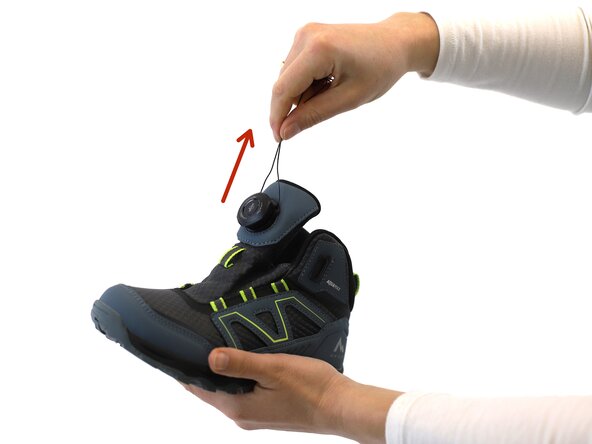
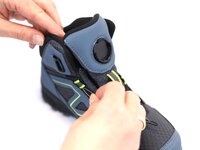
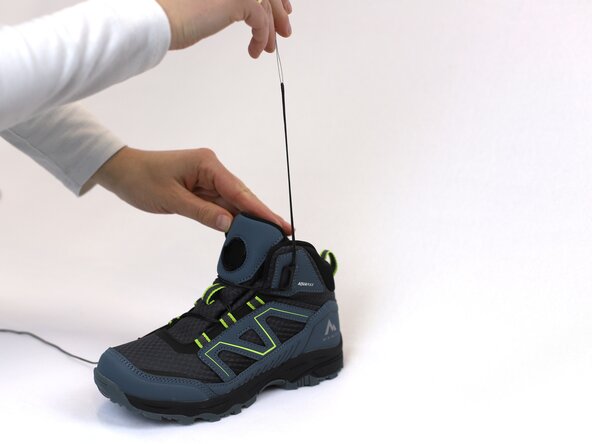
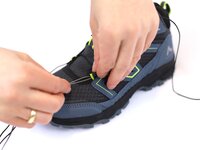
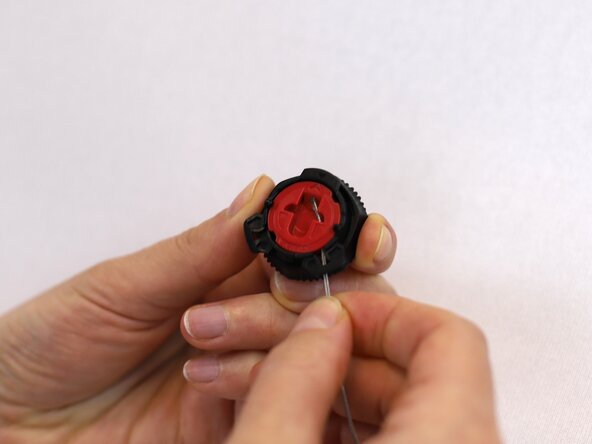
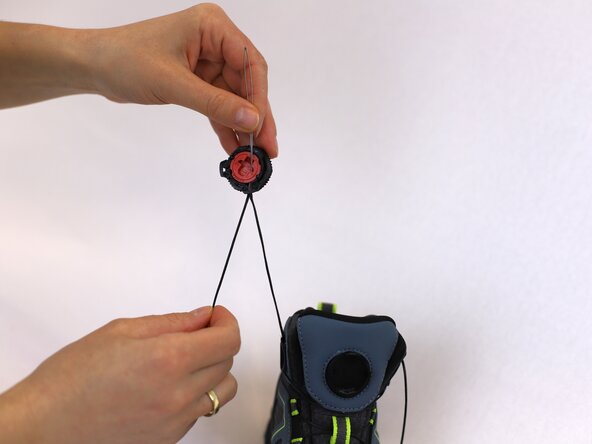
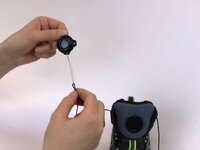
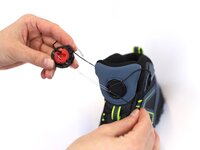
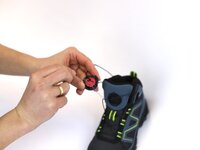
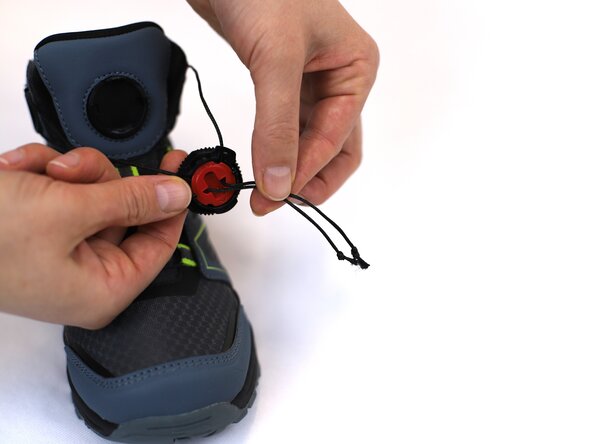
Use a screwdriver with a flat and thin edge to remove the dial
-
Insert the screwdriver between the dial and the base and use a lever-like motion to push the dial up and out of the base.
-
-
-
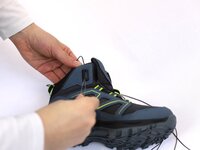
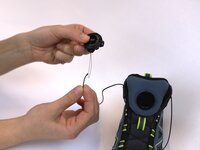
Insert the new lace inside the metal loop and prepare for the next step.
-
-
-
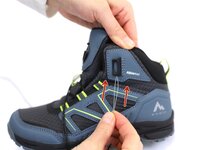
Insert the lace through the first hole on the left side, then follow through the second hole of the opposite side.
-
-
-
Insert the lace through the big loop that is located at the middle of the boot, then continue through the final loop on the left side.
-
-
-
Following the direction of the red arrows, secure the lace by inserting it in the safety loop on the side, and pulling it upwards.
-
-
-
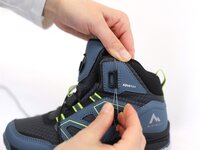
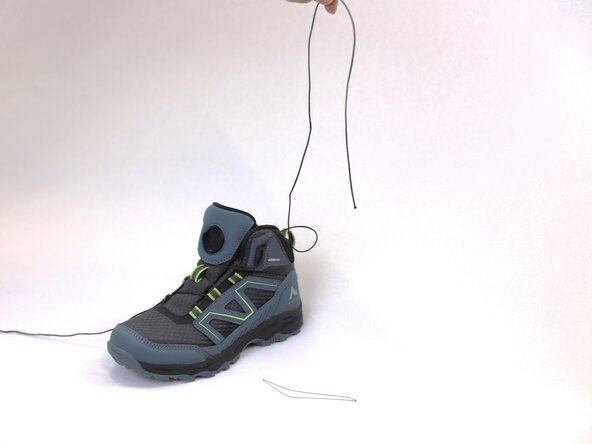
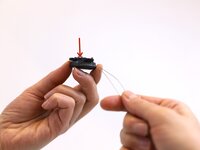
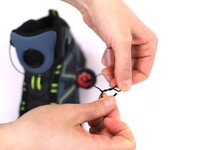
Pull the metal loop outwards until it is completely separated from the lace.
-
Set the metal loop aside and prepare for the next step.
-
-
-
-
Repeat the process on the other side of the shoe, this time starting from the right side.
-
-
-
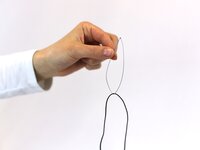
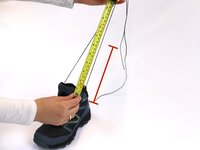
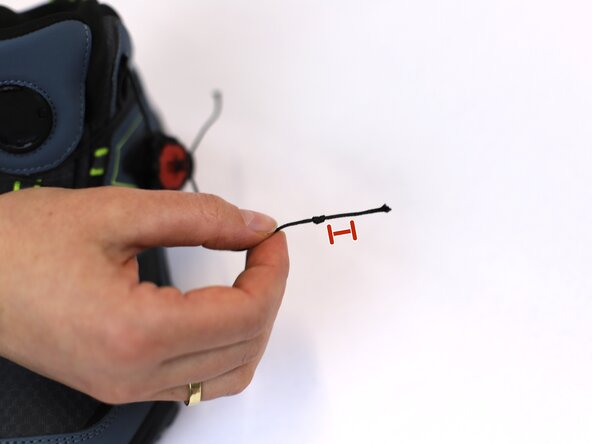
Use a measuring tape to measure the length of the lace
-
Note: the total length should be between 14 - 21 cm. In this example we measured 17cm
-
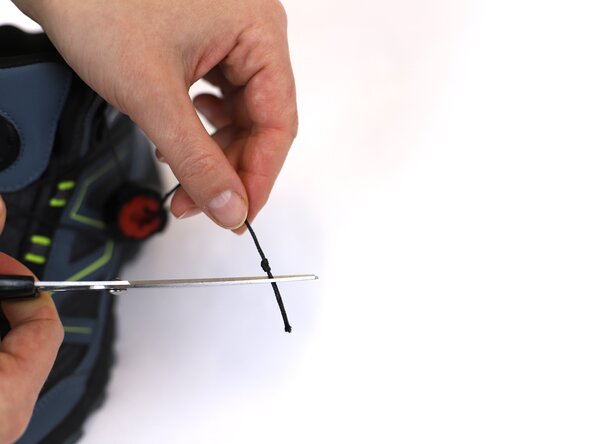
Cut the measured length and prepare for the next steps.
-
-
-
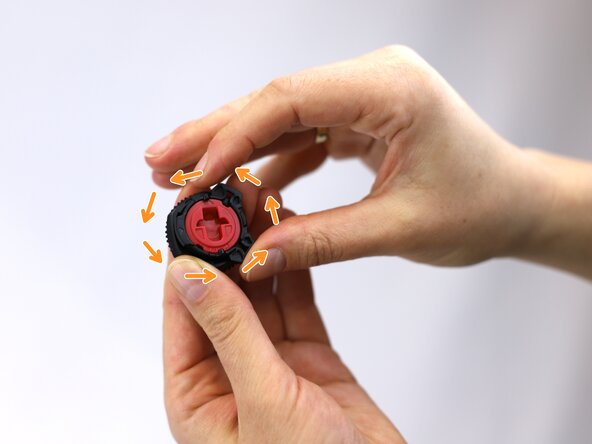
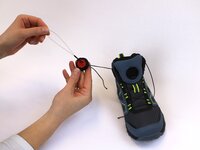
Set the dial to the "unlocked" position.
-
Locate the two arrows shown in the shown in the green circles.
-
Rotate the dial until both arrows are aligned (yellow circle).
-
-
-
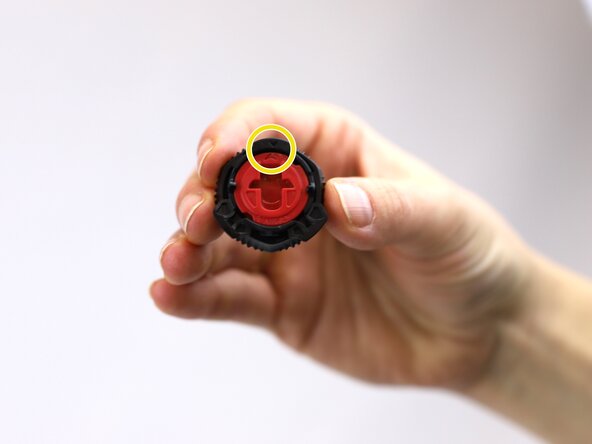
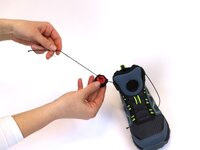
Locate the hole in the dial. (red arrow)
-
Insert the metal loop inside the dial.
-
-
-
Insert the lace inside the metal loop.
-
Once it the lace is inside, pull the metal loop upwards.
-
-
-
Push the dial to the end of the lace and repeat the previous steps of inserting the metal loop with lace on the other hole of the dial (green circle).
-
-
-
Once the metal loop has been inserted in the other hole, keep pulling it until the lace has passed through.
-
-
-
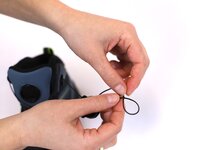
Use your hands to hold the dial and pull both ends of the lace upwards.
-
-
-
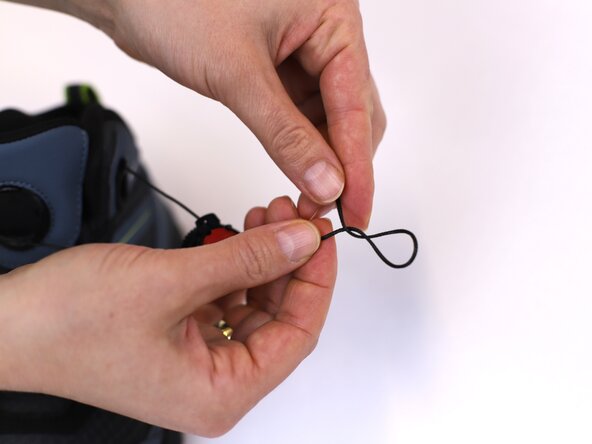
To secure the end of the lace, you need to make a "figure-eight" knot.
-
Start by twisting the lace twice and continue on the next step.
-
-
-
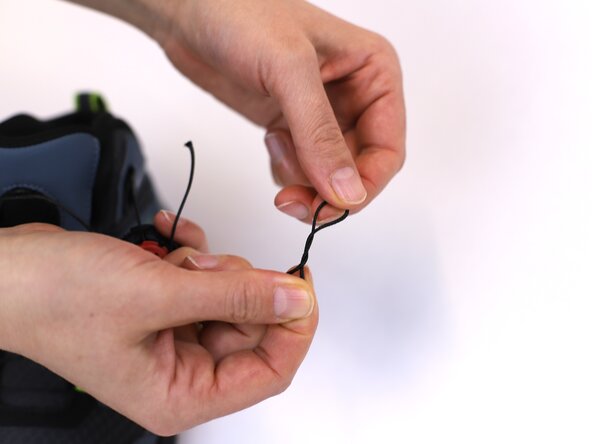
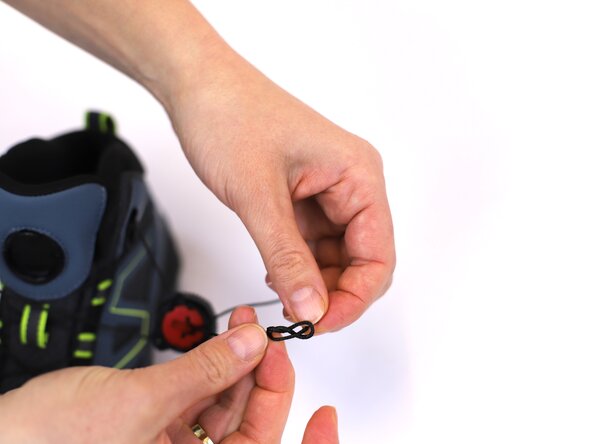
Pick the end of the lace and gently introduce it in the little loop that is formed.
-
Once the end of the lace has passed through the loop, pull the knot from both sides to tighten it up.
-
-
-
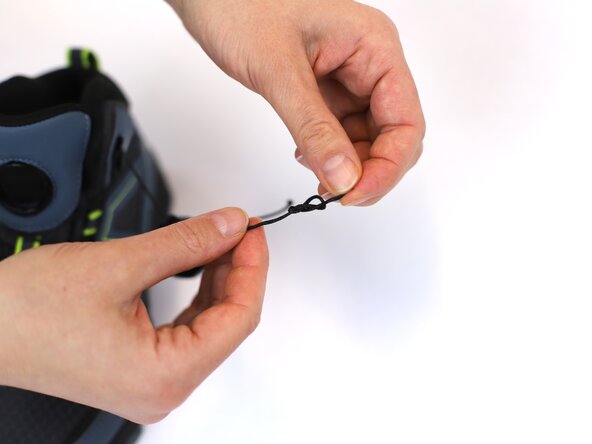
Pull the knot once again to fix it.
-
Before cutting, make sure there is a 2-3mm length allowance behind the knot (red lines).
-
Cut the lace in the mentioned length.
-
-
-
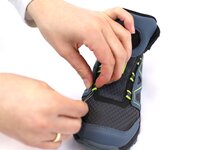
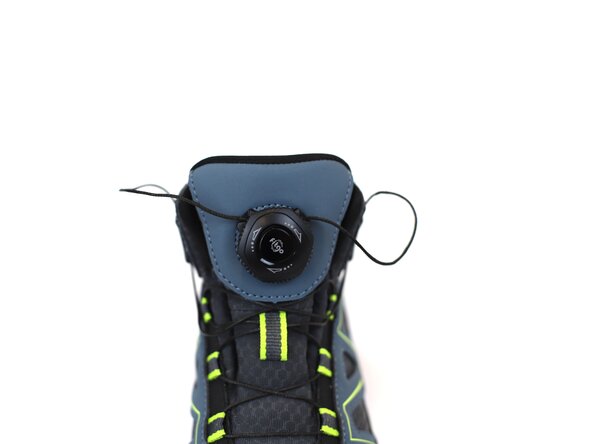
Align both ends of the lace with the main dial and place it in front of the dial base.
-
-
-
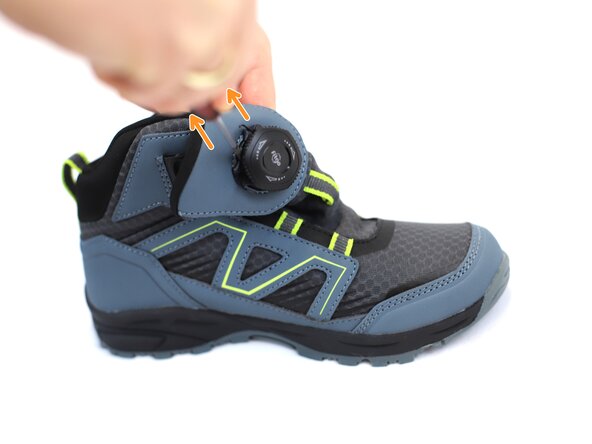
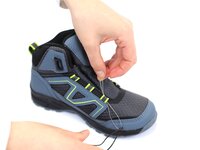
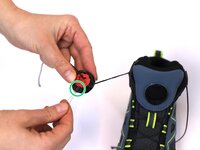
Align the edge of the dial (green arrow) with the bottom part (yellow arrow) and make sure it goes inside.
-
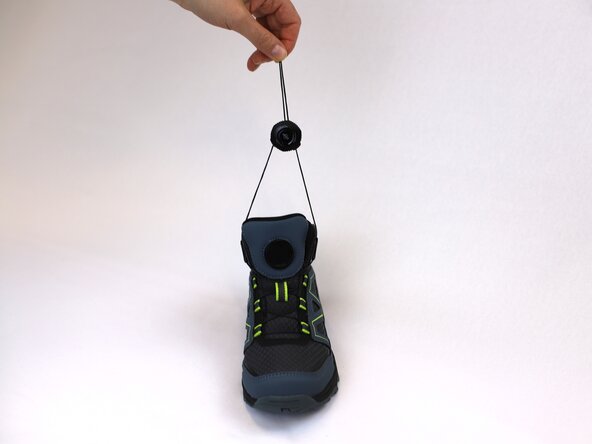
Hold the dial with both hands and push it against the "tongue" of the boot until you hear a "click" sound.
-
-
-
🛠️🏆👏 Congratulations! The repair is complete, and you're ready to go!
-


In need of another repair? Don't worry! Check out our other guides to find quick solutions for your favourite clothing, footwear and equipment!
----------------------------------------
🚨🛠️🩹 IMPORTANT SAFETY NOTICE:
The repair guides provided on this site are intended to help you repair products on your own. While we have put a lot of care into them, all repair work carries some risk:
- Safety Precautions: When repairing your product, take all necessary precautions to ensure your safety. Use appropriate tools and follow the instructions carefully.
- Product Condition: Once your product has been repaired, it may not meet original compliance guidelines anymore and could potentially have issues.
- Liability: We are not responsible for any damage or injury that may occur during the repair process or as a result of using a repaired product. You, as the repairer, assume all risks and responsibilities associated with the repair.
By using these repair guides, you fully acknowledge and accept the potential risks and responsibilities involved.

crwdns2915084:0crwdne2915084:0

INTERSPORT crwdns2935289:0INTERSPORTcrwdne2935289:0
Community
crwdns2931471:025crwdne2931471:0
crwdns2935297:0169crwdne2935297:0