crwdns2915892:0crwdne2915892:0
Dresser slides often break, making the slides difficult to use. Buying new furniture can be expensive, and the low-quality production of fast furniture leads to continuous waste of natural resources. To save money and reduce environmental impact, this guide focuses on using recycled wood to repair dresser slides, maintaining the quality of your furniture. A few steps require power tools, so be sure to use them cautiously to avoid harm.
crwdns2942213:0crwdne2942213:0
-
-
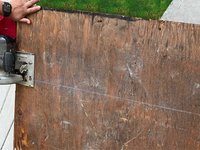
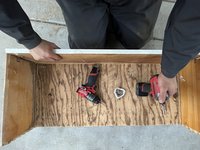
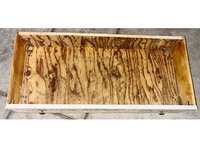
Place the dresser drawer on a flat surface.
-
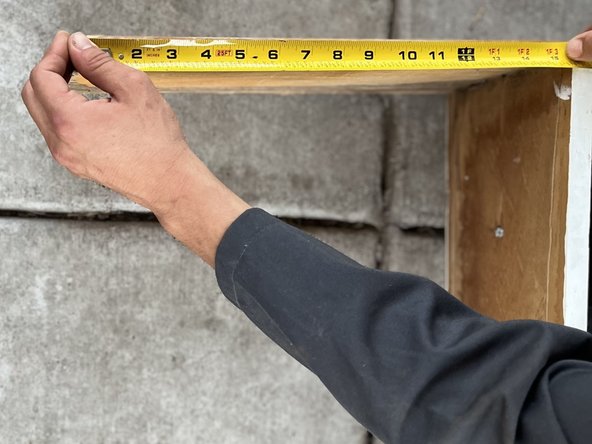
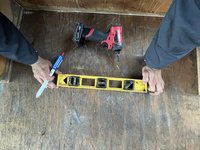
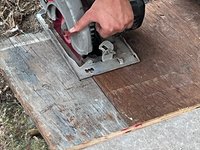
Measure the amount of wood needed to replace the bottom of the dresser by placing the measuring tape side to side.
-
-
-
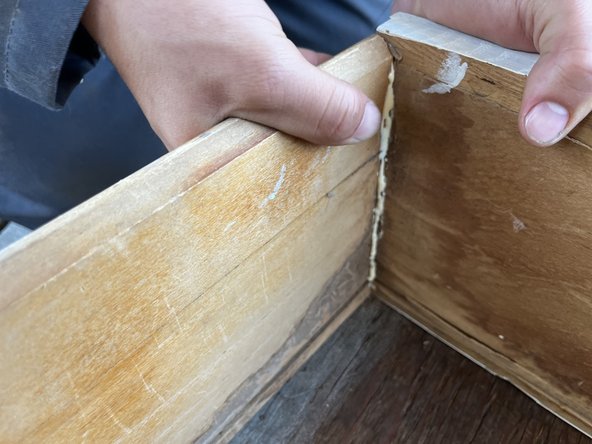
Place wood glue on the corners to the sides attached to the front of dresser to ensure sturdiness.
-
Start from the top and work your way down.
-
Using your hands, use pressure to tightly secure the corners of the dresser.
-
-
-
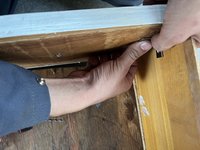
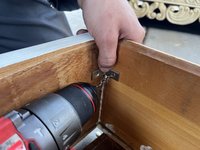
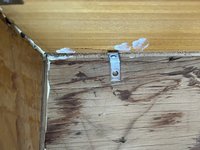
Two corner braces will be placed on the corners where the glue was placed to further keep it in place. Beginning on the right side of the dresser (optional where you start).
-
Using your hands measure and steady the corner brace placement to place it on the upper corner of the side.
-
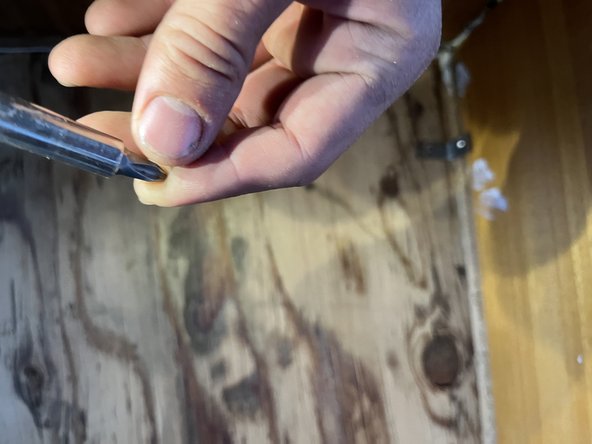
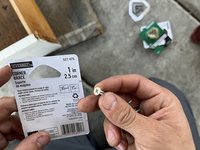
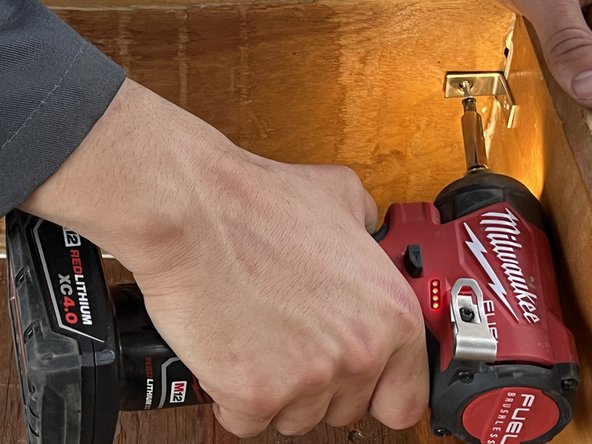
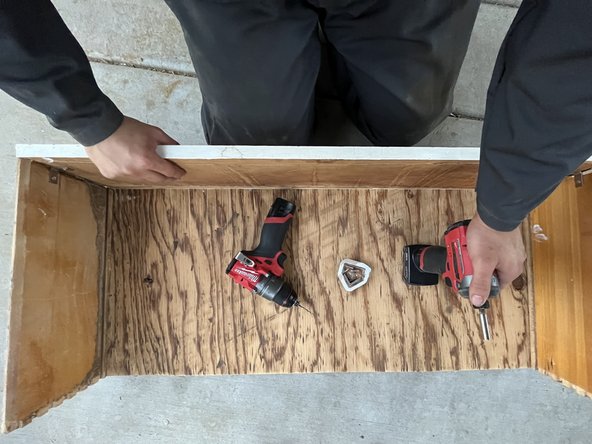
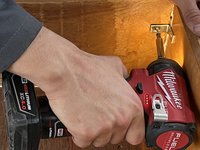
Use your power drill to screw in holes where you measured the corner brace using 1 inch drywall screws.
-
-
-
-
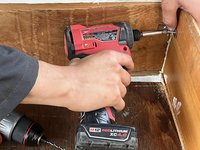
Drill a hole using the corner brace to measure its placement.
-
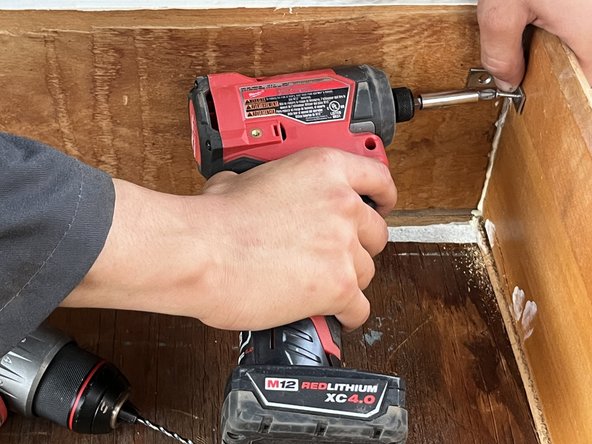
Repeat the same process for the placement of the lower half corner brace.
-
Repeat process for the left side of the dresser.
-
-
-
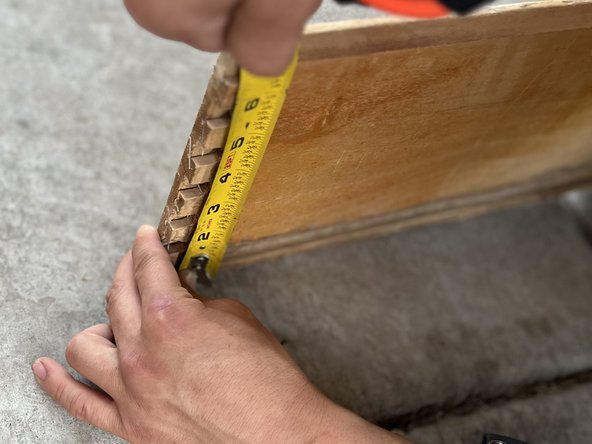
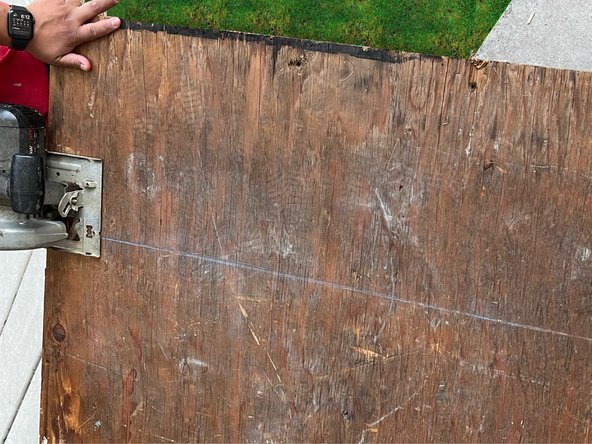
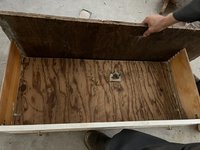
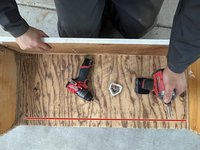
Place the wooden plank underneath the dresser to measure the size.
-
Using a pencil, mark your measurement.
-
-
-
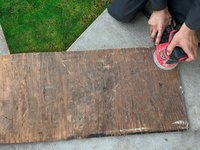
Using wood glue, apply to all three sides of the bottom of the dress slide.
-
Firmly place the top of the dresser onto the glue.
-
Using the remaining of the wood measure for the back side of the dresser.
-
-
-
Add wood glue to the back side of the dresser.
-
-
-
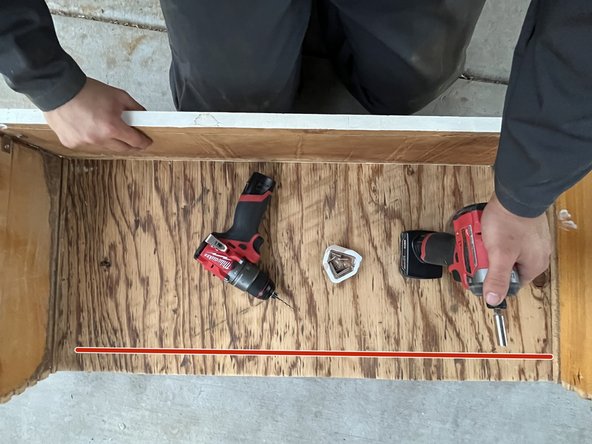
Using the power drill, drill holes to place the corner brace (repeat on both sides top and bottom).
-
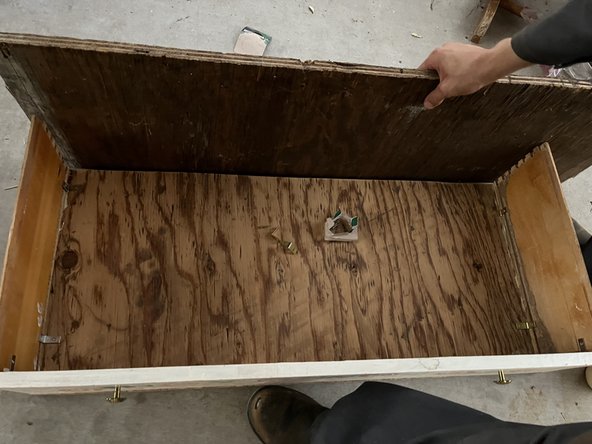
Once all corner braces are placed, Dresser will have all four sides and bottom wood.
-


To reassemble your device, follow these instructions in reverse order.

crwdns2935287:0crwdne2935287:0

CSU Sacramento, Team 1-5, Laflen Fall 2024 crwdns2935289:0CSU Sacramento, Team 1-5, Laflen Fall 2024crwdne2935289:0
CSUSAC-LAFLEN-F24S1G5
crwdns2934841:01crwdne2934841:0
crwdns2935303:01crwdne2935303:0