crwdns2915892:0crwdne2915892:0
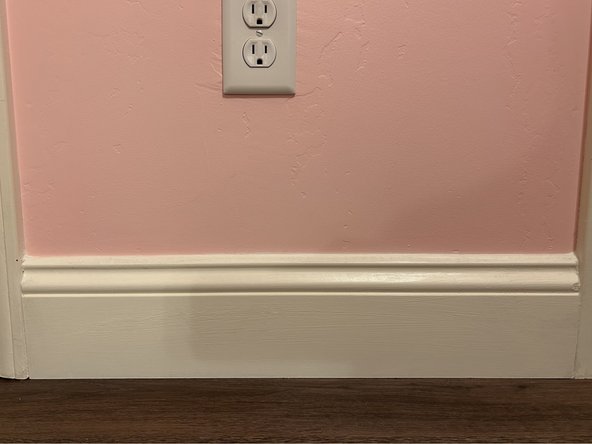
Improper installation, floods, or even just an aging home can lead to loose or chipped, damaged baseboards. Damaged baseboards can be a hazard and cause our homes to lose their aesthetic quality. Fortunately, we can easily replace our damaged baseboards in no time.
Before starting this repair, be sure you have acquired all the tools necessary for this project and that you are aware of the safety procedures throughout the process.
crwdns2942213:0crwdne2942213:0
-
-
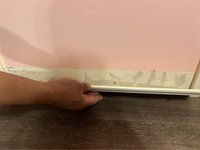
Use a crowbar to remove the damaged baseboard.
-
Pull off the baseboard once it becomes loose.
-
-
-
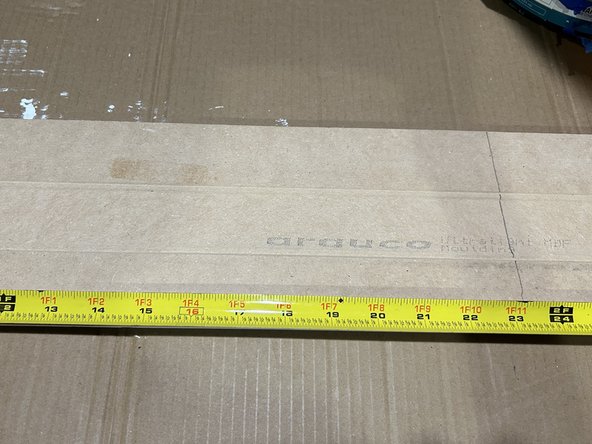
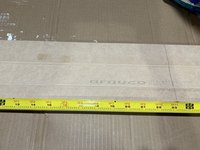
Measure the part of the wall where the baseboard will go. Write down this measurement.
-
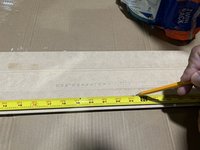
Measure the baseboard to the measurement that you wrote down. Mark the baseboard with a pencil at this point.
-
-
-
Draw a line on the baseboard at the point you marked.
-
-
-
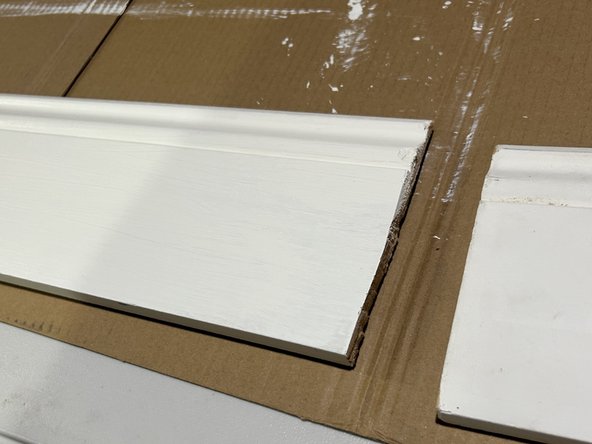
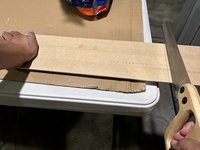
Lay the baseboard down on the table. Make sure the part you are going to cut is hanging off of the table.
-
Firmly hold down the baseboard. Steadily begin to saw the baseboard in a back and forth motion where you drew the line.
-
-
-
-
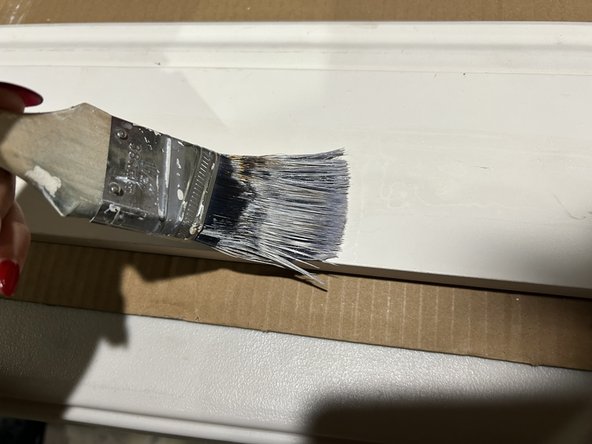
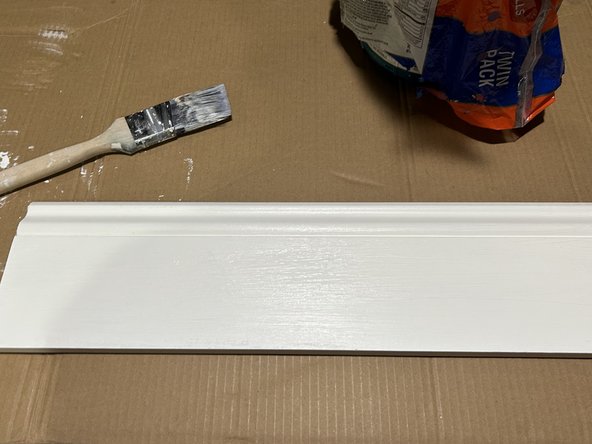
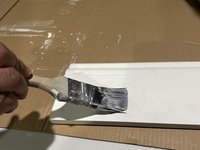
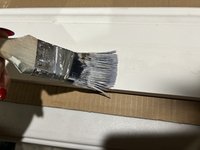
Paint over any imperfections.
-
Leave the baseboard out to completely dry.
-
-
-
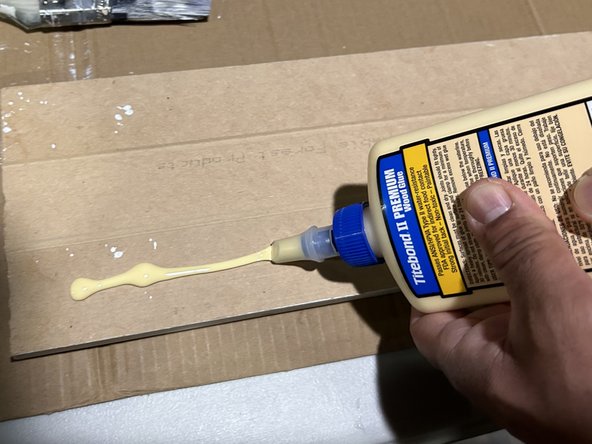
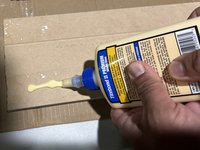
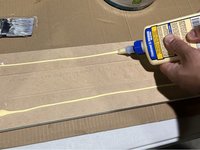
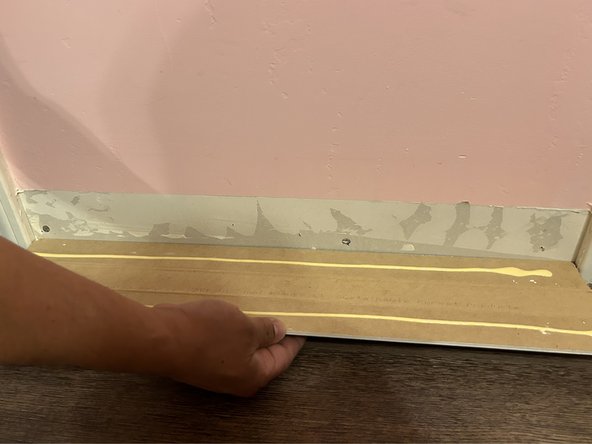
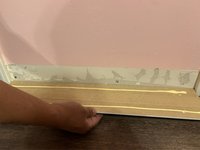
Apply wood glue to the top and bottom of the back of the baseboard.
-
-
-
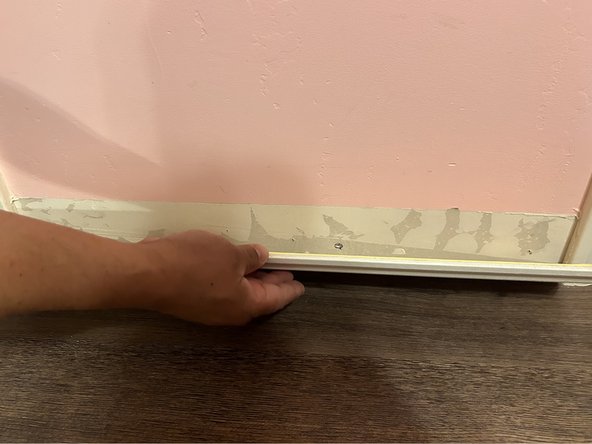
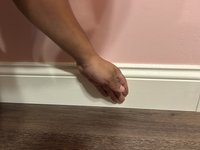
Align the baseboard with the wall. Press and hold the side of the baseboard with the glue against the area that the baseboard will cover.
-
-
-
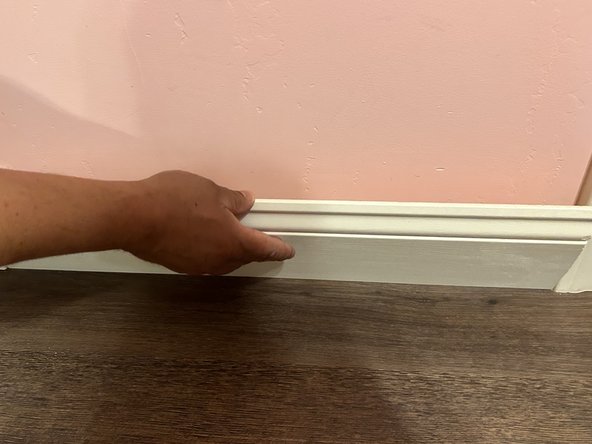
Press and hold the baseboard in place for about 3 to 5 minutes.
-
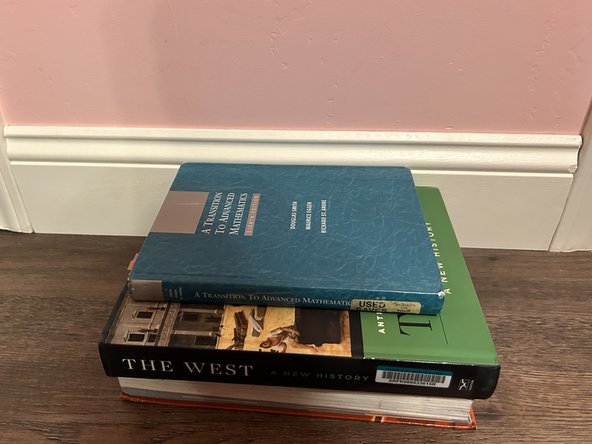
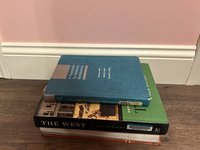
Place weights against the baseboard to hold it in place. Leave the weights there for at least 30 minutes or until completely dry.
-
-
-
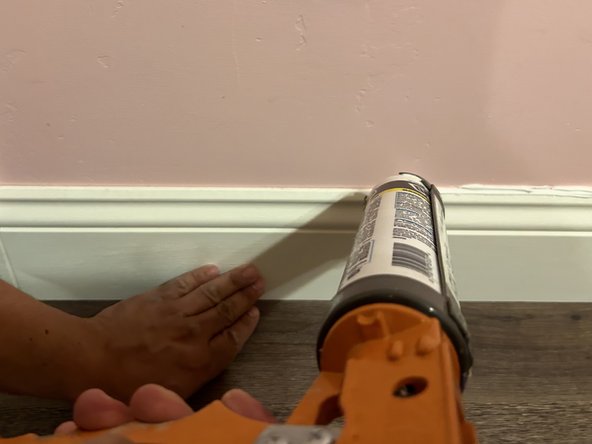
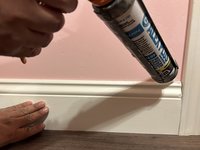
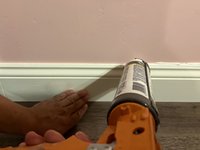
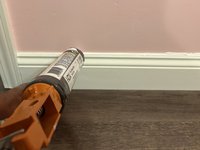
Use a caulking gun to apply caulk to the gaps between the wall and baseboard.
-
-
-
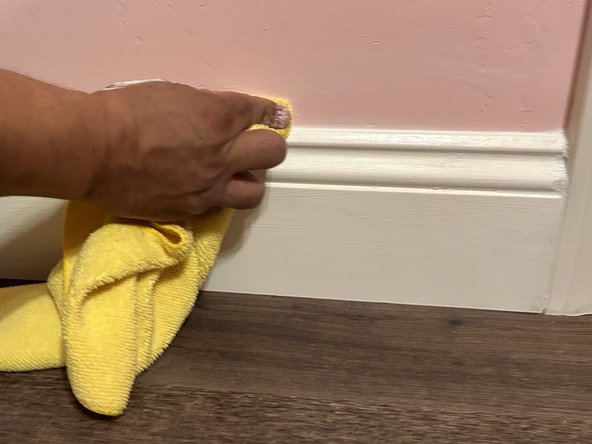
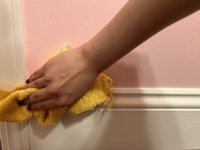
Remove excess caulk and smooth it down with a wet wipe or clean towel.
-
Clean the surrounding area.
-
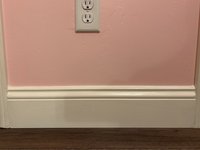
Let the area dry for at least 15 minutes (or until no longer wet to the touch).
-
-
-
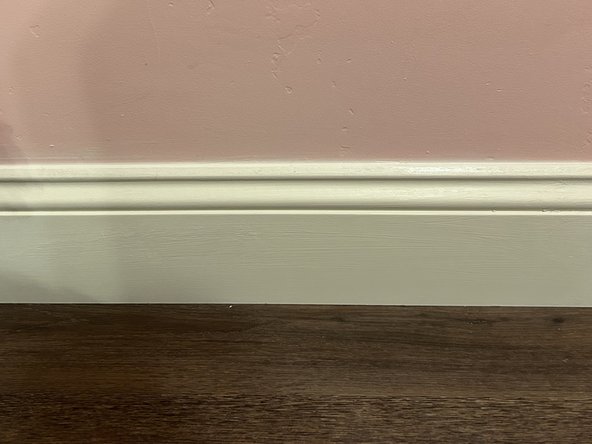
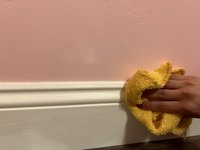
Once the area is completely dry, go back and clean the baseboard with wood cleaner.
-


crwdns2915084:0crwdne2915084:0

California State University Bakersfield, Team 5-5, Chiang Spring 2024 crwdns2935289:0California State University Bakersfield, Team 5-5, Chiang Spring 2024crwdne2935289:0
CSUB-CHIANG-S24S5G5
crwdns2931471:02crwdne2931471:0
crwdns2935303:01crwdne2935303:0