crwdns2915892:0crwdne2915892:0
If you've noticed the rubber on your shoe's midsole starting to peel away, don't worry – you can easily repair it at home. We will walk you through the steps to fix rubber delamination, ensuring your shoes stay comfortable and functional.
If you need to fix an upper delamination, check out this guide
➡️Before you get started, please check the safety disclaimer at the bottom of the page.
crwdns2942213:0crwdne2942213:0
-
-
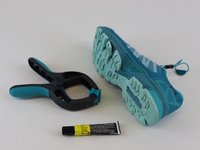
Identify the part of the midsole that needs to be repaired.
-
-
-
Use a rough piece of sandpaper to rub-off the remaining glue residue and to roughen the surface for enhanced glue adhesion.
-
Be careful not to damage the material below the midsole.
-
-
-
-
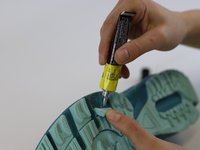
Apply the glue to both the sole and the separated part.
-
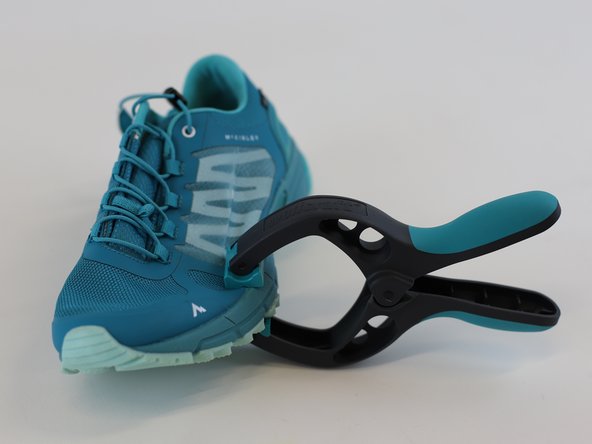
Apply pressure using clamps.
-
Note: Follow the instructions of the glue used to know the exact drying time. In this example we left the product to dry overnight.
-
-
-
🛠️🏆👏 Congratulations! The repair is complete, and you're ready to go!
-


In need of another repair? Don't worry! Check out our other guides to find quick solutions for your favourite clothing, footwear and equipment!
----------------------------------------
🚨🛠️🩹 IMPORTANT SAFETY NOTICE:
The repair guides provided on this site are intended to help you repair products on your own. While we have put a lot of care into them, all repair work carries some risk:
- Safety Precautions: When repairing your product, take all necessary precautions to ensure your safety. Use appropriate tools and follow the instructions carefully.
- Product Condition: Once your product has been repaired, it may not meet original compliance guidelines anymore and could potentially have issues.
- Liability: We are not responsible for any damage or injury that may occur during the repair process or as a result of using a repaired product. You, as the repairer, assume all risks and responsibilities associated with the repair.
By using these repair guides, you fully acknowledge and accept the potential risks and responsibilities involved.

crwdns2915084:0crwdne2915084:0

INTERSPORT crwdns2935289:0INTERSPORTcrwdne2935289:0
Community
crwdns2931471:024crwdne2931471:0
crwdns2935297:0164crwdne2935297:0