crwdns2915892:0crwdne2915892:0
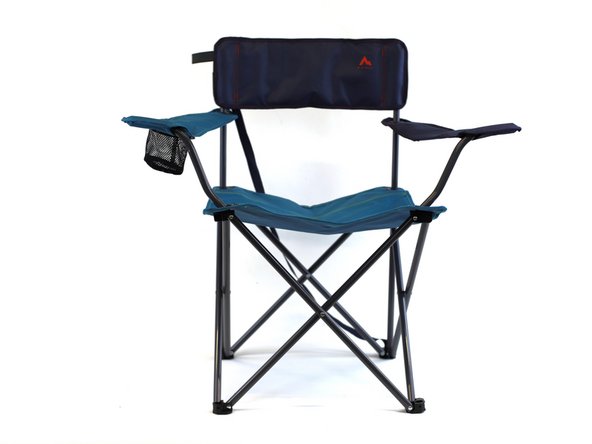
A camping chair is an key piece of camping furniture. After many adventures, it may break or a few screws may come loose from the main structure. Fixing this problem is simple, we will show you a step by step solution to make your chair as good as new!
➡️Before you get started, please check the safety disclaimer at the bottom of the page.
crwdns2942213:0crwdne2942213:0
-
-
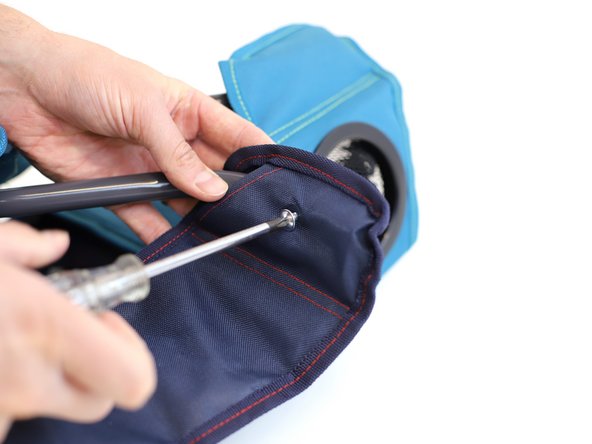
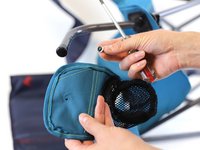
Locate the joint mechanism that connects the arm to the rest of the chair.
-
In this example, the arm of the chair used to be connected by a screw that has gone missing and now there are two holes left (red circles).
-
-
-
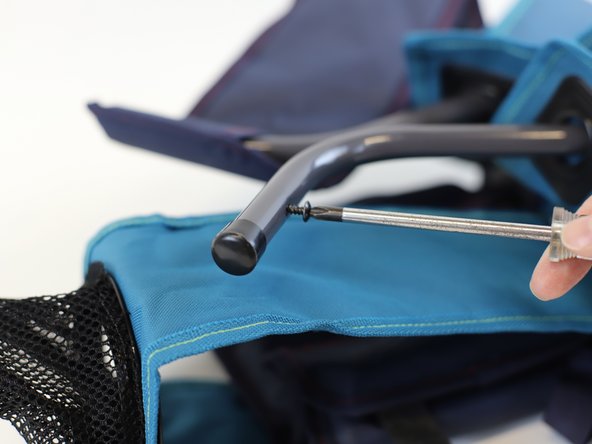
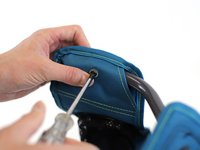
Use the other chair arm as an example to find the right screw size (yellow circle).
-
Using a screwdriver, remove the screw from the chair arm.
-
Set this screw aside to check the replacement part.
-
-
-
-
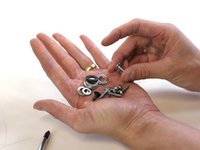
Compare the example screw with the spare parts and choose the piece that resembles it the most.
-
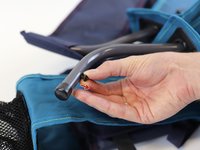
Once you have selected the replacement, test it to see if it fits in the right size.
-
For the testing, introduce the screw and then try pushing it outwards (red arrow).
-
Note: The right replacement should stay in place.
-
-
-
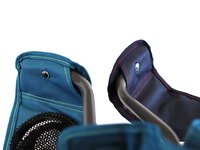
Once you have the right replacement, you should screw the piece in the right place.
-
Tip: Make sure the the screw is passing through the cloth part and metal structure of the chair.
-
After securing the new replacement, you can reassemble the other chair arm that was used as an example.
-
-
-
🛠️🏆👏 Congratulations! The repair is complete, and you're ready to go!
-


In need of another repair? Don't worry! Check out our other guides to find quick solutions for your favourite clothing, footwear and equipment!
----------------------------------------
🚨🛠️🩹 IMPORTANT SAFETY NOTICE:
The repair guides provided on this site are intended to help you repair products on your own. While we have put a lot of care into them, all repair work carries some risk:
- Safety Precautions: When repairing your product, take all necessary precautions to ensure your safety. Use appropriate tools and follow the instructions carefully.
- Product Condition: Once your product has been repaired, it may not meet original compliance guidelines anymore and could potentially have issues.
- Liability: We are not responsible for any damage or injury that may occur during the repair process or as a result of using a repaired product. You, as the repairer, assume all risks and responsibilities associated with the repair.
By using these repair guides, you fully acknowledge and accept the potential risks and responsibilities involved.

crwdns2915084:0crwdne2915084:0

INTERSPORT crwdns2935289:0INTERSPORTcrwdne2935289:0
Community
crwdns2931471:025crwdne2931471:0
crwdns2935297:0169crwdne2935297:0