crwdns2915892:0crwdne2915892:0
Wallpaper can add warmth and style to any room, but its seams may lift or bubble over time. This can happen due to changes in humidity, temperature, or even mistakes during installation.
This guide will walk you through a simple, step-by-step process to fix loose wallpaper seams, helping you restore both the appearance and strength of your wallpaper. With the right tools and patience, you can repair it like a pro and give your space a fresh, updated look.
When working with wallpaper adhesive, it's important to ventilate the room and use a mask to avoid breathing potentially toxic fumes.
crwdns2942213:0crwdne2942213:0
-
-
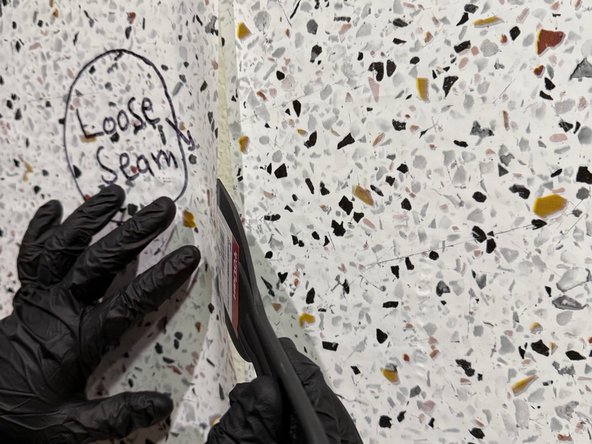
Use a putty knife to gently lift the loose seam of the wallpaper.
-
-
-
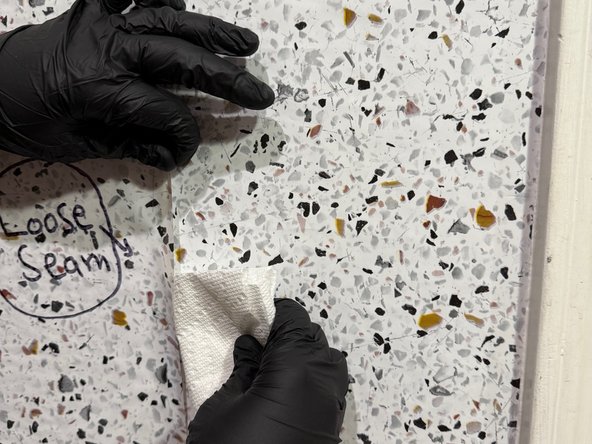
Before making any repairs, ensure the area around the loose seam is clean.
-
Wipe away any dust, dirt, or debris with a dry cloth.
-
-
-
-
Carefully apply a thin layer of wallpaper adhesive beneath the lifted seam.
-
Cover the entire area you will reattach, ensuring an even distribution for a strong bond.
-
-
-
Start at the center of the seam, pressing it down firmly, and then work your way outward to ensure a smooth and secure bond.
-
Use your hand or putty knife to smooth it out and secure it.
-
-
-
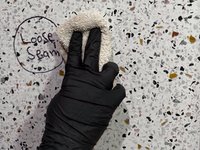
Use a clean, damp cloth or sponge to wipe away any excess adhesive that has squeezed out from under the seam and clean the area.
-
-
-
Follow the adhesive manufacturer’s instructions regarding drying time.
-
To reassemble your device, follow these instructions in reverse order.
To reassemble your device, follow these instructions in reverse order.
crwdns2935221:0crwdne2935221:0
crwdns2935229:02crwdne2935229:0


