crwdns2915892:0crwdne2915892:0
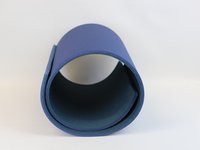
Foam camping mats can delaminate with frequent use, causing discomfort. We will show you how to re-attach the layers, ensuring your mat remains functional for future trips.
➡️Before you get started, please check the safety disclaimer at the bottom of the page.
crwdns2942213:0crwdne2942213:0
-
-
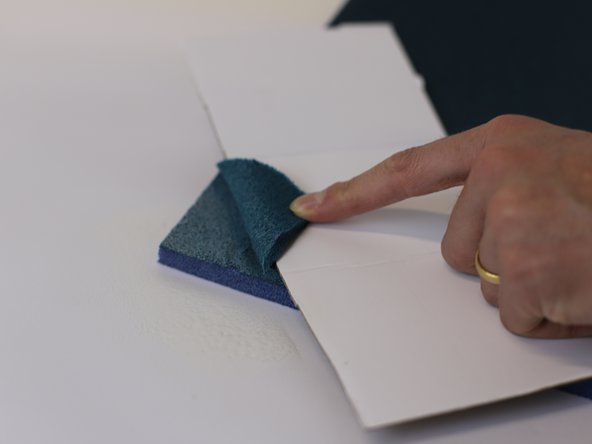
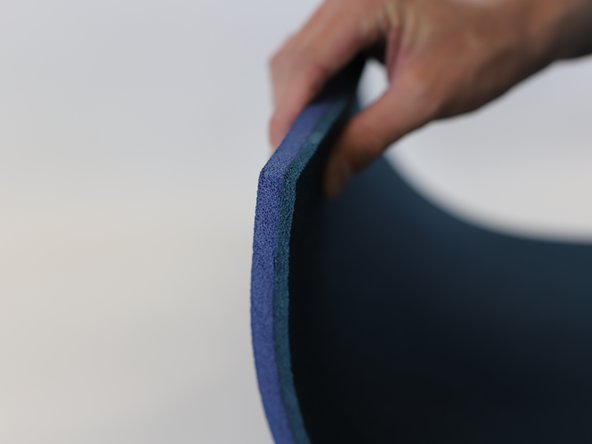
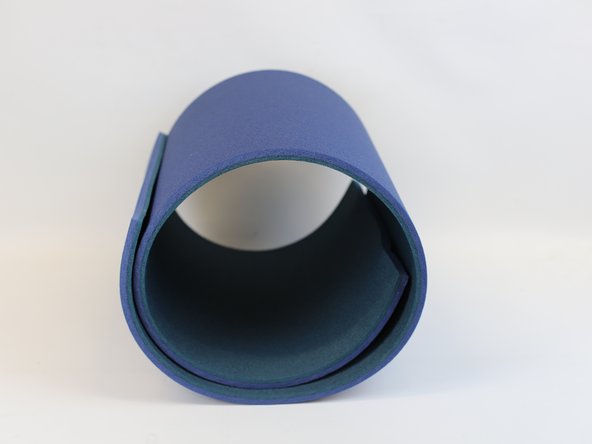
Locate the delaminated part that needs to be fixed.
-
Choose a suitable glue that adheres to foam surfaces.
-
Note: in this example, we choose a spray glue, but any foam-adapted glue will work just the same.
-
-
-
Place a piece of paper or old newspaper under the mat to protect the surface before spraying.
-
Tip: leave a distance of 20-30 cm around the mat when spraying.
-
Place a small piece of cardboard between the tip and the rest of the mat to prevent the spray glue from directly staining it.
-
-
-
-
Spray the delaminated area with the foam glue.
-
-
-
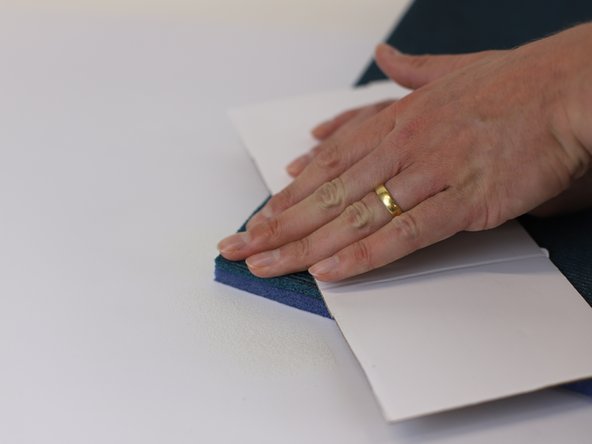
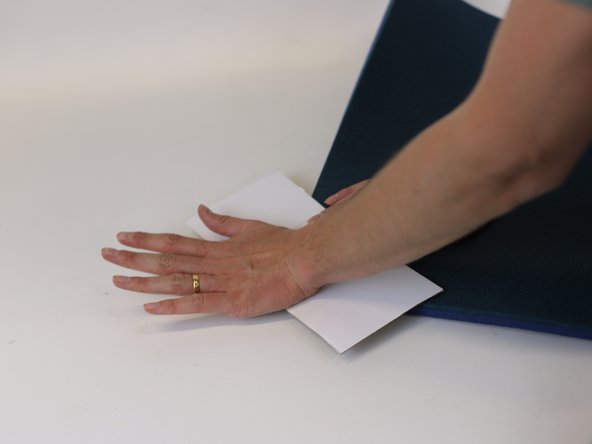
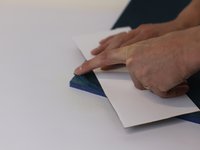
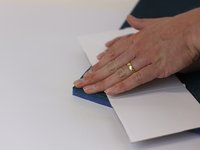
Apply pressure to the area.
-
Note: Follow the instructions of the glue used to know the exact drying time. In this example, we waited 1 minute for the glue to dry before attaching both layers together. Afterwards, we held the parts together for 3 minutes and then let it dry overnight.
-
-
-
🛠️🏆👏 Congratulations! The repair is complete, and you're ready to go!
-
In need of another repair? Don't worry! Check out our other guides to find quick solutions for your favourite clothing, footwear and equipment!
----------------------------------------
🚨🛠️🩹 IMPORTANT SAFETY NOTICE:
The repair guides provided on this site are intended to help you repair products on your own. While we have put a lot of care into them, all repair work carries some risk:
- Safety Precautions: When repairing your product, take all necessary precautions to ensure your safety. Use appropriate tools and follow the instructions carefully.
- Product Condition: Once your product has been repaired, it may not meet original compliance guidelines anymore and could potentially have issues.
- Liability: We are not responsible for any damage or injury that may occur during the repair process or as a result of using a repaired product. You, as the repairer, assume all risks and responsibilities associated with the repair.
By using these repair guides, you fully acknowledge and accept the potential risks and responsibilities involved.


