crwdns2915892:0crwdne2915892:0
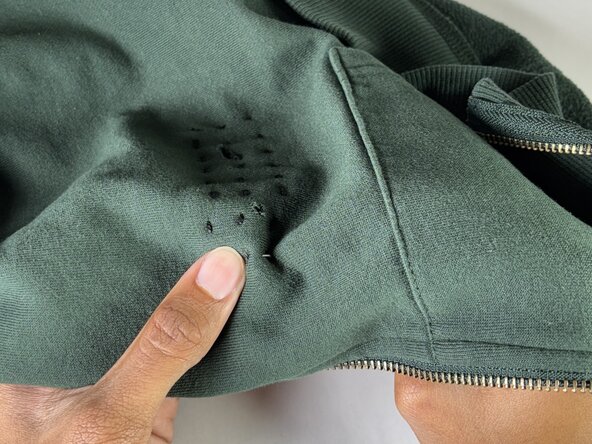
If your garment has a tear or hole, don’t throw it away! Instead, use this guide to repair it with Sashiko stitching, a traditional Japanese embroidery technique that reinforces fabric while adding a unique decorative touch. This method not only extends the life of your clothing, but also embraces sustainable fashion by reducing waste and encouraging creativity.
While this guide focuses on mending a sweatshirt, Sashiko stitching can be used to repair any article of clothing and it works particularly well with denim, cotton, and other woven fabrics. The stitch pattern reinforces worn areas, preventing further fraying, while transforming a simple repair into a bold design. There are no special skills necessary for this fix as this guide covers a beginner friendly approach. If you would like to explore more advanced designs, we would recommend the following resources: Up Cycle Stitches, Waste Free Planet, Seam Work.
crwdns2942213:0crwdne2942213:0
-
-
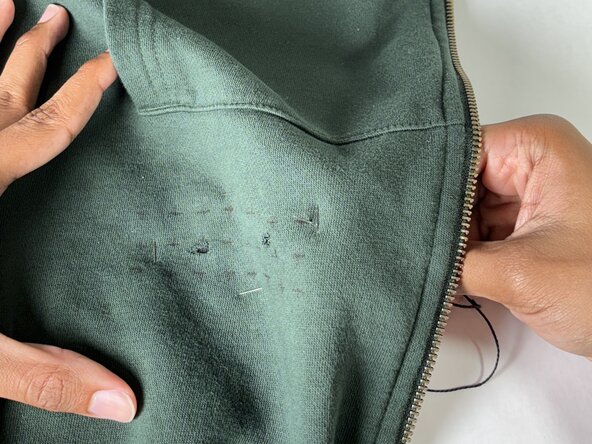
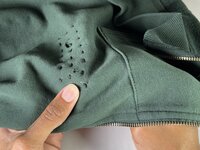
Cut away any loose threads around the tear.
-
-
-
Measure how big your patch should be.
-
-
-
Cut your patch using measurements from Step 2.
-
-
-
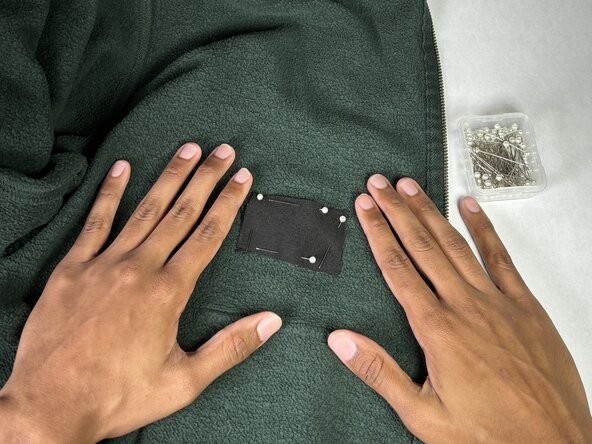
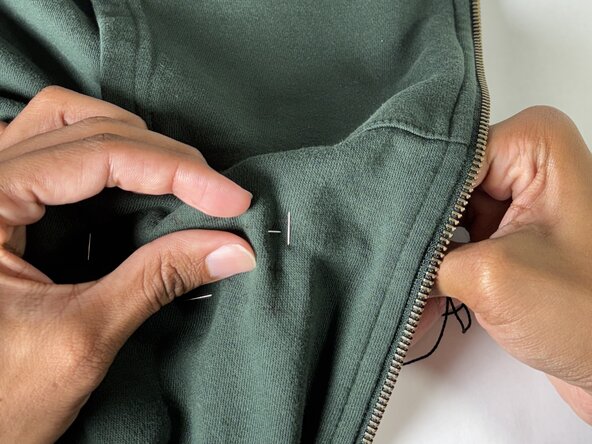
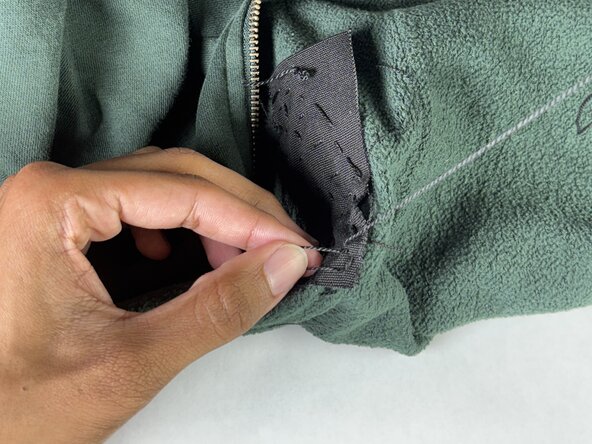
Pin your patch to the inside of the garment.
-
-
-
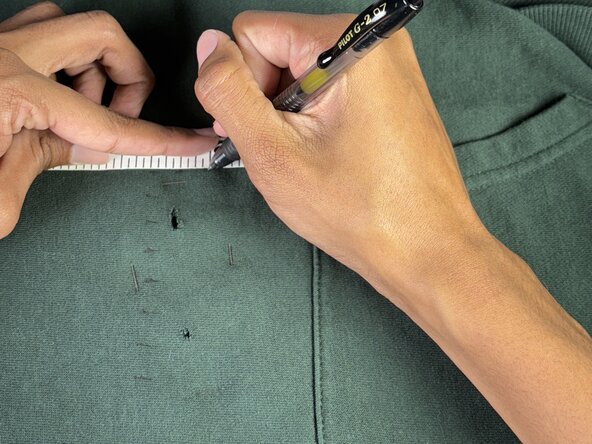
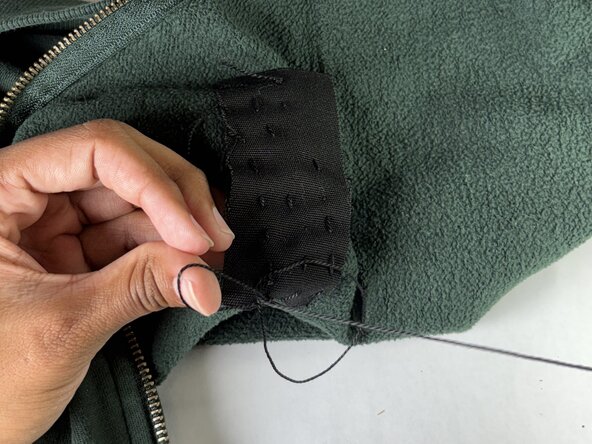
Flip the garment right side out.
-
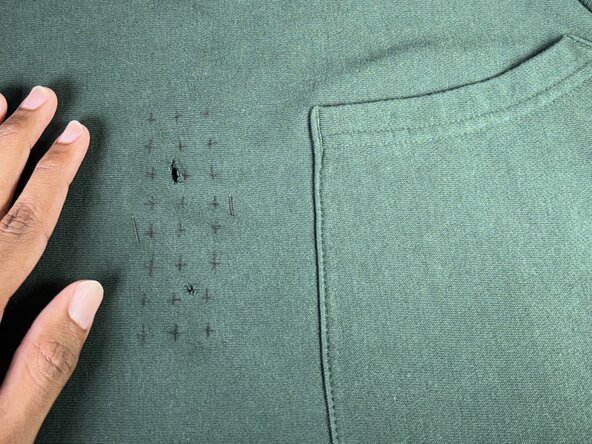
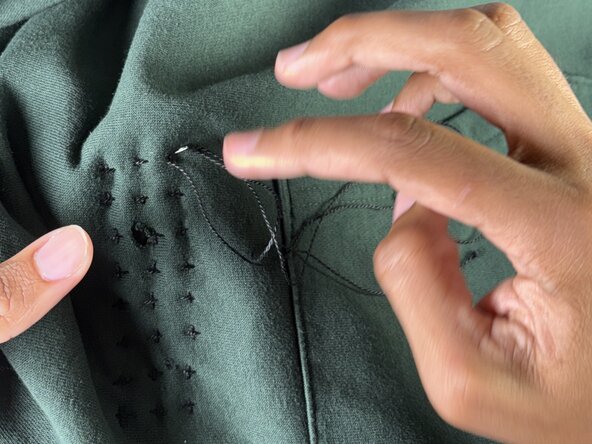
Over the patch, mark small dashes every half inch, horizontally and vertically.
-
-
-
Thread your needle and pull the thread through at least 5 inches.
-
-
-
Cut the thread to a single arm’s length.
-
-
-
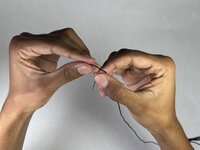
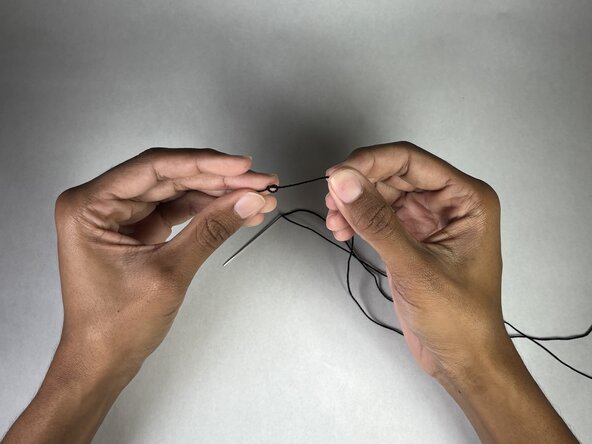
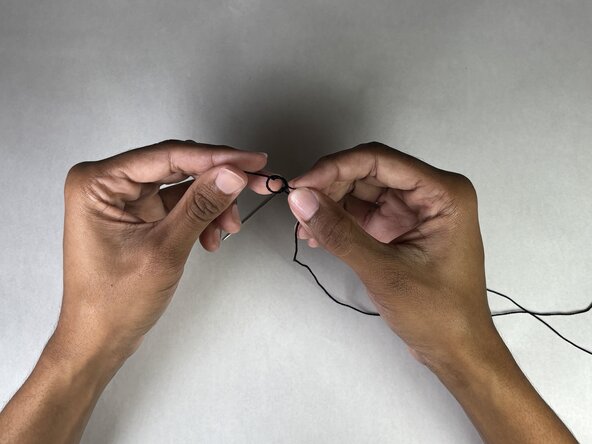
Tie a double knot at the end of your thread.
-
Trim off any excess.
-
-
-
-
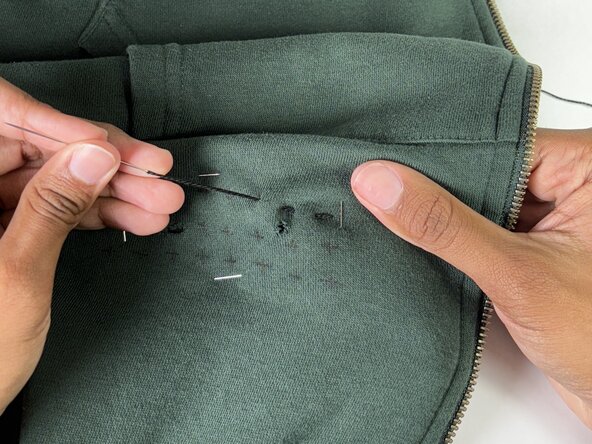
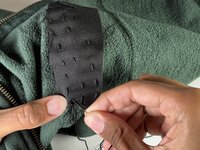
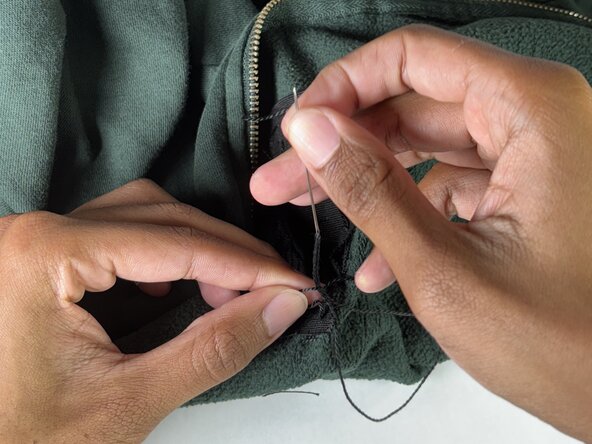
Start your stitch from the inside of the garment, beginning at the top right horizontal stitch.
-
-
-
Start your horizontal stitch, going over the marks, and under the gaps.
-
-
-
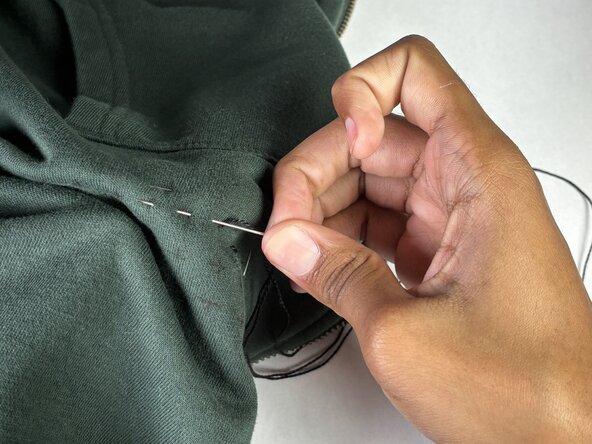
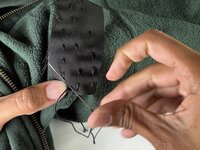
After a couple stitches, pull your needle and thread all the way through.
-
Smooth out your stitches to avoid bunching.
-
-
-
Repeat steps 10 and 11 until you reach the end of the first row.
-
-
-
On the last stitch of a row, stitch down to start the next row.
-
-
-
Repeat steps 10 through 13 until all horizontal stitches are done.
-
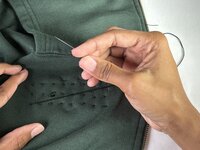
On the last stitch, push the needle through to the inside of the garment.
-
-
-
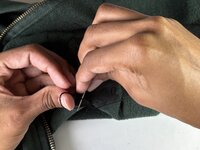
Make a small stitch through just the patch, right next to where the needle came through.
-
Pull the thread almost all the way through, leaving a small loop.
-
-
-
Pull the needle through the loop twice.
-
-
-
Pull the thread tight to knot off.
-
Trim any excess thread.
-
-
-
Begin your vertical stitches, starting at the top right corner.
-
-
-
Repeat Steps 10-13 along your vertical stitch marks.
-
-
-
On your last stitch, push your needle through to the inside.
-
-
-
Make a small stitch through just the patch, right next to where the needle came through.
-
Pull the thread almost all the way through, leaving a small loop.
-
-
-
Pull the needle through the loop twice.
-


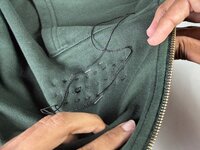


You have now successfully mended your garment! Revisit this guide to mend other garments with any holes or tears.
You have now successfully mended your garment! Revisit this guide to mend other garments with any holes or tears.

crwdns2915084:0crwdne2915084:0

UC Davis, Team 3-5, Andersen Winter 2025 crwdns2935289:0UC Davis, Team 3-5, Andersen Winter 2025crwdne2935289:0
UCD-ANDERSEN-W25S3G5
crwdns2931471:03crwdne2931471:0
crwdns2935303:01crwdne2935303:0