crwdns2915892:0crwdne2915892:0
Use this guide to fix your faulty controller trigger on your Thrustmaster Eswap X Pro Controller. If your controller is experiencing faulty readings such as continued button readings after the button is released, it is most likely due to a layer of dust covering the switch. The switch refers to the limit switch that is pushed down every time the trigger button is pressed. A layer of dust causes a false reading of being pressed and therefore the switch continues firing.
Before using this guide, check with the controller software, ThrustmapperX, to see if your controller is producing false readings. Be absolutely sure the problem is with the trigger switch and not the mechanism itself.
crwdns2942213:0crwdne2942213:0
-
-
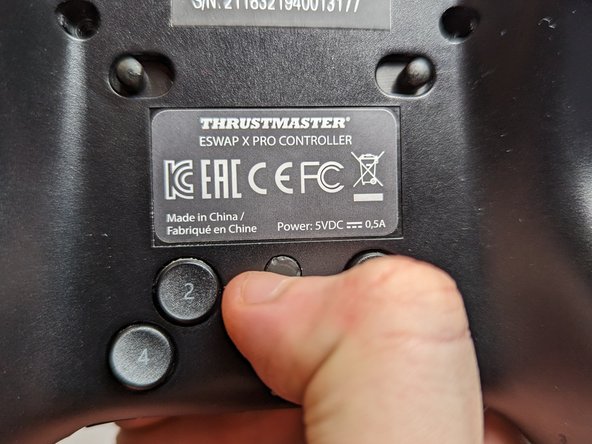
Flip the controller so the backside is facing up.
-
Flip both of the switches away from the center.
-
-
-
Flip the controller over so the top is facing up.
-
Pull out both the joystick and the directional pad modules.
-
-
-
Flip the controller over again so the backside is facing up.
-
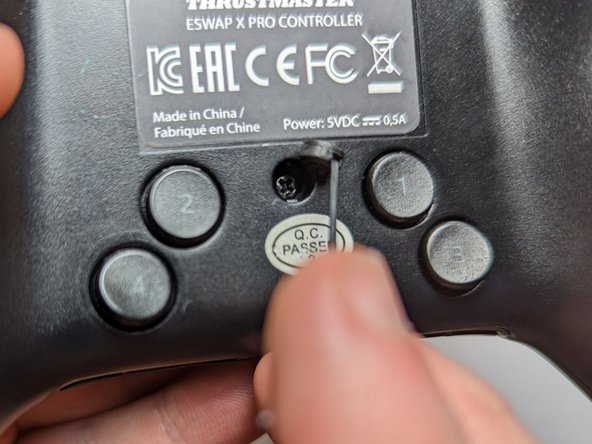
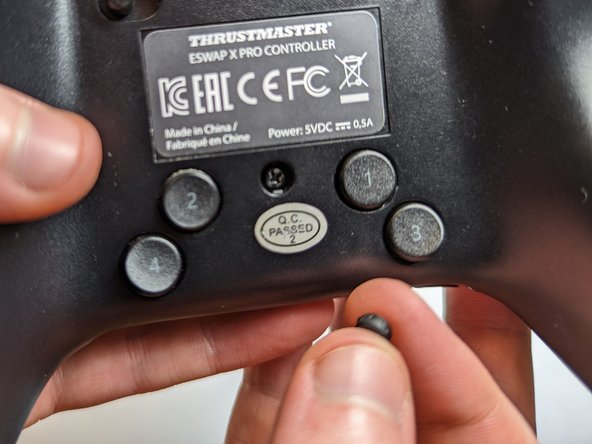
Use a spudger to remove five rubber screw covers.
-
-
-
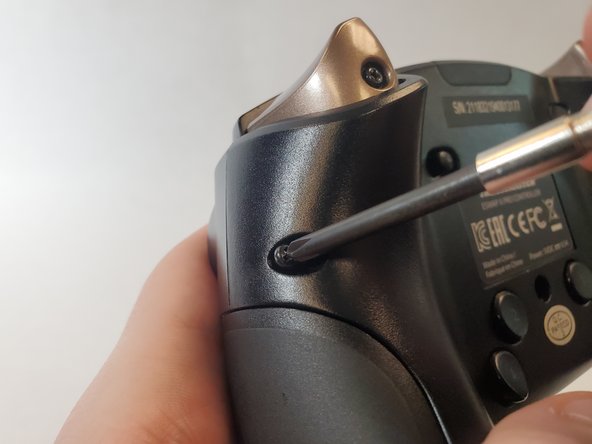
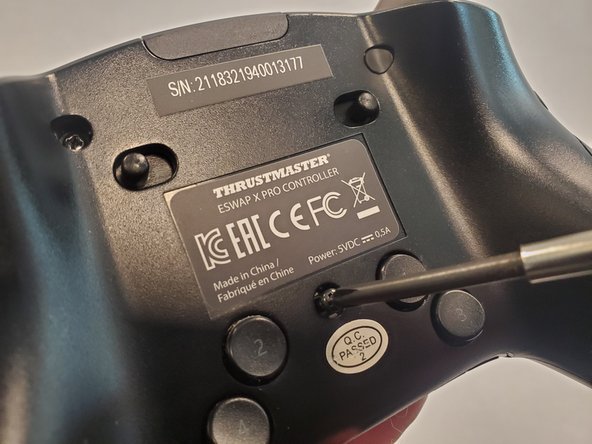
Use a Phillips #1 screwdriver to remove each of the 4.0 mm exposed screws.
-
-
-
-
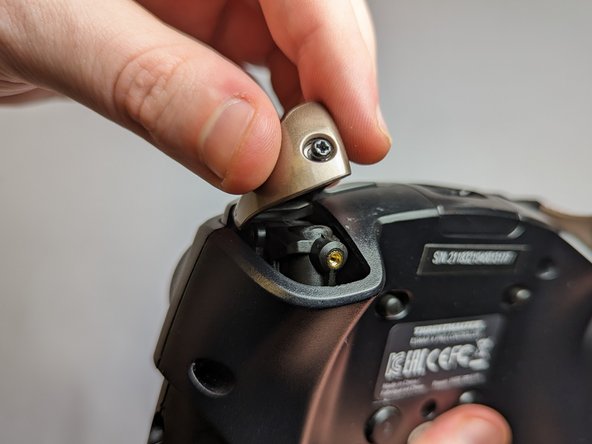
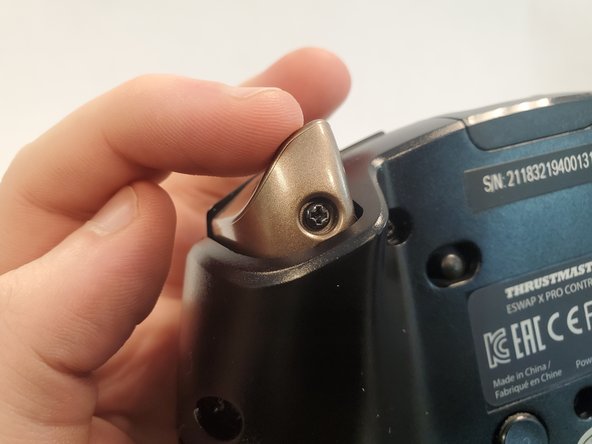
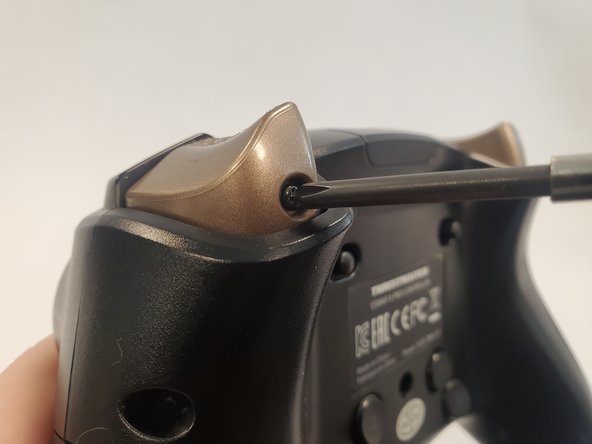
Use a Phillips #1 screwdriver to loosen the captive screw and remove the trigger button.
-
-
-
Rotate the controller 90 degrees.
-
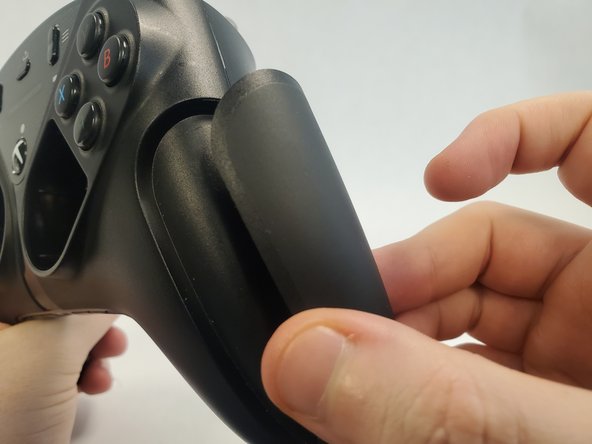
Pull off the magnetic side cover.
-
-
-
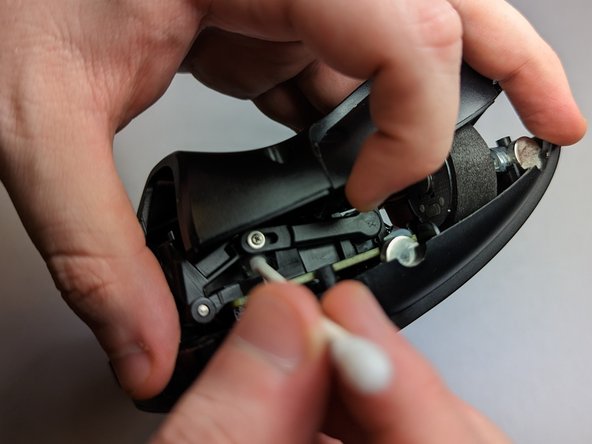
Lift the back cover slightly from where you removed the trigger button.
-
Use a Q-tip dipped with isopropyl alcohol to clean the surrounding area.
-
Additionally, wipe down the top face of the trigger with a Q-tip.
-
-
-
Reattach the trigger button onto the controller.
-
Use a Phillips #1 screwdriver to tighten the screw securing trigger button.
-
-
-
Use a Phillips #1 screwdriver to reattach the 4.0 mm screws to the back of the controller.
-
-
-
Reattach the rubber covers above the screws.
-
-
-
Reattach the magnetic side cover.
-
The controller is fixed!
-
To reassemble your device, follow these instructions in reverse order.
crwdns2935221:0crwdne2935221:0
crwdns2935229:03crwdne2935229:0
crwdns2947412:03crwdne2947412:0
The problem is it keeps happening after doing all these steps. is there any way or parts to replace the trigger sensor completely? Possibly with a nice hall effect sensor?
You can remove the lever bar that goes from the screw to the sensor (the one you see on Step 7)
Spray a small amount of WD40 on the sensor and use a prong to rotate the part on its full range of motion several times, that will clean up the contact inside and it completely fixed the jitter on mine.
Alex L -
hi, i made an account here just to say this worked for me but on the thrustmaster eswap S pro controller, it's almost identical aside from the cover panels


