crwdns2915892:0crwdne2915892:0
Do you have a ripped tie that needs fixing before your next event? Use this guide to fix a tie that has ripped at the seams.
As ties can be expensive to replace, we intend to show people how they can easily repair their ties with household items. This guide is intended to be quick and easy to follow. By doing so, the tie will continue to be used for a long time.
Experience with sewing or enough practice may be helpful in attempting this guide, but not necessary.
crwdns2942213:0crwdne2942213:0
-
-
Iron the area of the necktie that is ripped.
-
-
-
Position your tie with ripped seam facing up.
-
-
-
Gather your thread and scissors.
-
Cut to desired length.
-
-
-
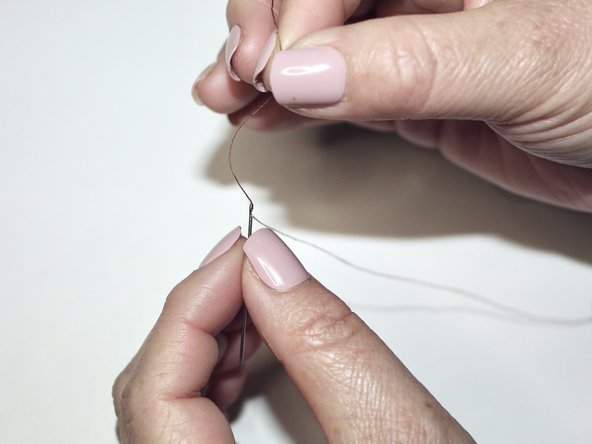
Gather your cut thread and needle.
-
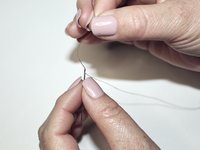
Loop your thread through the eye of the needle.
-
Pull the thread until it is even on both ends.
-
-
-
-
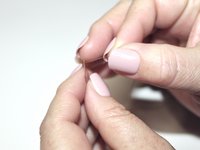
Tie the end of the thread with a knot.
-
-
-
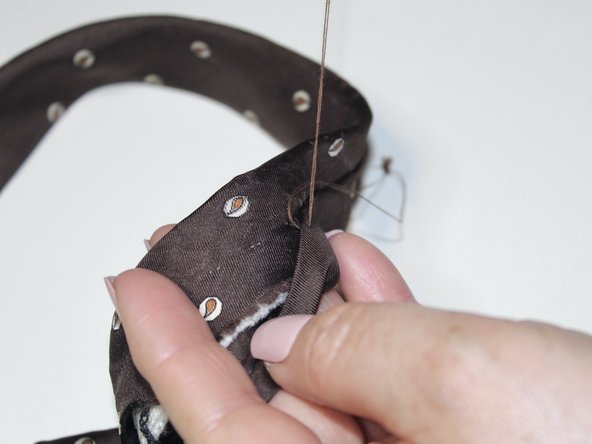
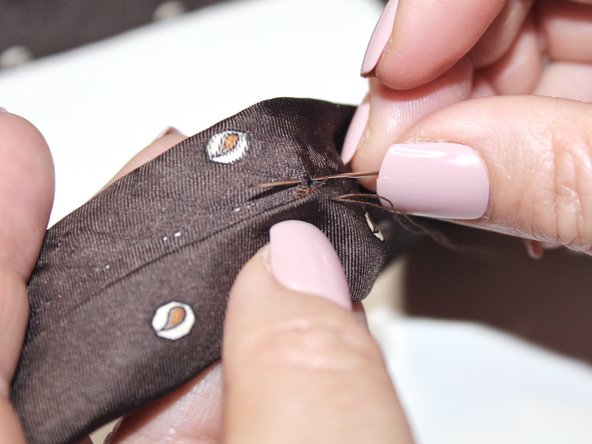
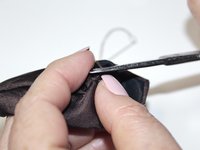
Poke your needle from the inside of the tie.
-
Pull the thread all the way through until it reaches the tied knot.
-
Leave about 1/4 inches from the original hole.
-
Poke your needle from the outside of the tie and pull thread until knot.
-
-
-
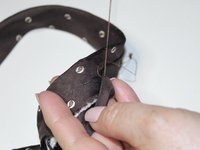
Repeat the sewing pattern until you reach the end.
-
-
-
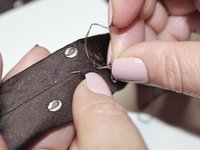
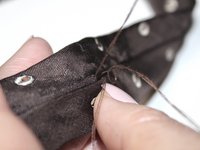
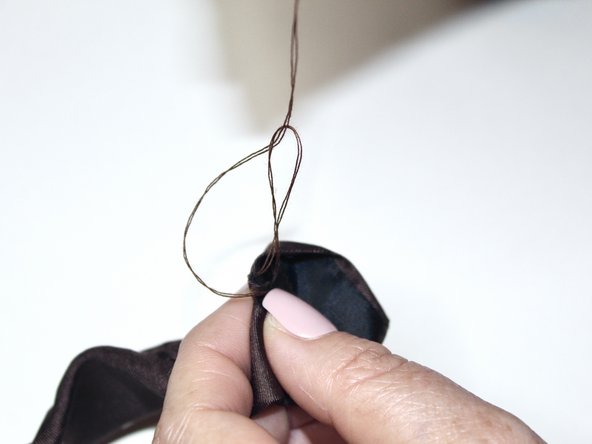
Once the entire seam has been sewn, create a loop with the thread.
-
To tie a knot, bring your needle through the loop and pull.
-
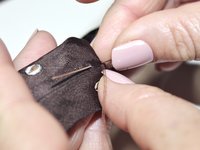
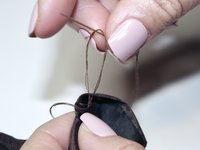
Repeat the knot 2-3 more times.
-


To reassemble your device, follow these instructions in reverse order.
To reassemble your device, follow these instructions in reverse order.
crwdns2935221:0crwdne2935221:0
crwdns2935227:0crwdne2935227:0
crwdns2915084:0crwdne2915084:0

UC Davis, Team 2-4, Andersen Winter 2023 crwdns2935289:0UC Davis, Team 2-4, Andersen Winter 2023crwdne2935289:0
UCD-ANDERSEN-W23S2G4
crwdns2931471:03crwdne2931471:0
crwdns2935297:02crwdne2935297:0