crwdns2915892:0crwdne2915892:0
We are currently living in unprecedented times where technology and remote communication is more important than ever. Webcams have almost become a must-have for everyday life, mostly for students. Many people always look for the cheaper and more affordable option, which sometimes isn’t the most sustainable choice. This guide is here to help you with just that.
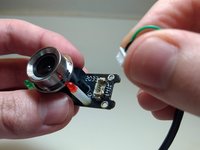
The Anivia 1080p Webcam is a great and affordable option; however, it can come with small, but easily fixable, errors. This guide will show you how to repair a loose connecter that can cause a flickering display and a spotty image.
You will only need four items for this fix: solder, a soldering iron, a screwdriver, and a wedging tool.
With this guide, you can have your webcam up and running in a matter of minutes so you can get back to work or school quickly, saving you the time you would spend waiting for a new webcam to arrive!
crwdns2942213:0crwdne2942213:0
-
-
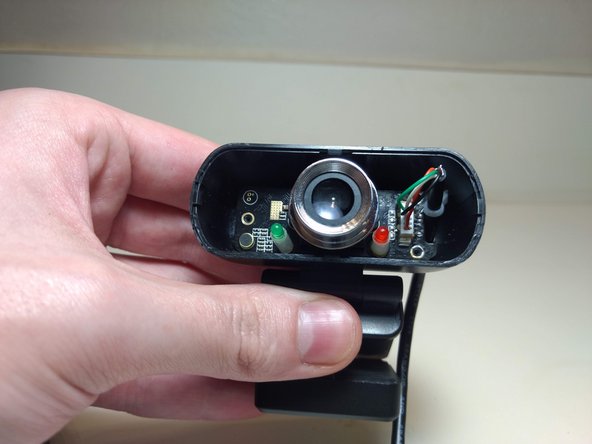
Pry open the face plate of the webcam using the iFixit opening pick or another safe tool, and set it aside.
-
-
-
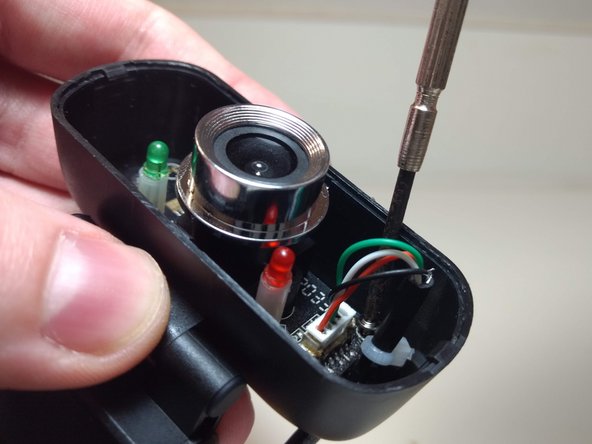
Remove the three main screws using a Phillips screwdriver while carefully holding the camera motherboard in place.
-
-
-
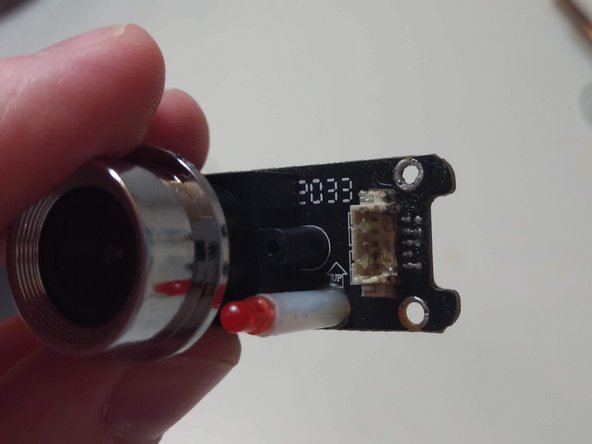
Remove the camera and motherboard from the casing carefully.
-
-
-
-
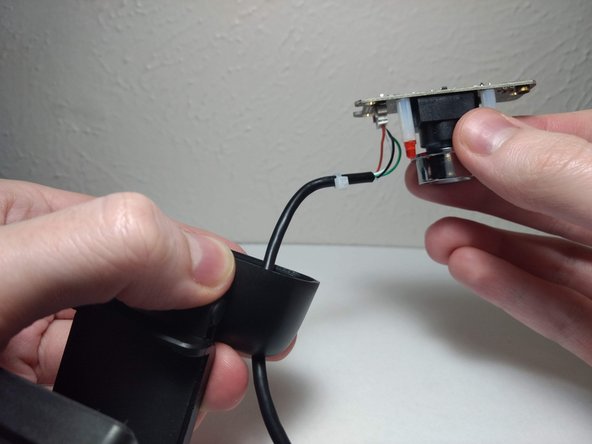
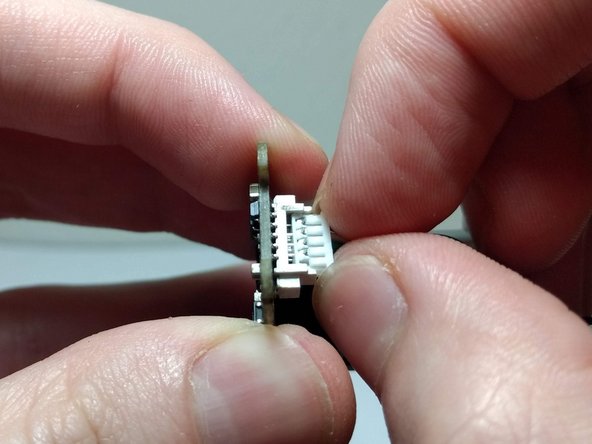
Detach the cable from the connecter on the motherboard.
-
-
-
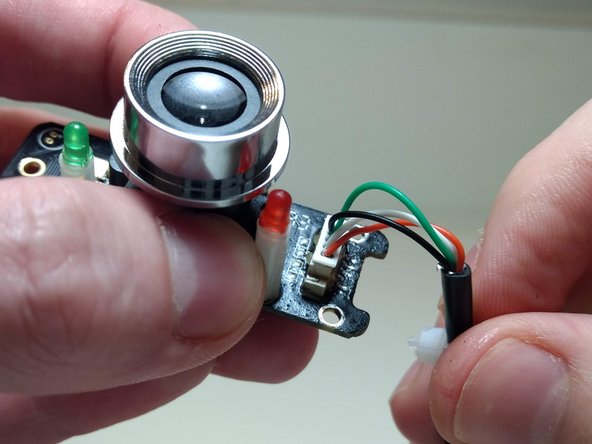
Identify where the connector is loose and solder the piece back into place.
-
-
-
Place the motherboard and camera back into the casing.
-
-
-
Screw the camera and motherboard back into place.
-
-
-
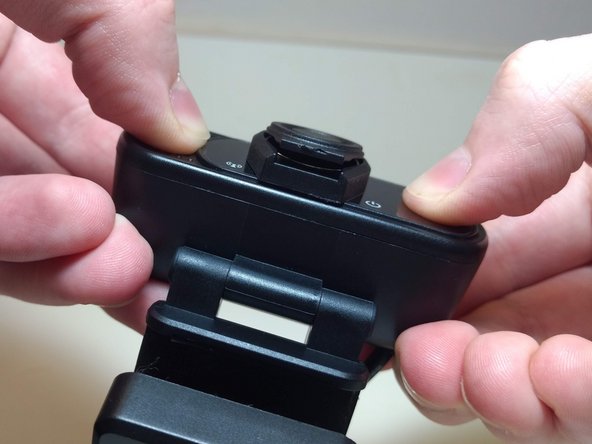
Snap the faceplate covering back into place.
-


crwdns2915084:0crwdne2915084:0

University of North Texas, Team S1-G21, Raign Spring 2021 crwdns2935289:0University of North Texas, Team S1-G21, Raign Spring 2021crwdne2935289:0
UNT-RAIGN-S21S1G21
crwdns2931471:02crwdne2931471:0
crwdns2935297:02crwdne2935297:0