crwdns2915892:0crwdne2915892:0
Introduction
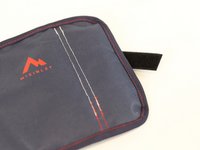
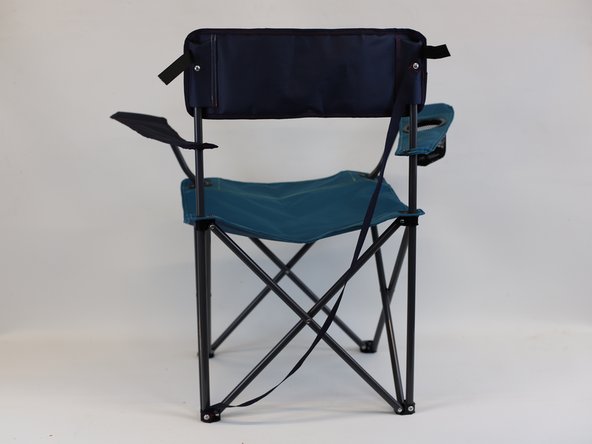
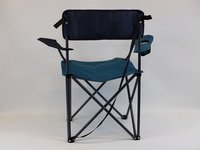
Even the sturdiest camping chairs can suffer from a broken seam, however fixing it is easier than you might think! We will show you how to repair it, ensuring it’s ready for your next adventure.
➡️Before you get started, please check the safety disclaimer at the bottom of the page.
crwdns2942213:0crwdne2942213:0
-
-
Locate the broken seam that needs to be fixed.
-
-
-
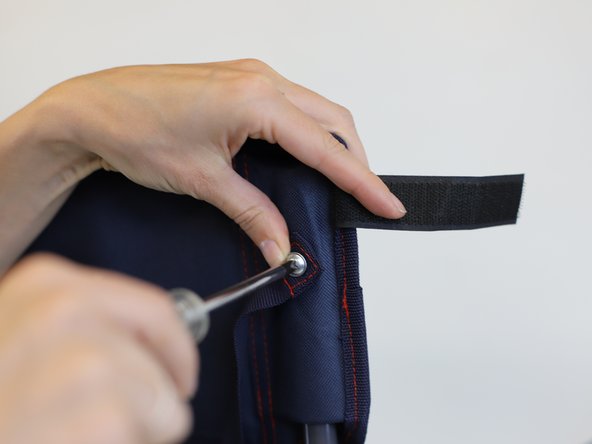
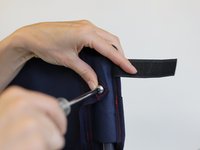
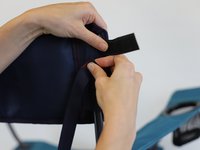
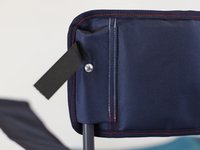
Use a screwdriver to disassemble the back support and set aside the screws and remaining parts.
-
-
-
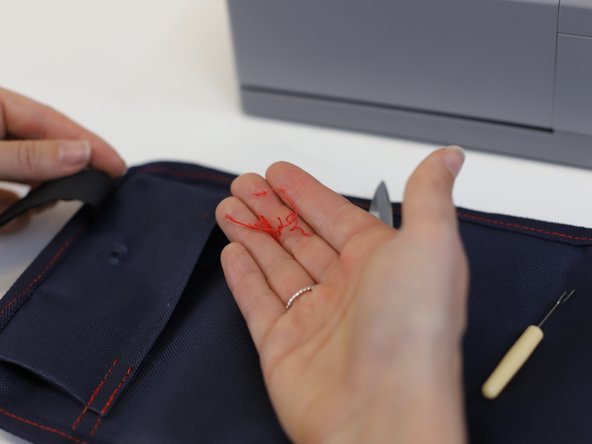
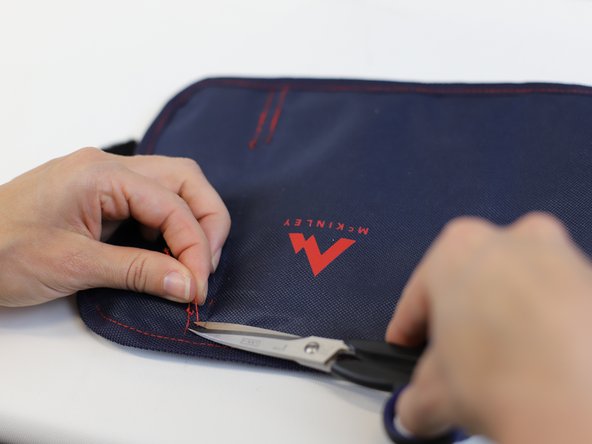
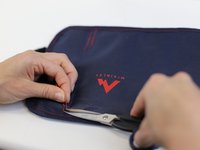
Using a pair of scissors and a "seam ripper" remove the loose threads.
-
-
-
-
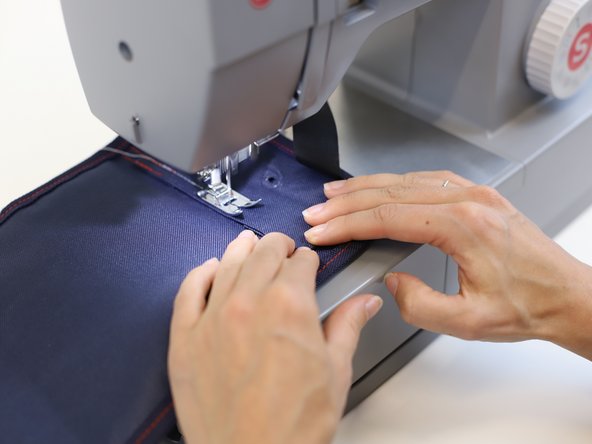
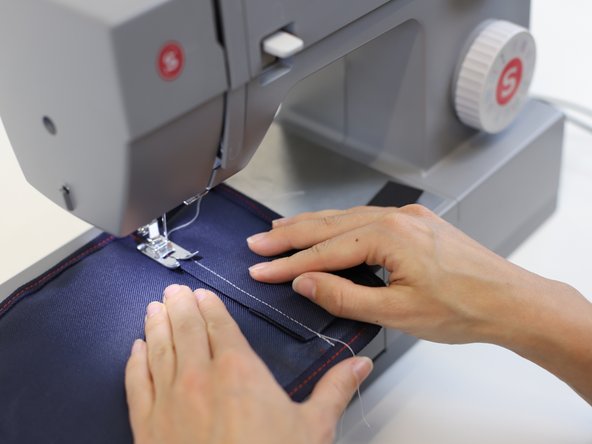
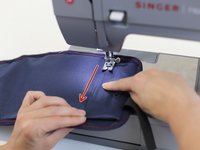
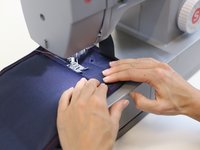
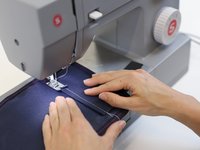
Sew along the "dotted line" following the direction of the red arrow. This is the path where the previous stitch used to be.
-
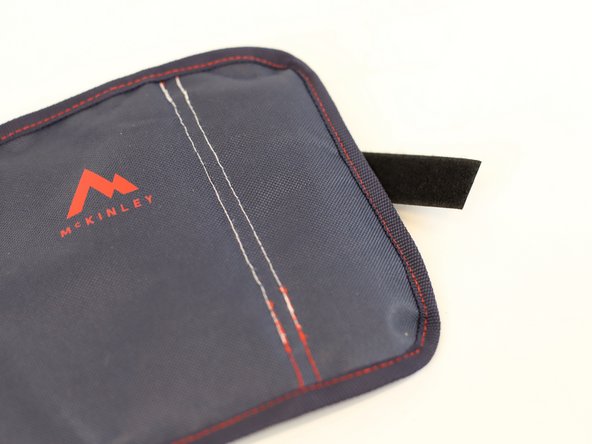
Note: in this example, the original seam used to have 2 lines of stitches, this is why a second line of stitches is needed to reinforce the area.
-
-
-
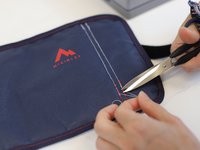
Using a pair of scissors cut the remaining threads to clean the area.
-
-
-
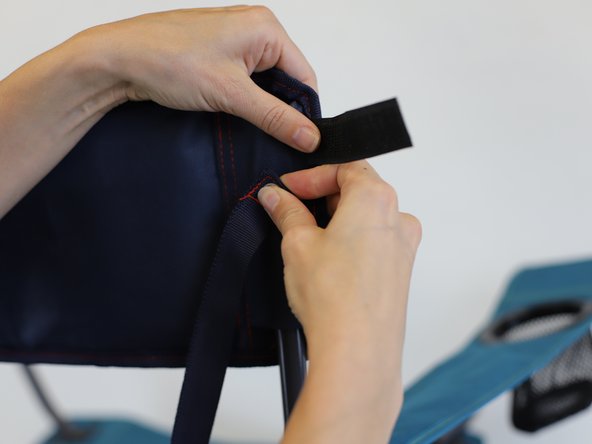
Start by putting the components back, first the repaired fabric and then the rest of the parts.
-
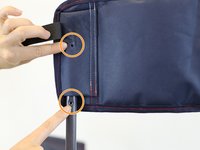
Tip: make sure the holes in the metal part of the chair match the holes of the fabric (orange circles).
-
Screw back the pieces that were taken on the previous steps.
-
-
-
🛠️🏆👏 Congratulations! The repair is complete, and you're ready to go!
-
In need of another repair? Don't worry! Check out our other guides to find quick solutions for your favourite clothing, footwear and equipment!
----------------------------------------
🚨🛠️🩹 IMPORTANT SAFETY NOTICE:
The repair guides provided on this site are intended to help you repair products on your own. While we have put a lot of care into them, all repair work carries some risk:
- Safety Precautions: When repairing your product, take all necessary precautions to ensure your safety. Use appropriate tools and follow the instructions carefully.
- Product Condition: Once your product has been repaired, it may not meet original compliance guidelines anymore and could potentially have issues.
- Liability: We are not responsible for any damage or injury that may occur during the repair process or as a result of using a repaired product. You, as the repairer, assume all risks and responsibilities associated with the repair.
By using these repair guides, you fully acknowledge and accept the potential risks and responsibilities involved.


