crwdns2915892:0crwdne2915892:0
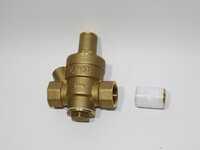
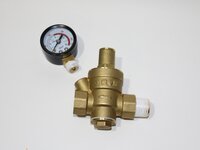
If your RV toilet sprays water outside the bowl when flushing, the water pressure may be too high. Installing a water pressure regulator will reduce the toilet’s pressure without lowering water pressure to the rest of your RV.
This repair is straightforward and doesn’t require special skills, but you will need to know how to turn off the RV’s water supply before starting. Some regulators include a wrench and hex key, so check before buying extra tools. Refer to your RV manual for details about your specific system.
crwdns2942213:0crwdne2942213:0
-
-
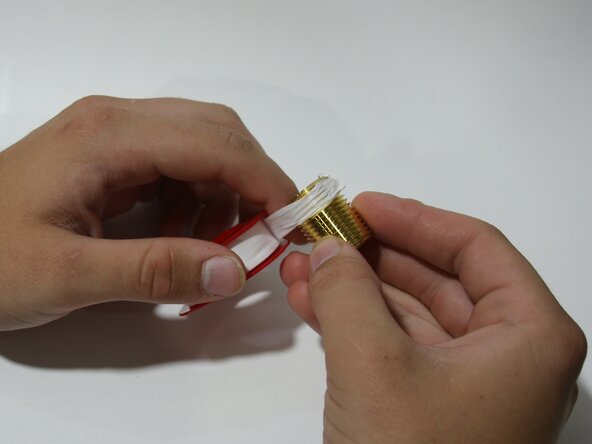
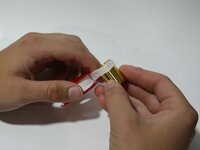
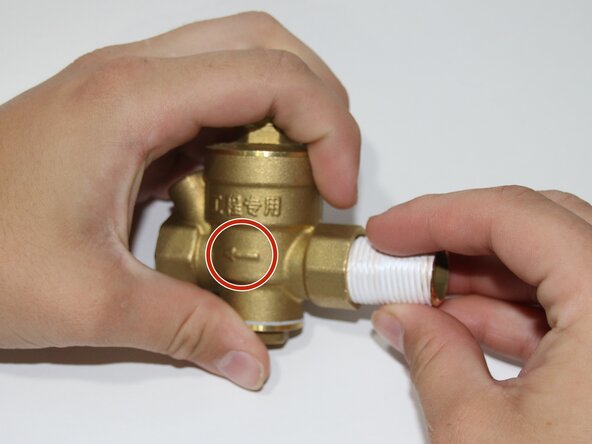
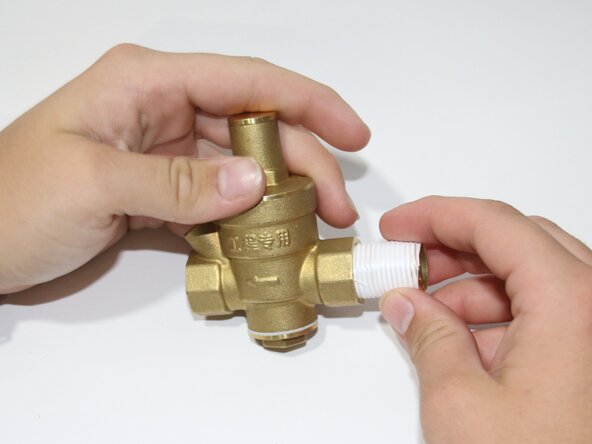
Wrap the thread tape around the 1/2" nipple, 2-3 times in a counter-clockwise motion.
-
Make sure the nipple is fully covered, but the ends are open.
-
-
-
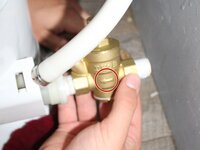
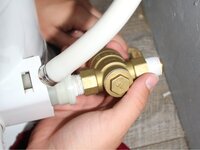
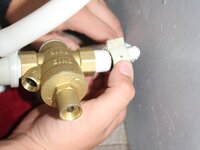
Screw the nipple onto the regulator, making sure the arrow (marked by the red circle) is pointing away from the nipple.
-
-
-
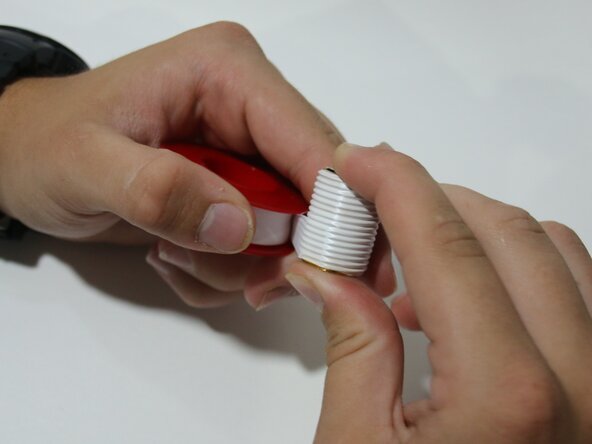
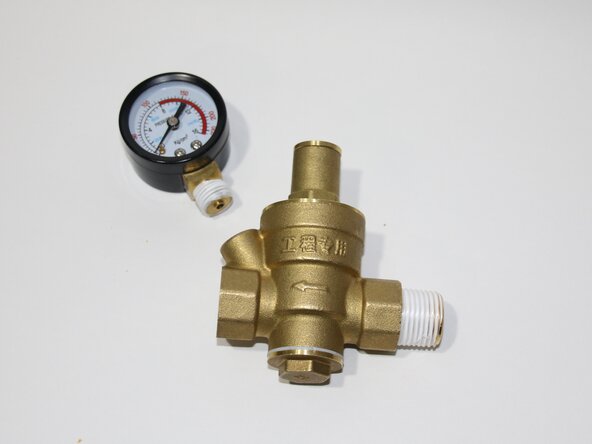
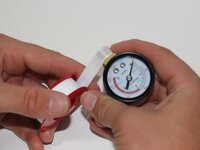
Wrap the thread tape around the pressure gauge 2-3 times, in a counter-clockwise motion.
-
Do not thread the gauge in yet. Instead, note the angled slot where it will be installed in step 10.
-
-
-
Turn the external water source (outside faucet) off.
-
-
-
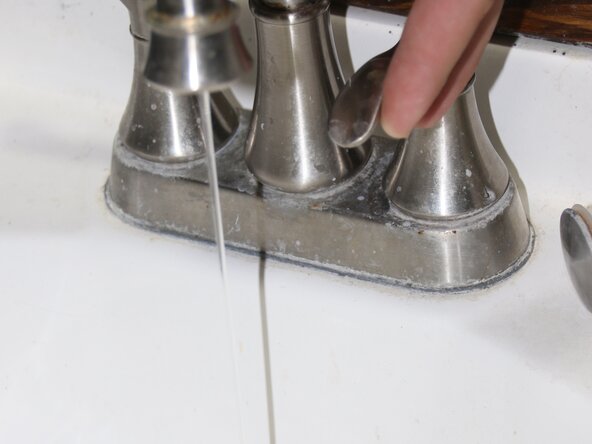
Turn on the sink faucet and let it run until no more water comes out to drain the lines.
-
Flush the toilet to drain any remaining water in the lines.
-
-
-
-
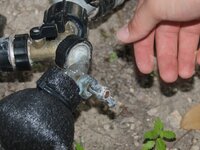
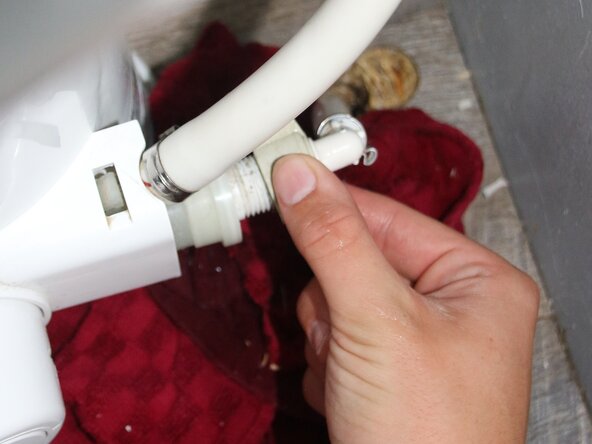
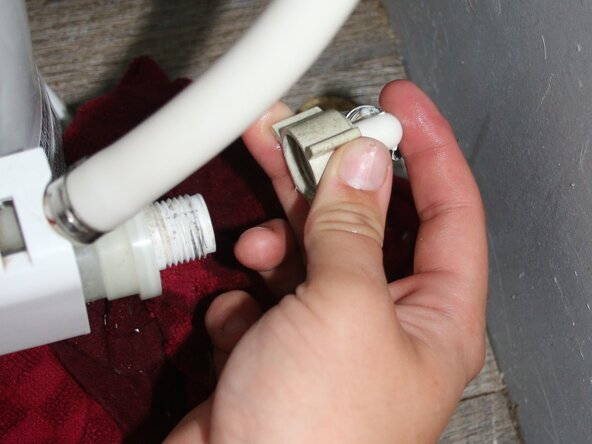
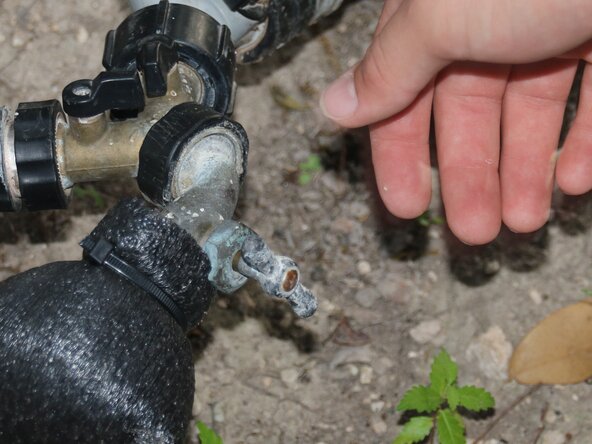
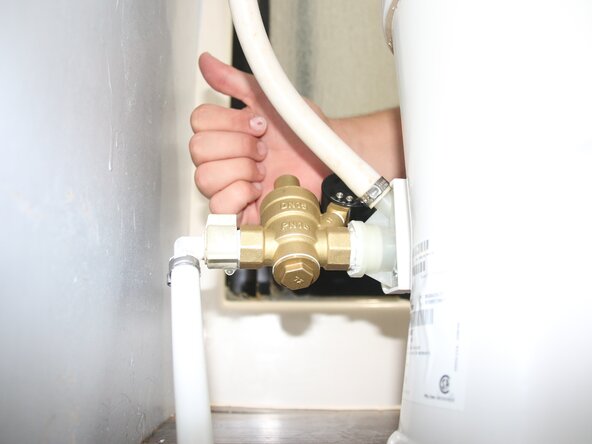
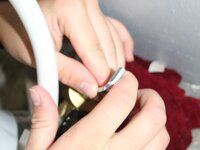
Unscrew the water inlet line from the toilet.
-
-
-
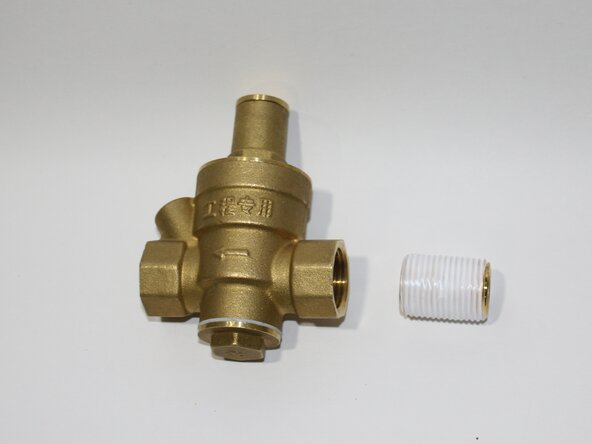
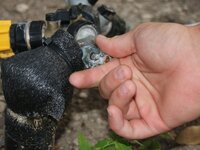
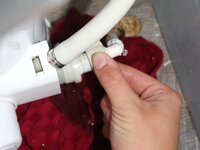
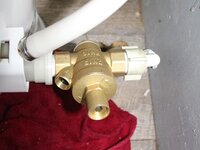
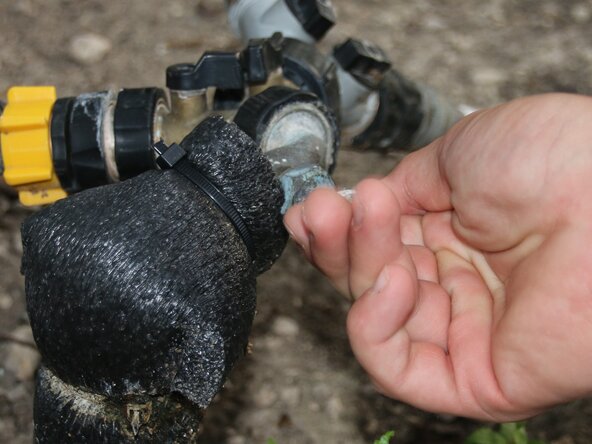
Screw the regulator onto the back of the toilet where the water line was screwed in.
-
-
-
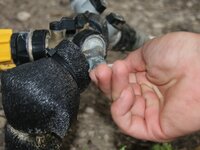
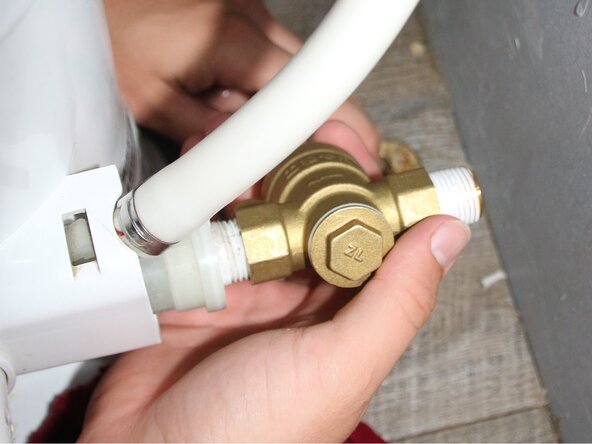
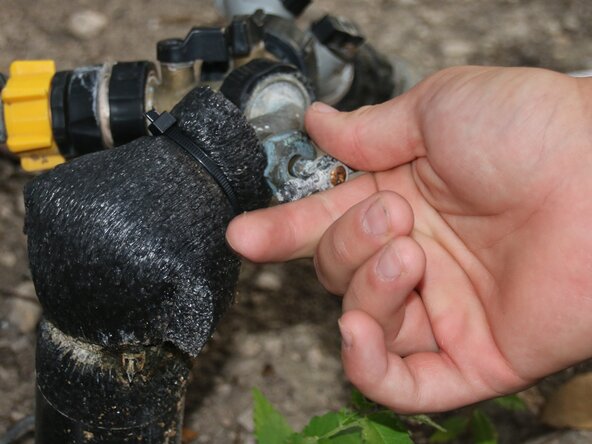
Screw the water inlet line onto the nipple attached to the regulator.
-
-
-
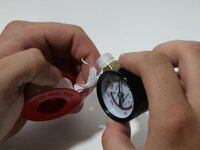
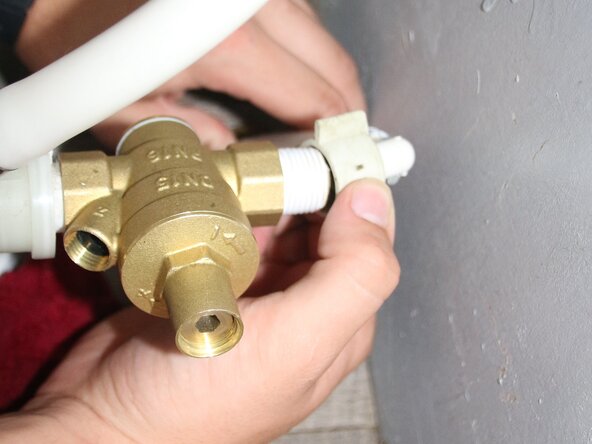
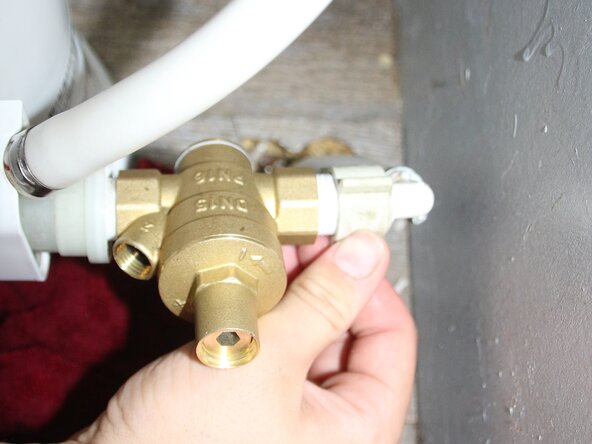
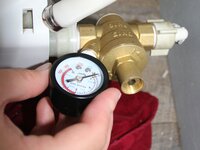
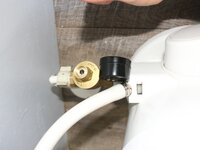
Screw the pressure gauge onto the regulator.
-
Tighten it all the way down as far as you can with finger strength.
-
-
-
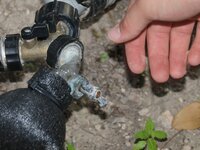
Check to make sure nothing is leaking.
-
-
-
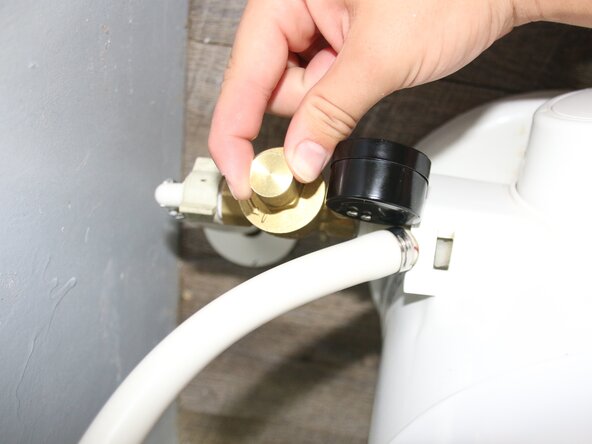
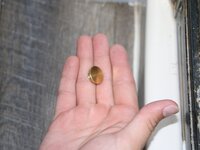
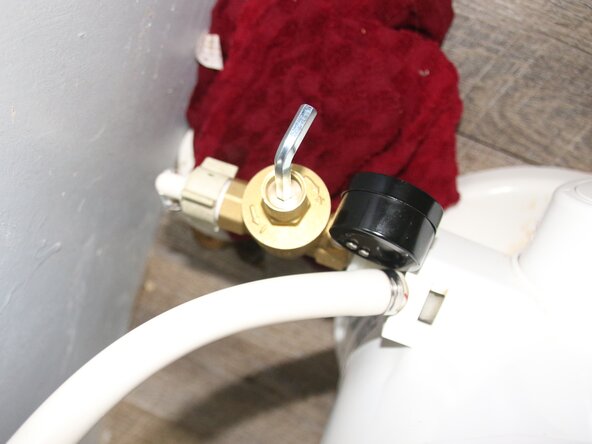
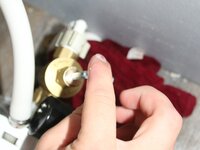
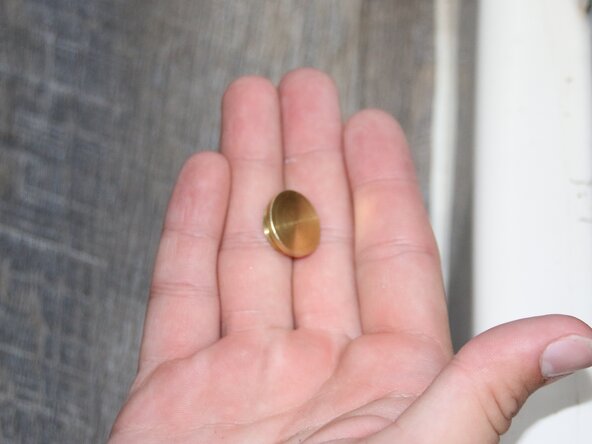
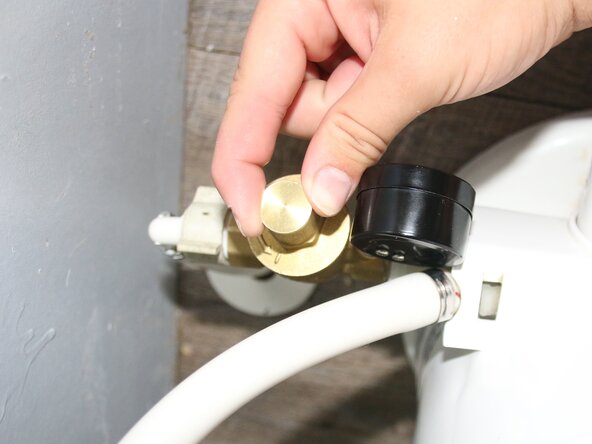
Remove the cap from the top of the regulator.
-
-
-
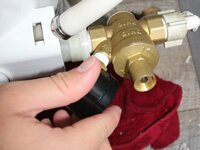
Take the Allen Key and insert it in the top of the regulator.
-
Twist the Allen Key while running water into the toilet until the desired water pressure is achieved.
-
-
-
Screw the cap back on to the regulator.
-
Enjoy the new water pressure.
-


To reassemble your device, follow these instructions in reverse order.

crwdns2935287:0crwdne2935287:0

Austin Community College, Team 1-7, Kapoor Summer 2025 crwdns2935289:0Austin Community College, Team 1-7, Kapoor Summer 2025crwdne2935289:0
AUSTINCC-KAPOOR-SU25S1G7
crwdns2934841:01crwdne2934841:0
crwdns2935303:01crwdne2935303:0