crwdns2915892:0crwdne2915892:0
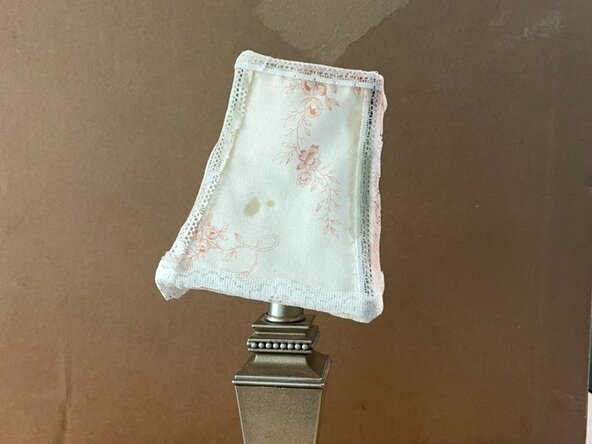
This guide shows you how to replace a lampshade in a way that’s built to last. Whether you have a damaged lamp or want to remake a frame with your own style, this guide is for you!
If you’re new to sewing, choose fabric suited to your lamp to make the process easier. More experienced sewers can use this project to repurpose scrap fabrics.
Here’s a video that gives a few options of different fabric types to explore if you’re stuck.
Previous knowledge of hand-sewing is recommended, but not necessary. This guide demonstrates how to whipstitch if you need additional instruction.
This guide uses pins, needles, and hot glue, so please exercise caution when handling these materials.
crwdns2942213:0crwdne2942213:0
-
-
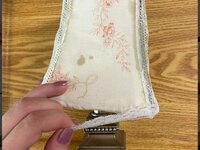
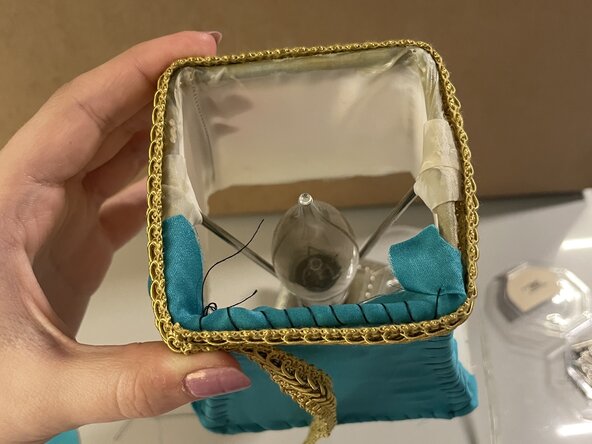
Disassemble the old shade by hand if any is present.
-
Try to keep the fabric you're removing in decent shape! You will use it as a pattern in step 4.
-
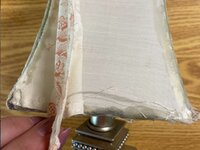
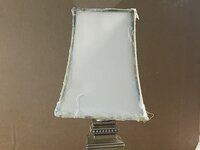
Remove the exterior fabric. If the lamp is lined, keep the existing lining.
-
If the lining is damaged beyond saving, remove it, but you will have to add a new lining using steps 4-7.
-
-
-
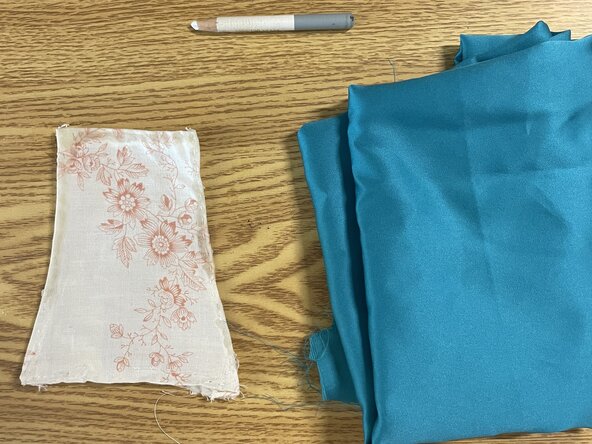
Choose a high-quality fabric that is woven and has mild stretch to make your new lampshade out of.
-
Pay attention to whether it will allow enough light through and change it out if it allows too much or too little.
-
If your fabric is creased, use a clothes iron to remove wrinkles before you reassemble the shade.
-
-
-
-
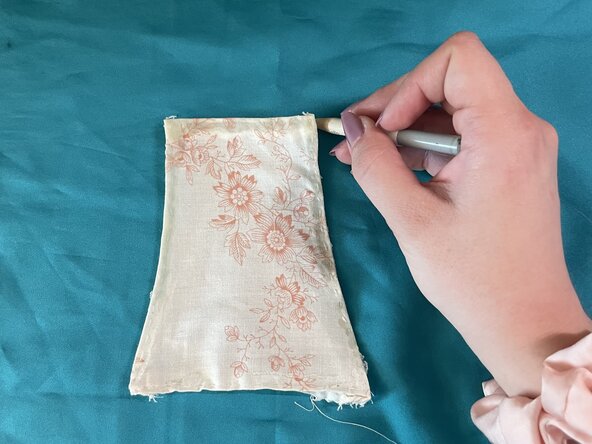
Lay the old shade on the fabric and use fabric chalk to trace an outline of it.
-
Pin the two pieces of fabric together if the old panel is moving too much to trace.
-
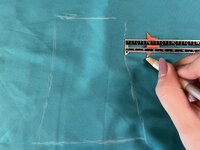
Use a ruler to trace a line 1 inch outside your outline—this will be your seam allowance.
-
To shape the corners, place your ruler so it extends diagonally outward from the corner toward the center of the shade. Mark a dot at the edge, then connect that dot to the seam allowance lines on each side.
-
-
-
Cut out the first sketched shape, then place it over another section of fabric to use as a pattern for the next piece.
-
Pin the layers together to keep them from shifting while you cut. Repeat this process until you have all the shade pieces you need.
-
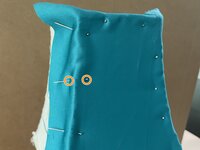
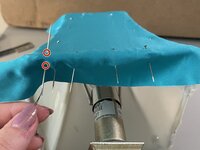
Drape one fabric piece over a side of your lamp, right side facing out and centered.
-
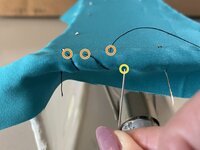
Pin it in place through both the fabric and lining, keeping the pins as close to the metal frame as possible.
-
-
-
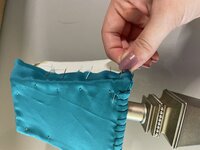
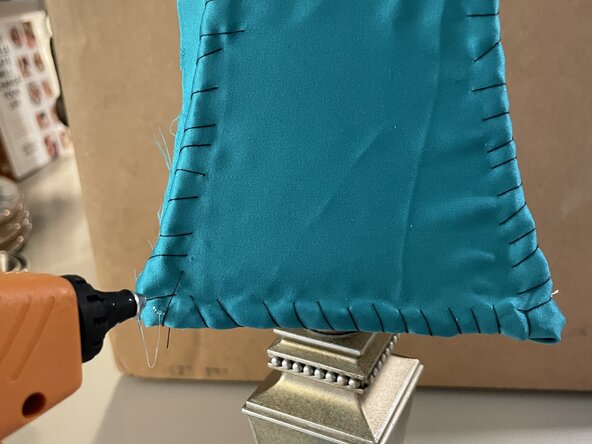
Sew the fabric onto the frame with the whipstitch method.
-
Cut the thread to be around 18 inches and make a sturdy knot on one end. Thread the needle.
-
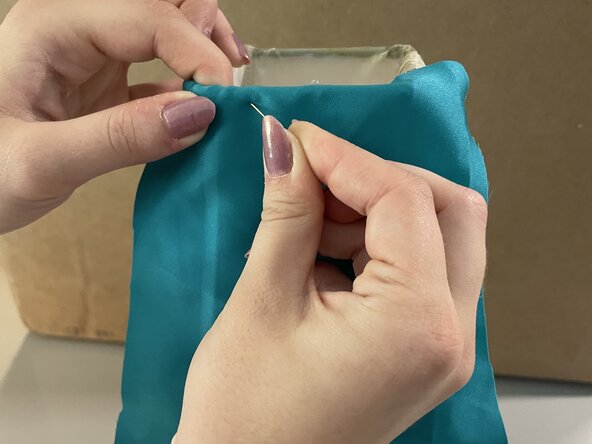
Insert the needle from the underside of the shade to the top, placing each stitch as close to the metal frame as possible. Keep your stitches small so they’ll be fully hidden once the trim is applied.
-
Push the needle through and pull the thread until it is snug but not stretching or puckering the fabric. The thread should be coming out on the face of the shade above the metal bar.
-
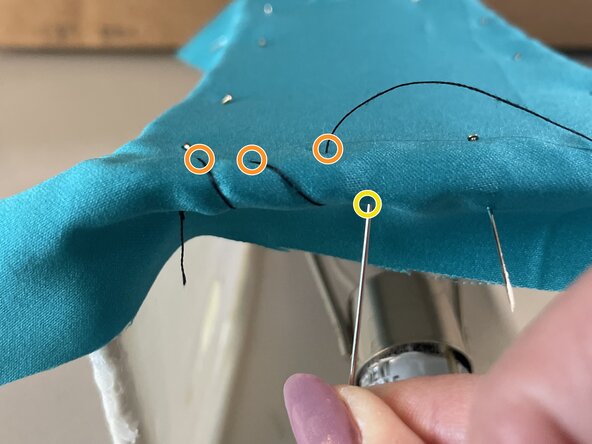
Insert your needle underneath the bar and through to the top once more.
-
Continue this pattern until you reach the end of your thread or you finish stitching. If you run out of thread and need more, make sure to tie off with a knot on the underside of the lampshade before repeating the above bullet points.
-
Repeat whipstitches around the shade on the bottom, sides, and top of the lampshade fabric and remove pins as you go. Complete step 7 and return to step 6 to repeat the instructions for each side of your shade until it is completely covered.
-
-
-
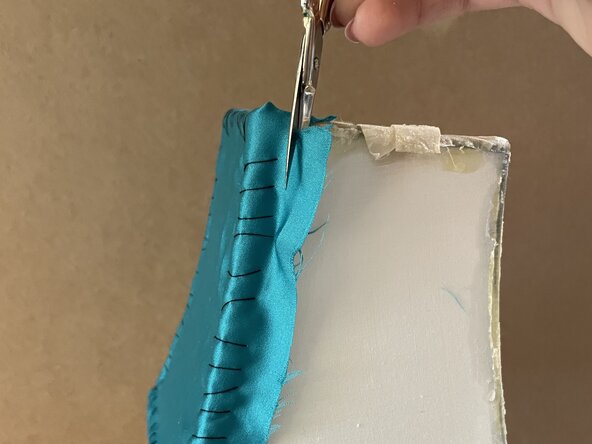
Use sewing scissors to trim the excess fabric from the edges. Get close to the stitches, but be careful not to cut one!
-
Trim any excess thread tails from the knot ends, on the inside of the shade, but do not cut the knots off.
-
-
-
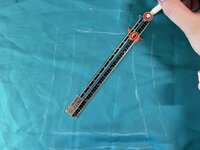
Measure out the necessary lengths of trim.
-
Heat the hot glue gun and use it to glue the top and bottom trims first.
-
Apply a thin line of glue horizontally over your stitches. Continue gluing along the edge until the end of the trim meets the starting point.
-
Press the trim onto the glue so it fully covers the stitches. Hold it in place for a few seconds, or use clips if you want to avoid burning your fingers.
-
-
-
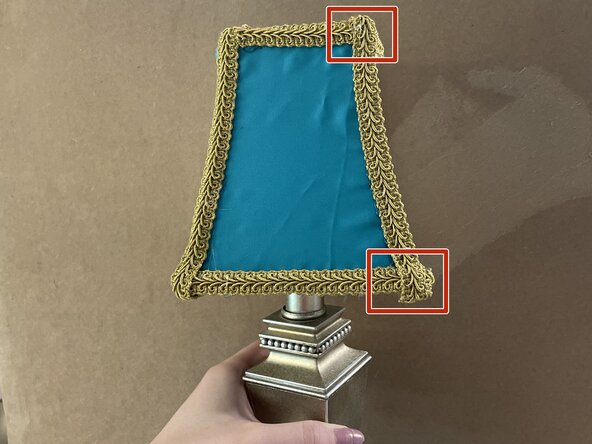
Start attaching the side trims.
-
Apply hot glue to the inside of the trim, then wrap it over the bottom edge of the frame so it grips onto the inner lip.
-
Press firmly to secure it in place.
-
Glue the side trim over the bottom trim and continue upward, covering the side stitches and overlapping the top trim. Wrap the top edge of the trim around the inner lip of the frame so it grips securely.
-


To reassemble your device, follow these instructions in reverse order.
To reassemble your device, follow these instructions in reverse order.

crwdns2915084:0crwdne2915084:0

Austin Community College, Team 1-1, Kapoor Summer 2025 crwdns2935289:0Austin Community College, Team 1-1, Kapoor Summer 2025crwdne2935289:0
AUSTINCC-KAPOOR-SU25S1G1
crwdns2934841:01crwdne2934841:0
crwdns2935303:01crwdne2935303:0