crwdns2933423:0crwdne2933423:0

How to Clean Wooting Keyboard Lekker Linear45 Switches

crwdns2942213:0crwdne2942213:0

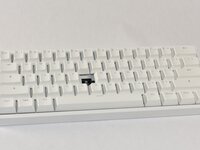
  1. How to Clean Wooting Keyboard Lekker Linear45 Switches, How to Clean Wooting Keyboard Lekker Linear45 Switches: crwdns2935265:01crwdnd2935265:01crwdnd2935265:03crwdne2935265:0 How to Clean Wooting Keyboard Lekker Linear45 Switches, How to Clean Wooting Keyboard Lekker Linear45 Switches: crwdns2935265:01crwdnd2935265:02crwdnd2935265:03crwdne2935265:0 How to Clean Wooting Keyboard Lekker Linear45 Switches, How to Clean Wooting Keyboard Lekker Linear45 Switches: crwdns2935265:01crwdnd2935265:03crwdnd2935265:03crwdne2935265:0
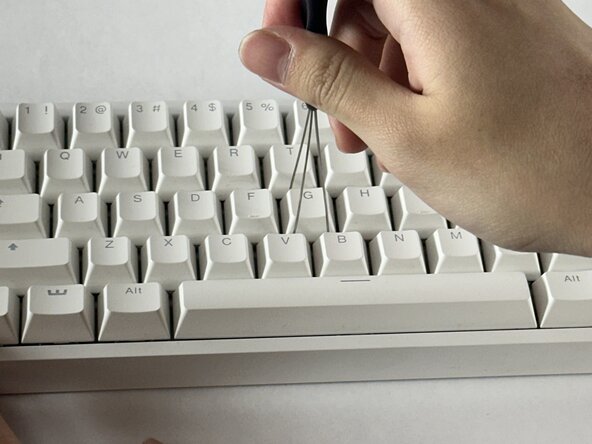
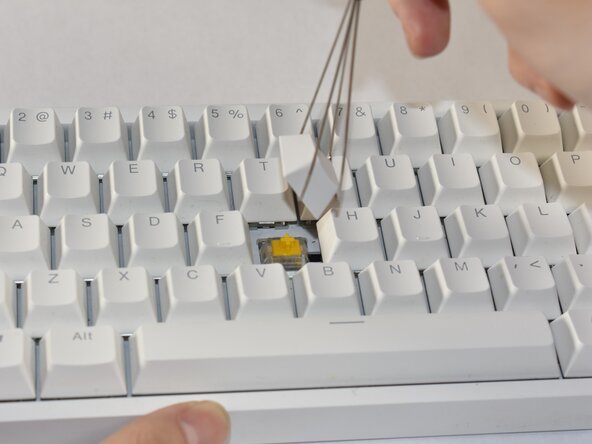
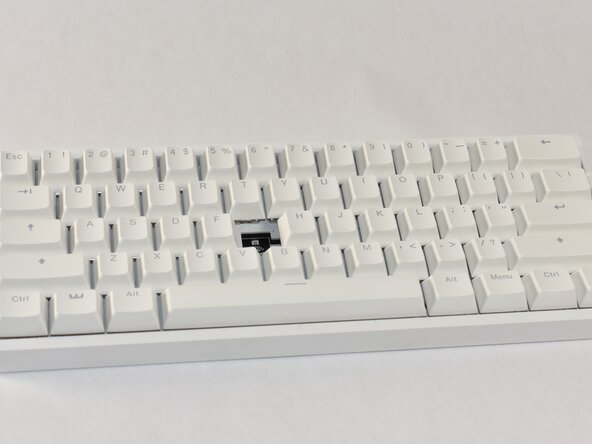
    • Align the keycap puller so the prongs wrap underneath the sides of the keycap, then pull up to remove the keycap.

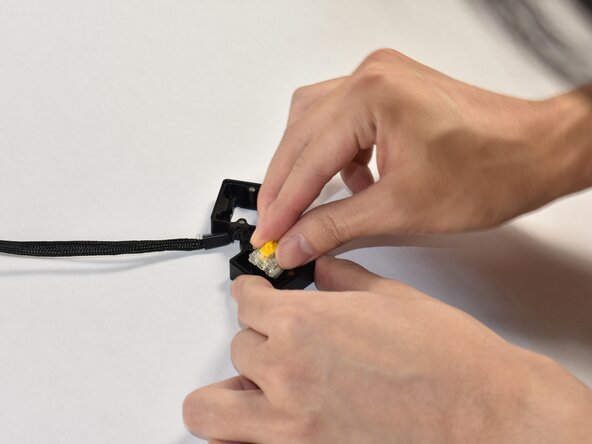
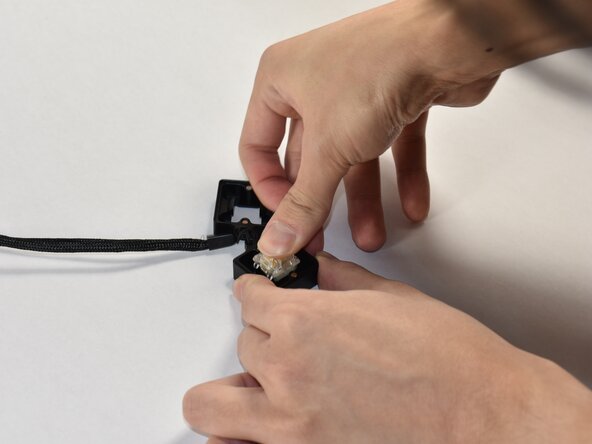
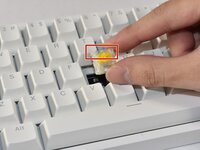
  2. How to Clean Wooting Keyboard Lekker Linear45 Switches: crwdns2935265:02crwdnd2935265:01crwdnd2935265:03crwdne2935265:0 How to Clean Wooting Keyboard Lekker Linear45 Switches: crwdns2935265:02crwdnd2935265:02crwdnd2935265:03crwdne2935265:0 How to Clean Wooting Keyboard Lekker Linear45 Switches: crwdns2935265:02crwdnd2935265:03crwdnd2935265:03crwdne2935265:0
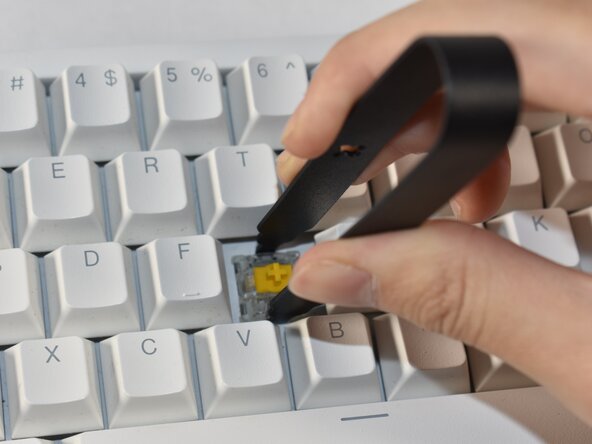
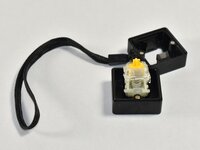
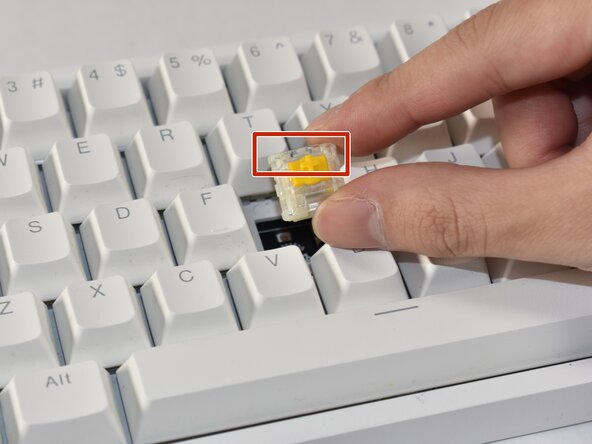
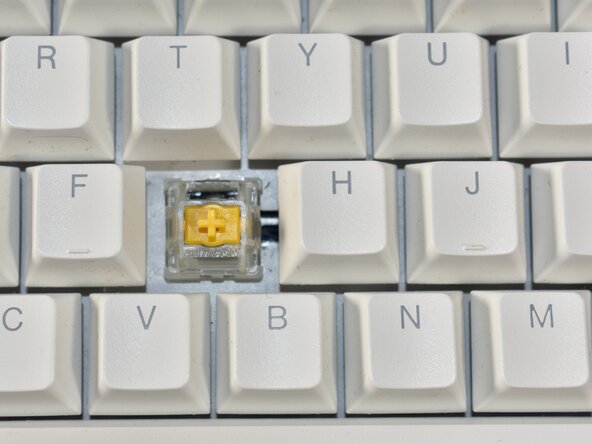
    • Align the prongs of the switch puller so it clips underneath the grooves of the north and south side of the switch, then pull up.

    • Ensure a strong grip of the switch so the puller doesn’t slip out while pulling.

    • If you require an entire switch replacement, skip to Step 9 to re-insert the new switch.

  3. How to Clean Wooting Keyboard Lekker Linear45 Switches: crwdns2935265:03crwdnd2935265:01crwdnd2935265:03crwdne2935265:0 How to Clean Wooting Keyboard Lekker Linear45 Switches: crwdns2935265:03crwdnd2935265:02crwdnd2935265:03crwdne2935265:0 How to Clean Wooting Keyboard Lekker Linear45 Switches: crwdns2935265:03crwdnd2935265:03crwdnd2935265:03crwdne2935265:0
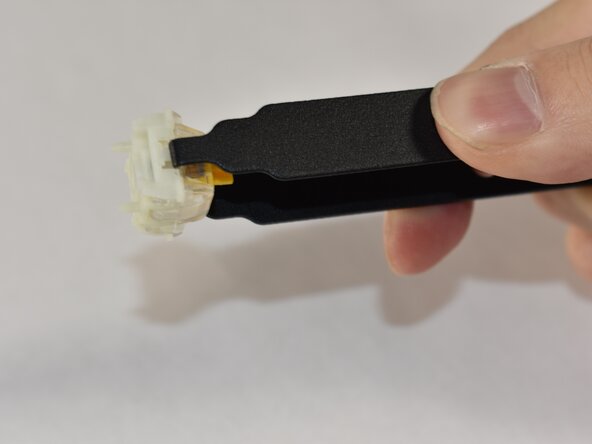
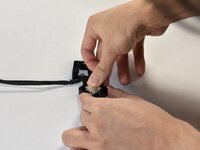
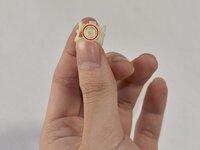
    • Identify the four prongs on the switch opener.

    • Align the switch onto the switch opener so that it sits flush on the prongs, then push down on the switch to disassemble the switch.

    • If you only want to replace the spring, move to Step 6 after disassembling the switch.

  4. How to Clean Wooting Keyboard Lekker Linear45 Switches: crwdns2935265:04crwdnd2935265:01crwdnd2935265:02crwdne2935265:0 How to Clean Wooting Keyboard Lekker Linear45 Switches: crwdns2935265:04crwdnd2935265:02crwdnd2935265:02crwdne2935265:0
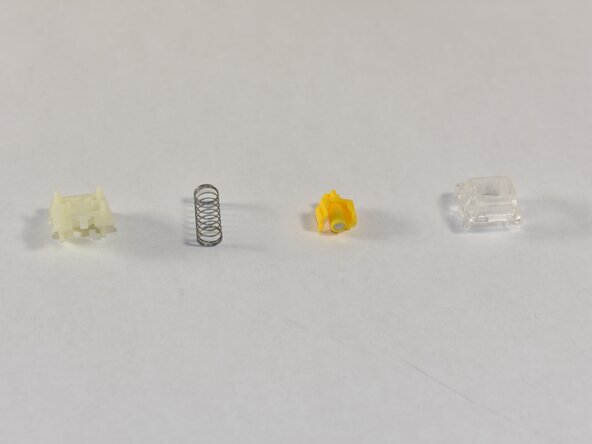
    • Identify the various switch components and the order of construction (from left to right or bottom to top): bottom housing, spring, stem, top housing. Separate them from the switch.

  5. How to Clean Wooting Keyboard Lekker Linear45 Switches: crwdns2935265:05crwdnd2935265:01crwdnd2935265:02crwdne2935265:0 How to Clean Wooting Keyboard Lekker Linear45 Switches: crwdns2935265:05crwdnd2935265:02crwdnd2935265:02crwdne2935265:0
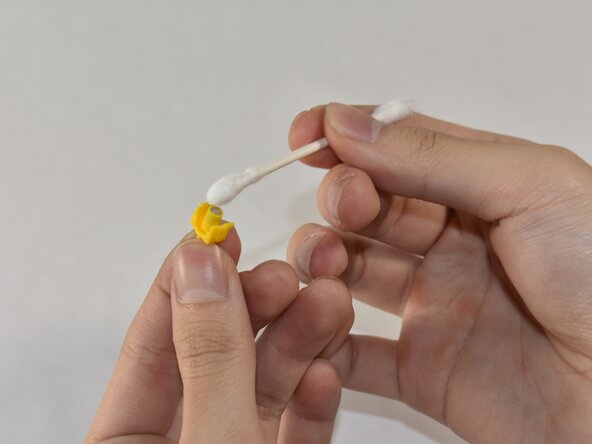
    • Identify the individual parts and see if any parts are dirty to the degree that it could interfere with the magnet sensor.

    • Clean out the dust or debris thoroughly with a cotton swab.

    • Optional: In the case where extensive cleaning is required, use isopropyl alcohol.

  6. How to Clean Wooting Keyboard Lekker Linear45 Switches: crwdns2935265:06crwdnd2935265:01crwdnd2935265:02crwdne2935265:0 How to Clean Wooting Keyboard Lekker Linear45 Switches: crwdns2935265:06crwdnd2935265:02crwdnd2935265:02crwdne2935265:0
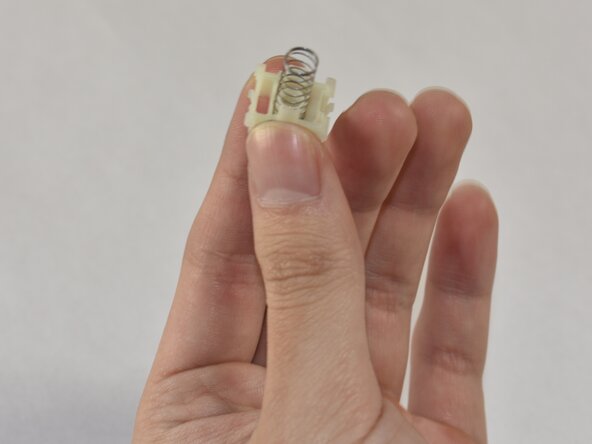
    • Hold the bottom housing such that the inner cylinder faces up.

    • Slip the spring onto the cylinder.

  7. How to Clean Wooting Keyboard Lekker Linear45 Switches: crwdns2935265:07crwdnd2935265:01crwdnd2935265:01crwdne2935265:0
    • Place the stem so the magnet faces the bottom housing, and the stem mount faces up.

    • Orient the stem so the side notches at the top face the sides of the switch.

  8. How to Clean Wooting Keyboard Lekker Linear45 Switches: crwdns2935265:08crwdnd2935265:01crwdnd2935265:01crwdne2935265:0
    • Place the top housing on top of the stem and align it so the LED window faces north.

    • Clip the switch parts together into place.

    • If aligned correctly, the switch components will snap together without coming apart.

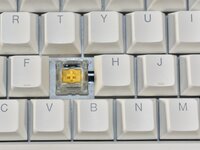
  9. How to Clean Wooting Keyboard Lekker Linear45 Switches: crwdns2935265:09crwdnd2935265:01crwdnd2935265:03crwdne2935265:0 How to Clean Wooting Keyboard Lekker Linear45 Switches: crwdns2935265:09crwdnd2935265:02crwdnd2935265:03crwdne2935265:0 How to Clean Wooting Keyboard Lekker Linear45 Switches: crwdns2935265:09crwdnd2935265:03crwdnd2935265:03crwdne2935265:0
    • Align the switch into the board such that the LED window is facing north.

    • Push down so the switch clips into place and isn’t loose.

  10. How to Clean Wooting Keyboard Lekker Linear45 Switches: crwdns2935265:010crwdnd2935265:01crwdnd2935265:03crwdne2935265:0 How to Clean Wooting Keyboard Lekker Linear45 Switches: crwdns2935265:010crwdnd2935265:02crwdnd2935265:03crwdne2935265:0 How to Clean Wooting Keyboard Lekker Linear45 Switches: crwdns2935265:010crwdnd2935265:03crwdnd2935265:03crwdne2935265:0
    • Align the keycap so it faces the correct orientation.

    • The bottom of the keycap should have an indent in the shape of the keycap/stem mount which fits onto the mount sticking out from the switch.

    • Press down the keycap onto the switch.

crwdns2935217:0crwdne2935217:0

Annie Ding

crwdns2935283:002/21/25crwdne2935283:0

181 crwdns2915208:0crwdne2915208:0

crwdns2935295:0crwdne2935295:0

crwdns2915084:0crwdne2915084:0

UC Davis, Team 1-1, Andersen Winter 2025 crwdns2935289:0UC Davis, Team 1-1, Andersen Winter 2025crwdne2935289:0

UCD-ANDERSEN-W25S1G1

crwdns2931471:04crwdne2931471:0

crwdns2935303:01crwdne2935303:0

crwdns2947412:00crwdne2947412:0

crwdns2917038:0crwdne2917038:0

crwdns2936625:0crwdne2936625:0:

crwdns2936751:024crwdne2936751:0 1

crwdns2936753:07crwdne2936753:0 12

crwdns2936753:030crwdne2936753:0 14

crwdns2942667:0crwdne2942667:0 75