crwdns2915892:0crwdne2915892:0
If your Nomad does not charge, dies quickly, or does not drive predictably, your battery may be dying or damaged. Follow this guide to replace the battery in the Hover-1 Nomad.
crwdns2942213:0crwdne2942213:0
-
-
Break the two warranty stickers by poking a screwdriver through them or peeling them off.
-
Remove the following twenty screws by rotating the screwdriver counterclockwise:
-
Eight 16.2mm Phillips #2 screws
-
Eight 15mm Phillips #2 screws
-
Four 19.1mm Phillips #2 screws
-
-
-
Use a nylon spudger to pry the metal handle away from the outer shell.
-
Rotate the metal handle toward the center of the hoverboard to unlock the plate from the retaining clips.
-
Lift the hoverboard off the metal handle.
-
Repeat for the handle on the other side of the hoverboard.
-
-
-
Lift the plastic cover on each side up and away from the device.
-
-
-
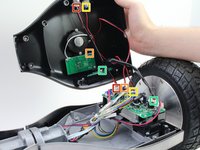
Disconnect the following wires by pinching the connector tabs and pulling the plugs out of the connectors:
-
Charging port wires
-
Speaker assembly wires
-
Power button wires
-
Headlight wires
-
-
-
-
Cut the two zip ties around the bundle of wires with cutting pliers.
-
-
-
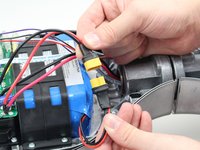
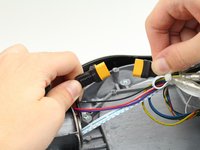
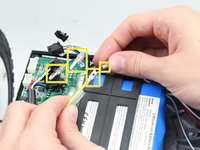
Disconnect the circuit boards from the battery by pulling both battery connectors apart.
-
-
-
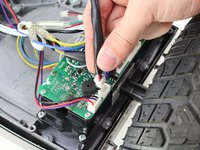
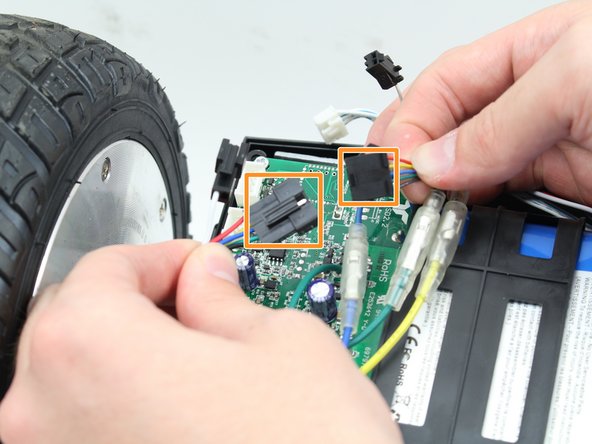
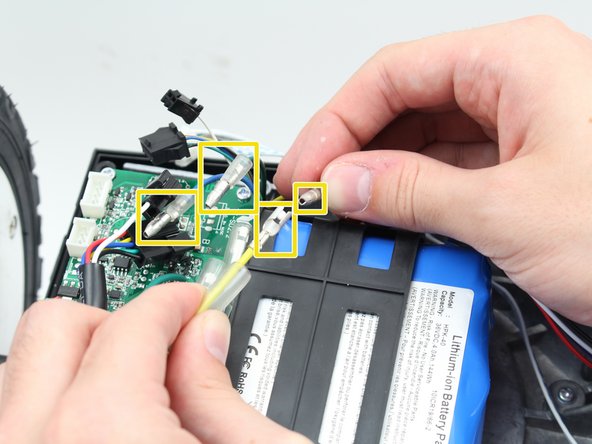
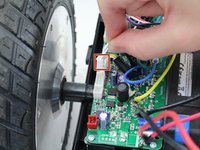
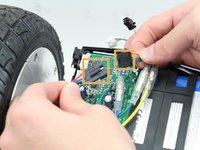
Disconnect the following wires connecting the circuit boards to the sensors and motors:
-
Disconnect the white connectors by pinching the tab and pulling up on the connectors.
-
Disconnect the black connectors by pulling the two sides apart.
-
Disconnect the green, yellow, and blue cables by pulling back the plastic shielding and pulling the ends apart.
-
-
-
Remove the four 14mm Phillips #1 screws in the corners of each circuit board by turning the screwdriver counterclockwise.
-
-
-
Remove the circuit board by pulling it up and out of the hoverboard.
-
-
-
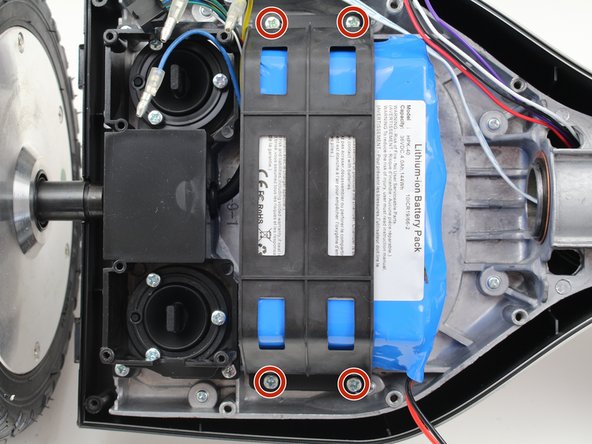
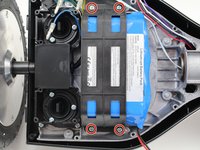
Remove the four 15mm screws from the battery cage with a Phillips #2 screwdriver.
-
-
-
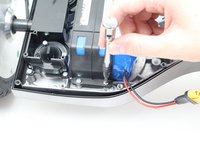
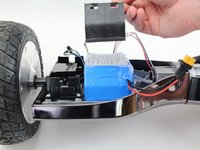
Lift the battery cage up and off the battery.
-
-
-
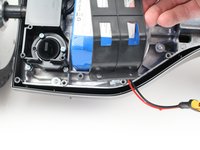
Remove the battery by lifting it off the hoverboard frame.
-
To reassemble your device, follow these instructions in reverse order.
To reassemble your device, follow these instructions in reverse order.
crwdns2935221:0crwdne2935221:0
crwdns2935227:0crwdne2935227:0


